July 4th Decor on a Budget

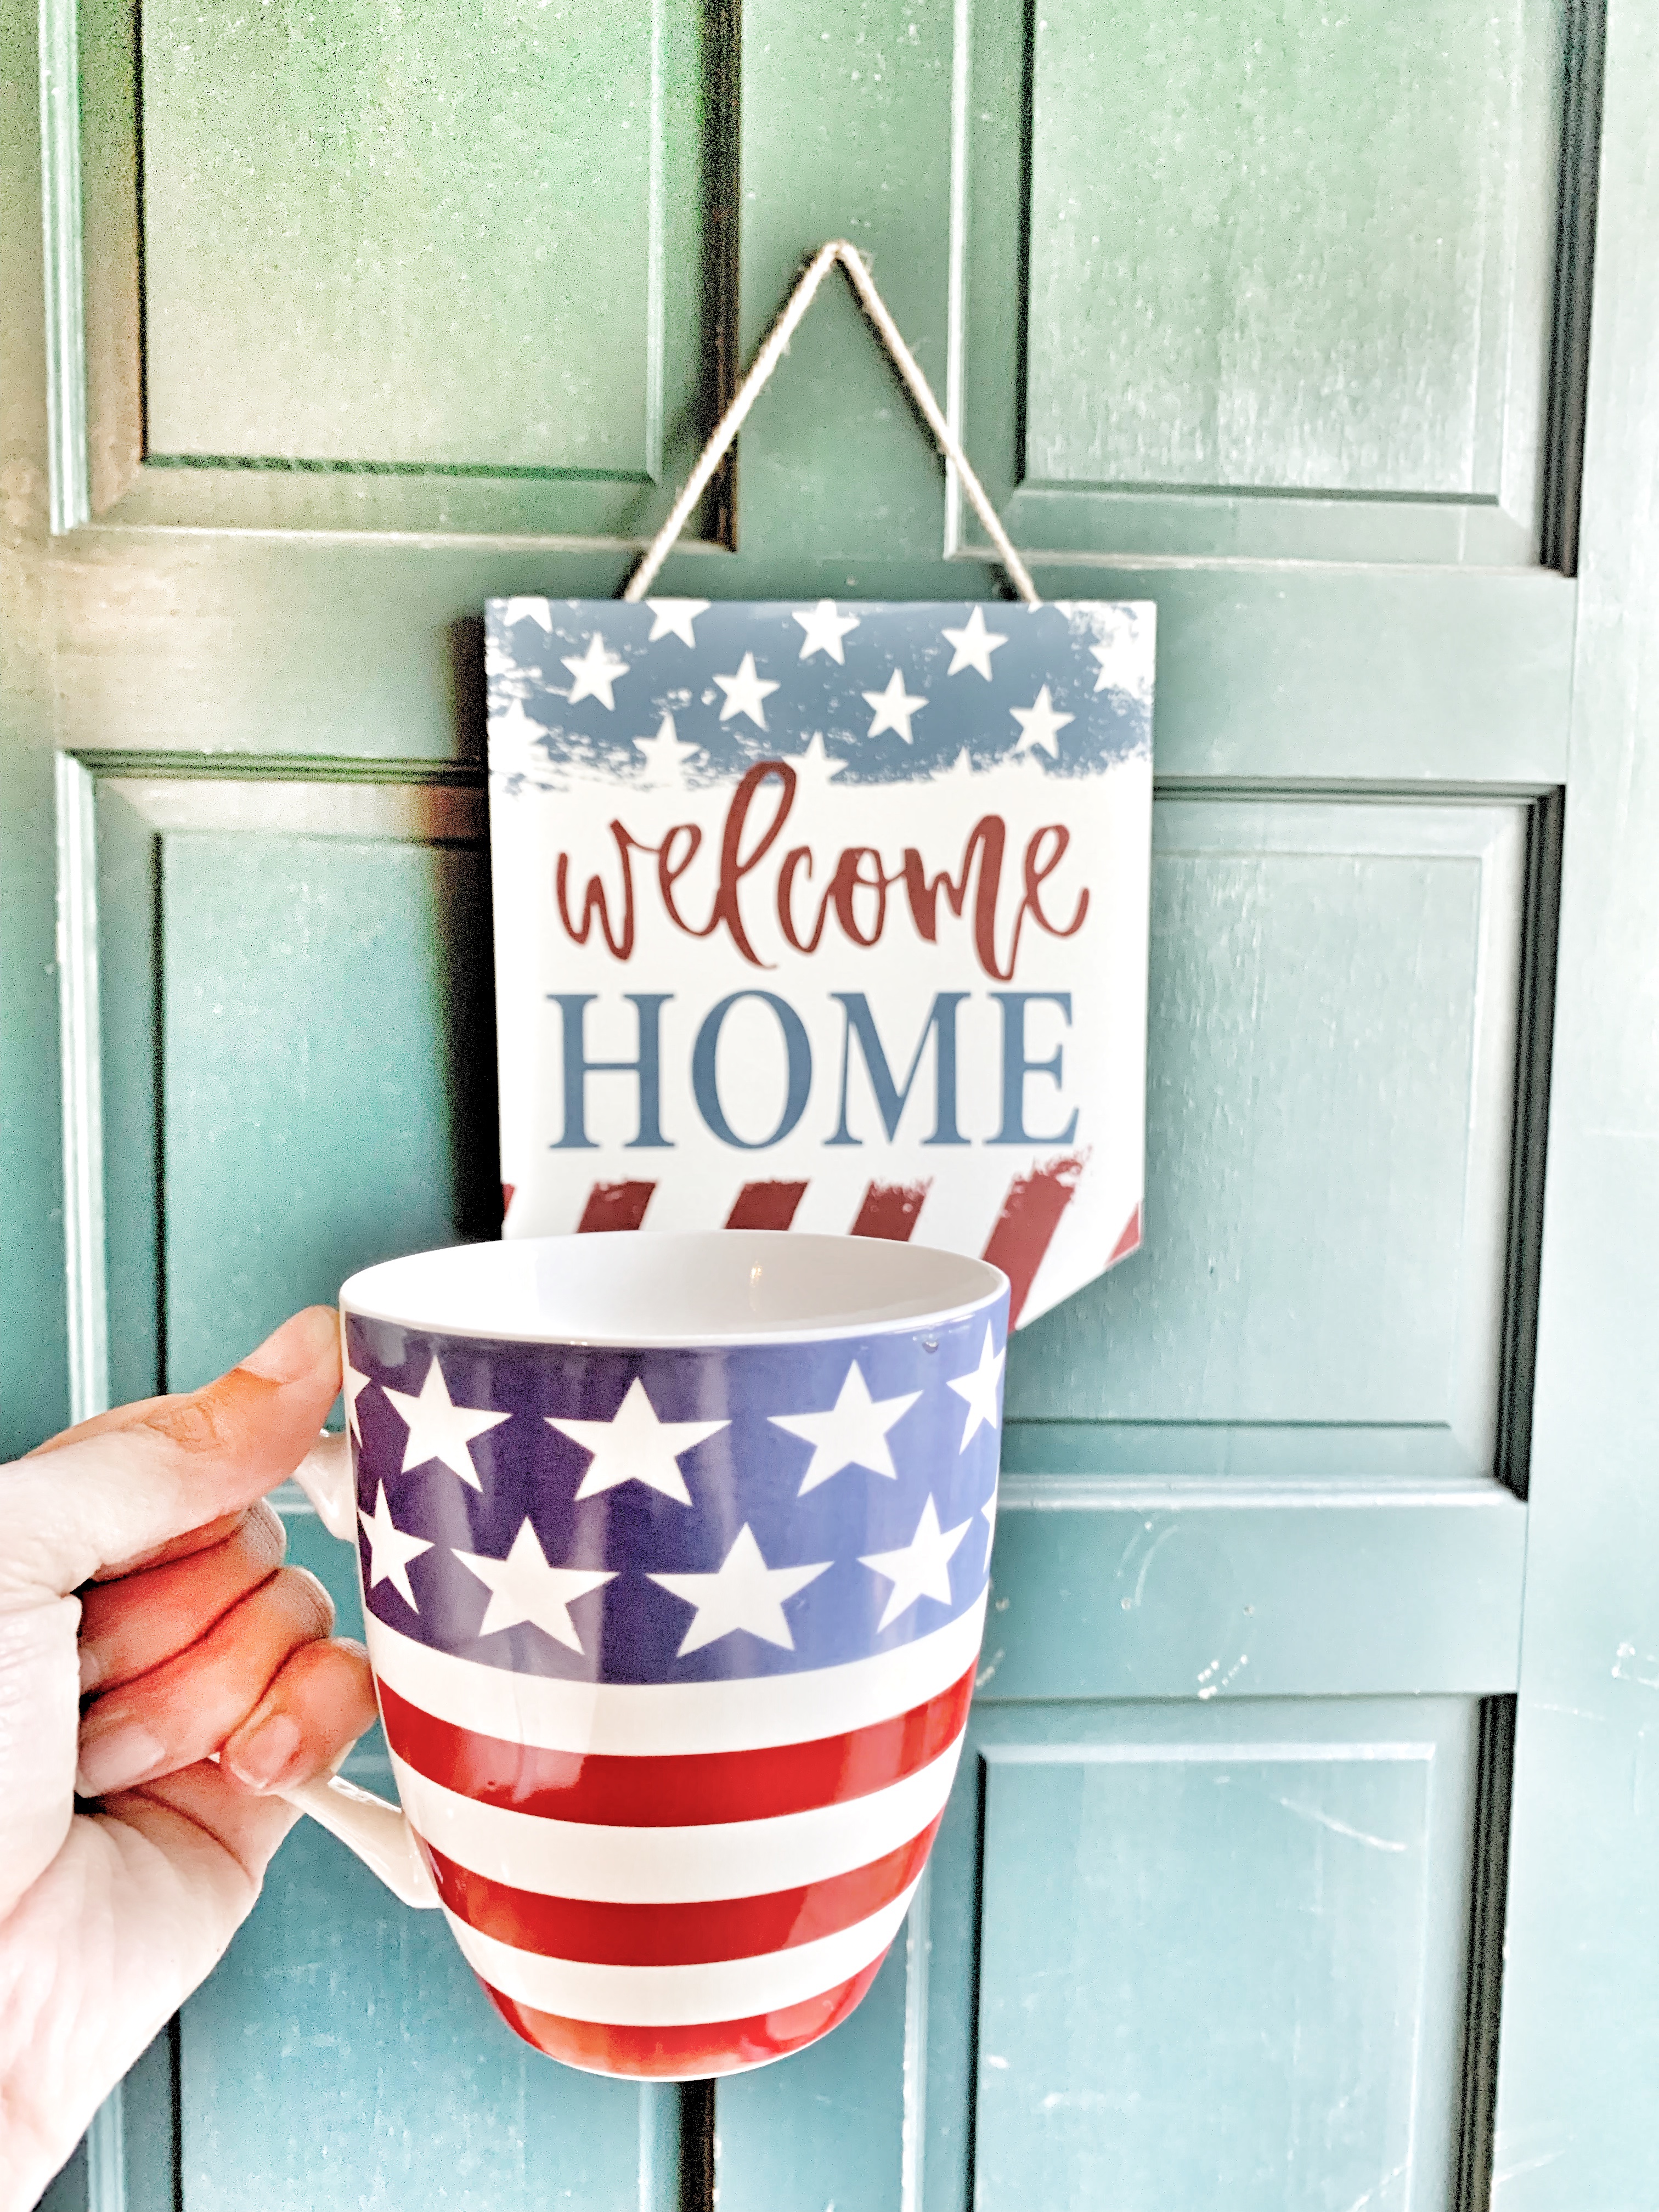
Welcome to our home!

Let’s talk about decorating for holidays such as the 4th of July. I know that sometimes it seems frivolous to decorate for smaller holidays, but if you think about it most July 4th Decor can also be used for Memorial Day and Labor Day.

Also, you don’t have to go all out and spend a fortune decorating your entire home. Today I’m going to show you 3 ideas to spruce up your house for the 4th without having to break the bank.

First off, think about your favorite spot in your home to decorate and group all your items there. That way it looks like you went all out! I have 3 favorites spots that are my go to spots! My fireplace, my coffee bar, and a table centerpiece. You could use just one of these spots and be totally festive!

Next, find anything red or blue in your home and pull those things out. I had a red lantern from Christmas that I brought out. I also had some red candle holders and red coffee mugs. You would be so surprised what you can find around your house to go with a few Americana items and voila your patriotic!

I’ll start by showing you guys what I did for my dining room table centerpiece:

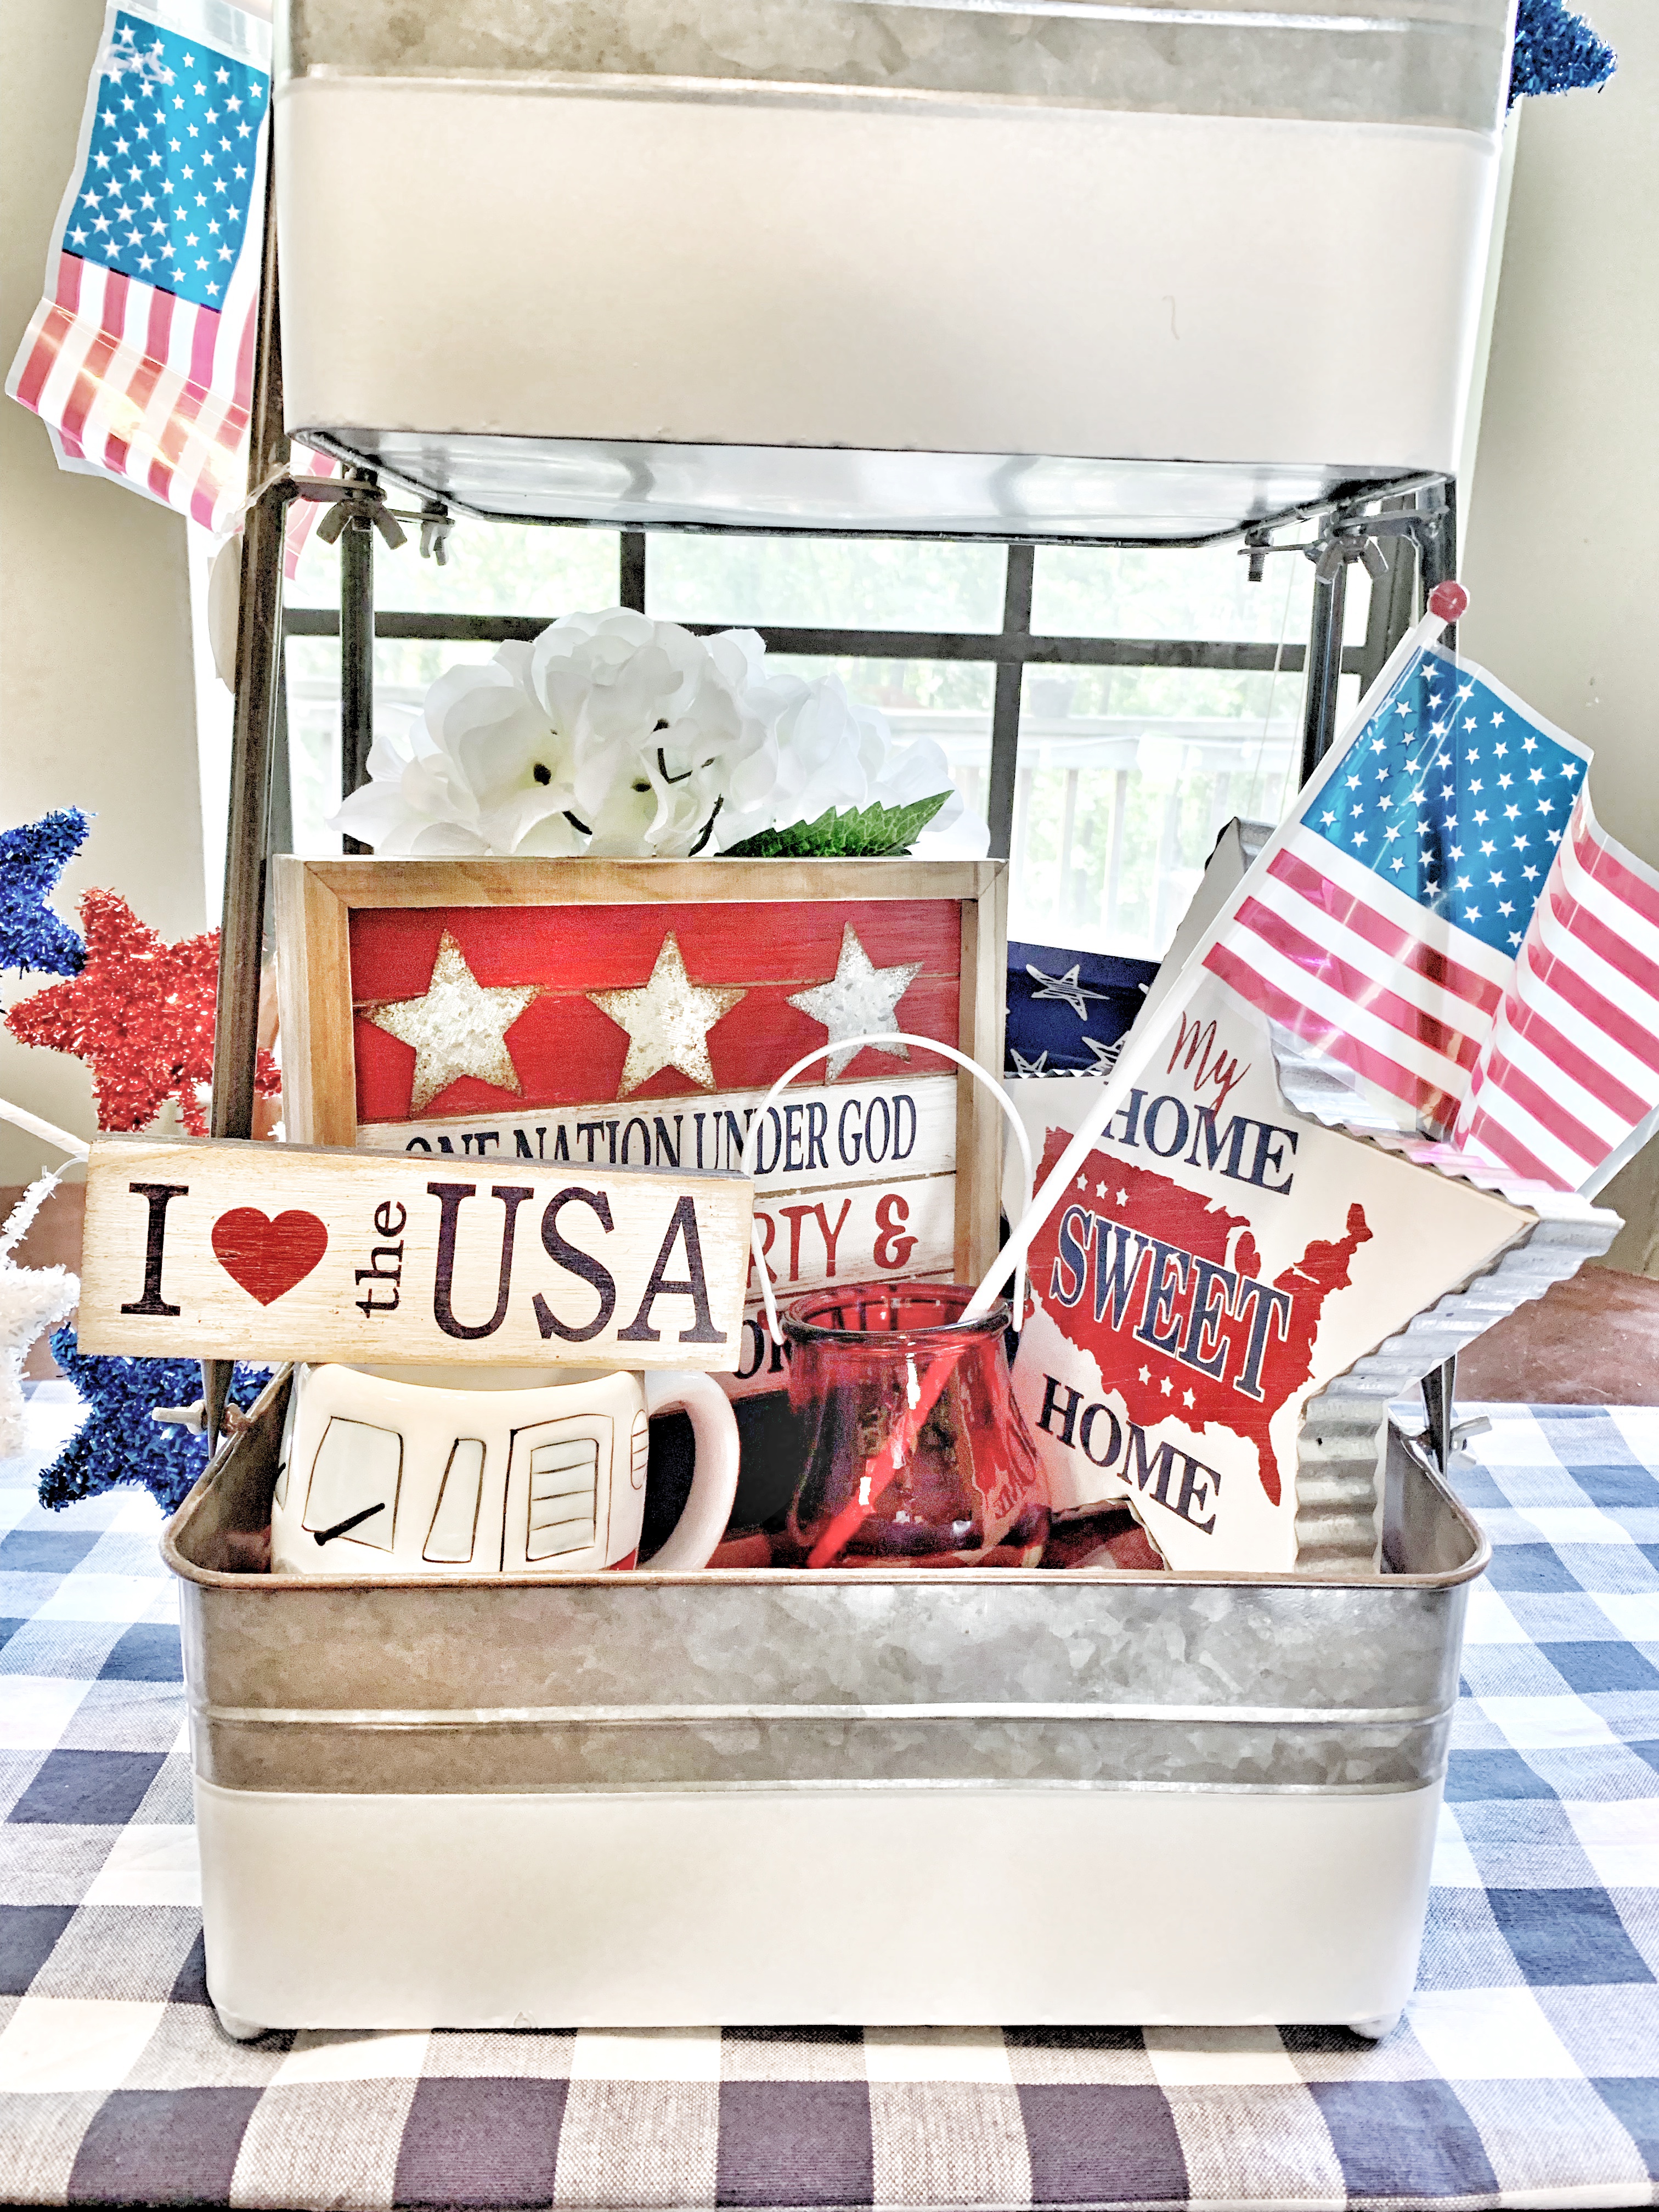
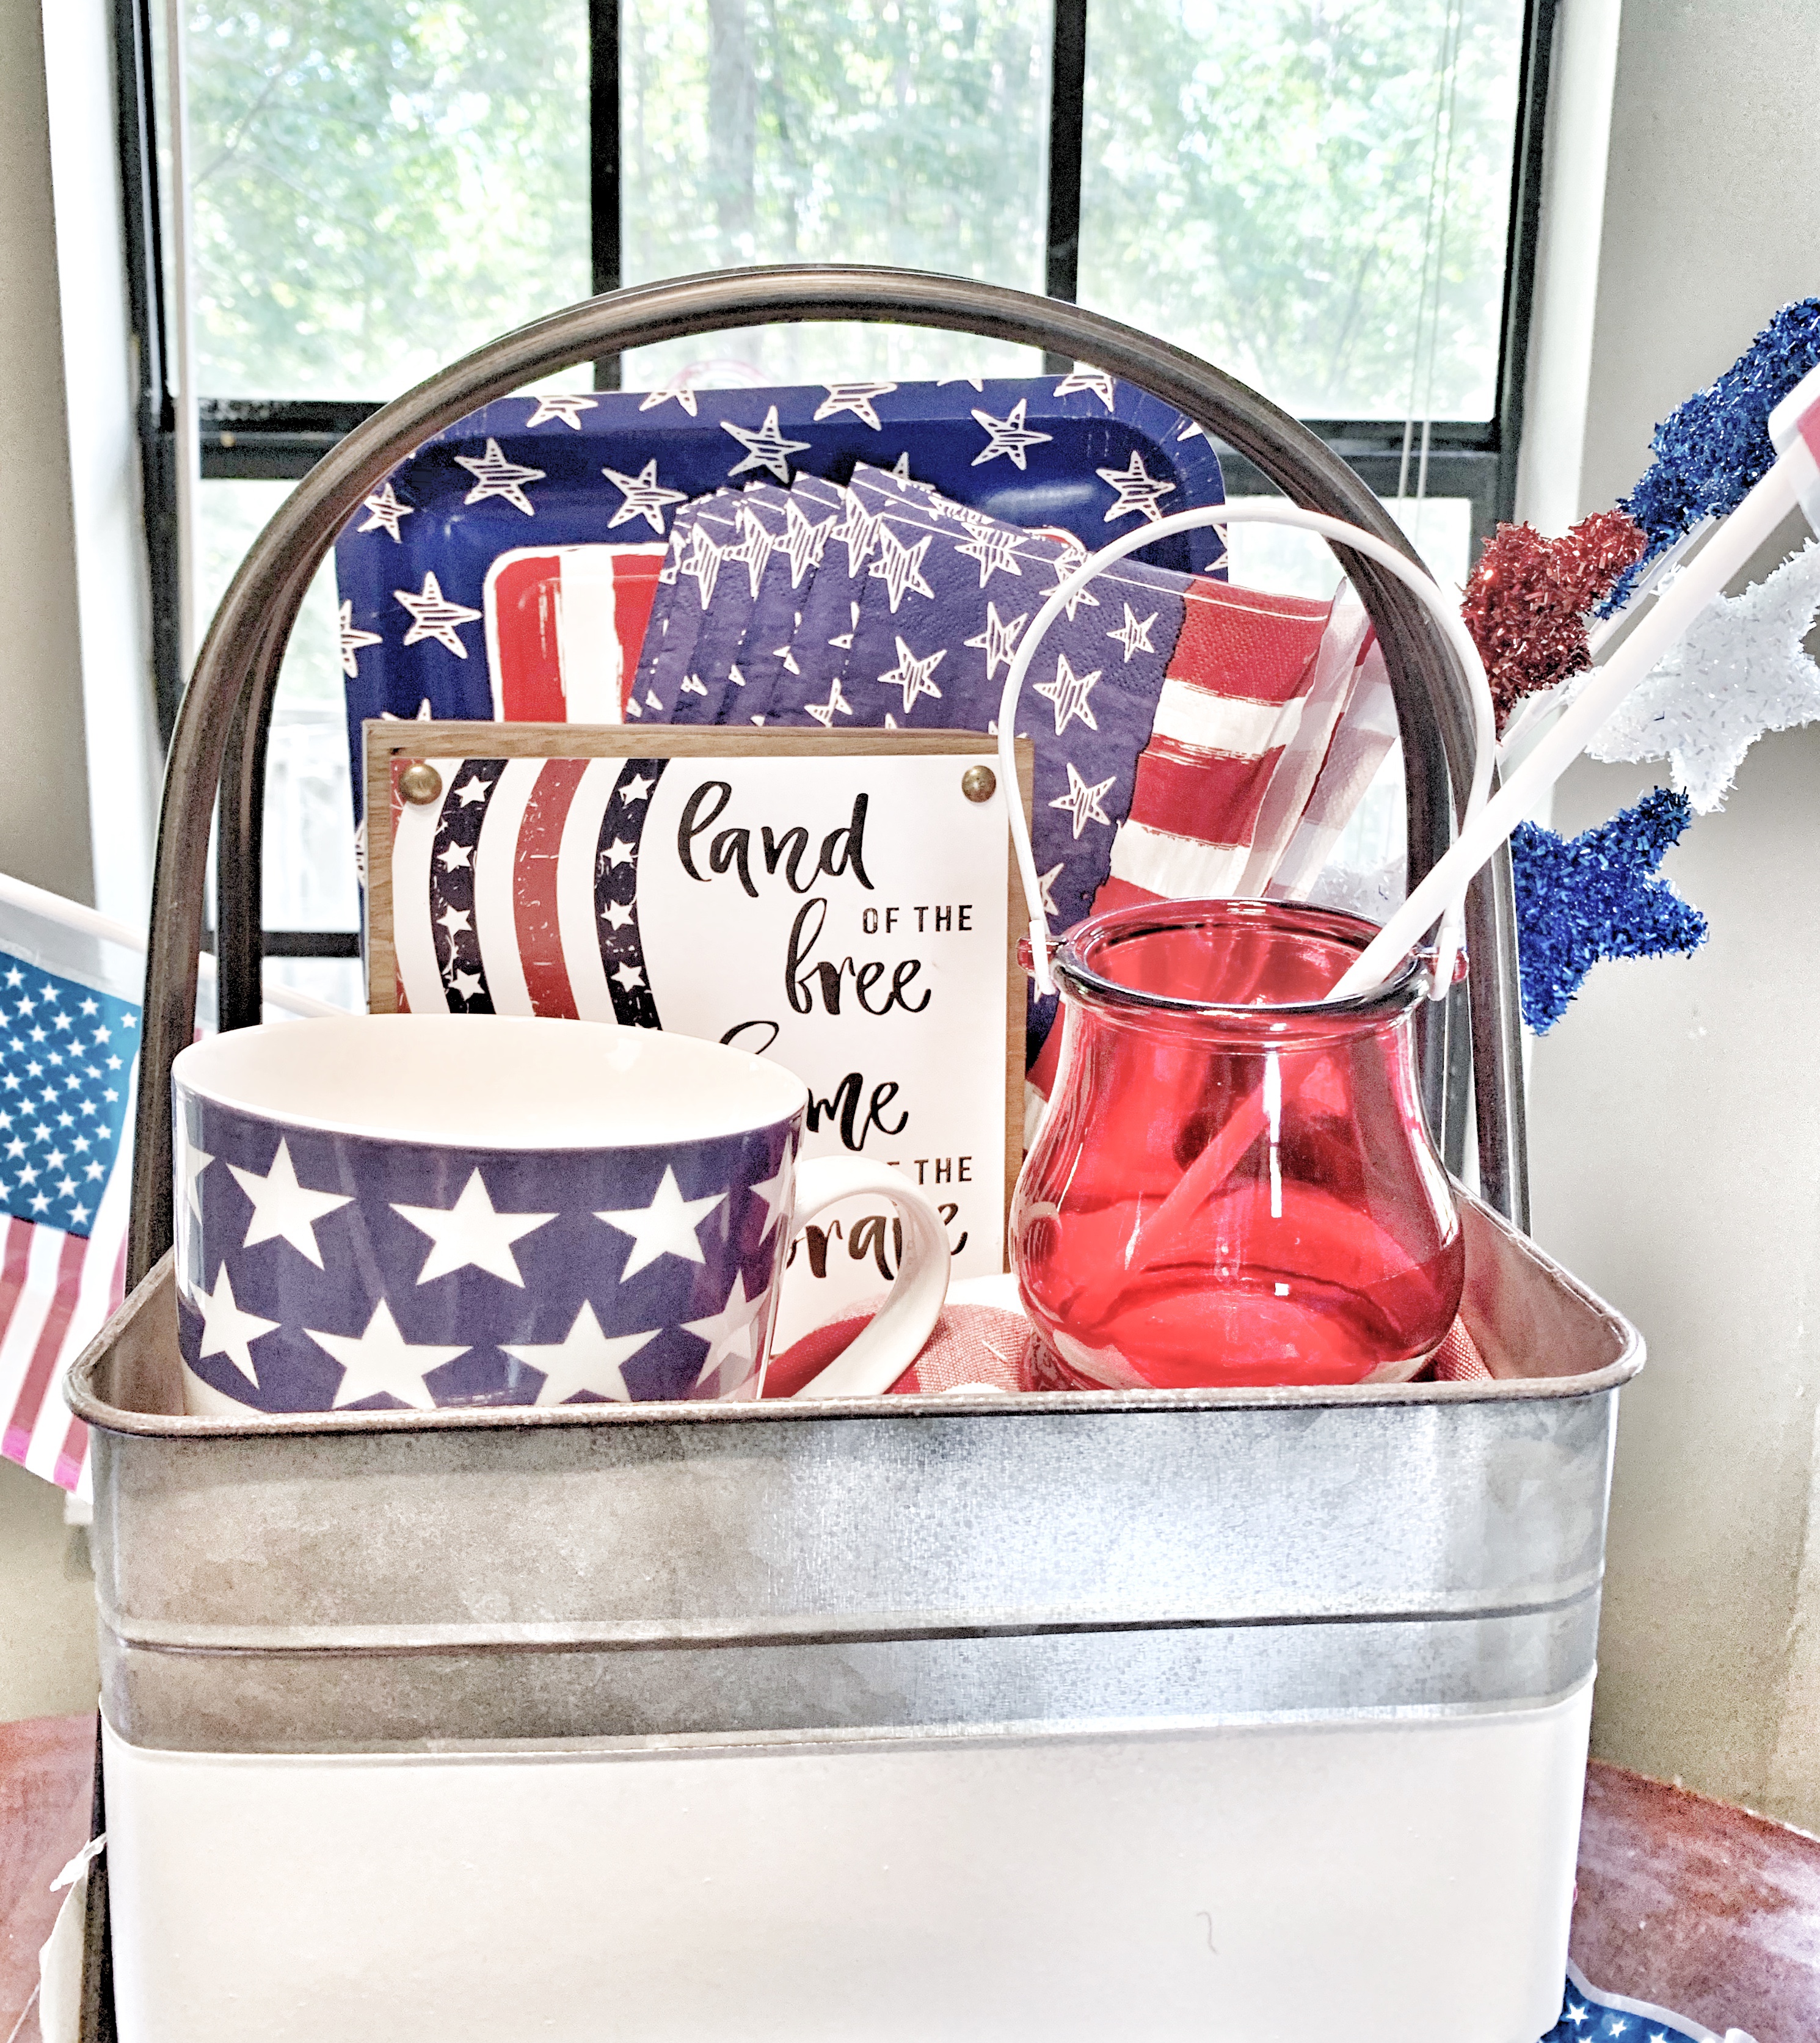
For this centerpiece I pulled out red mugs, white flowers, found Americana paper plates and napkins at Old Time Pottery for around $1.50, and put all the red and blue items I could find in there and it couldn’t be more festive! (Hello run on sentence!)

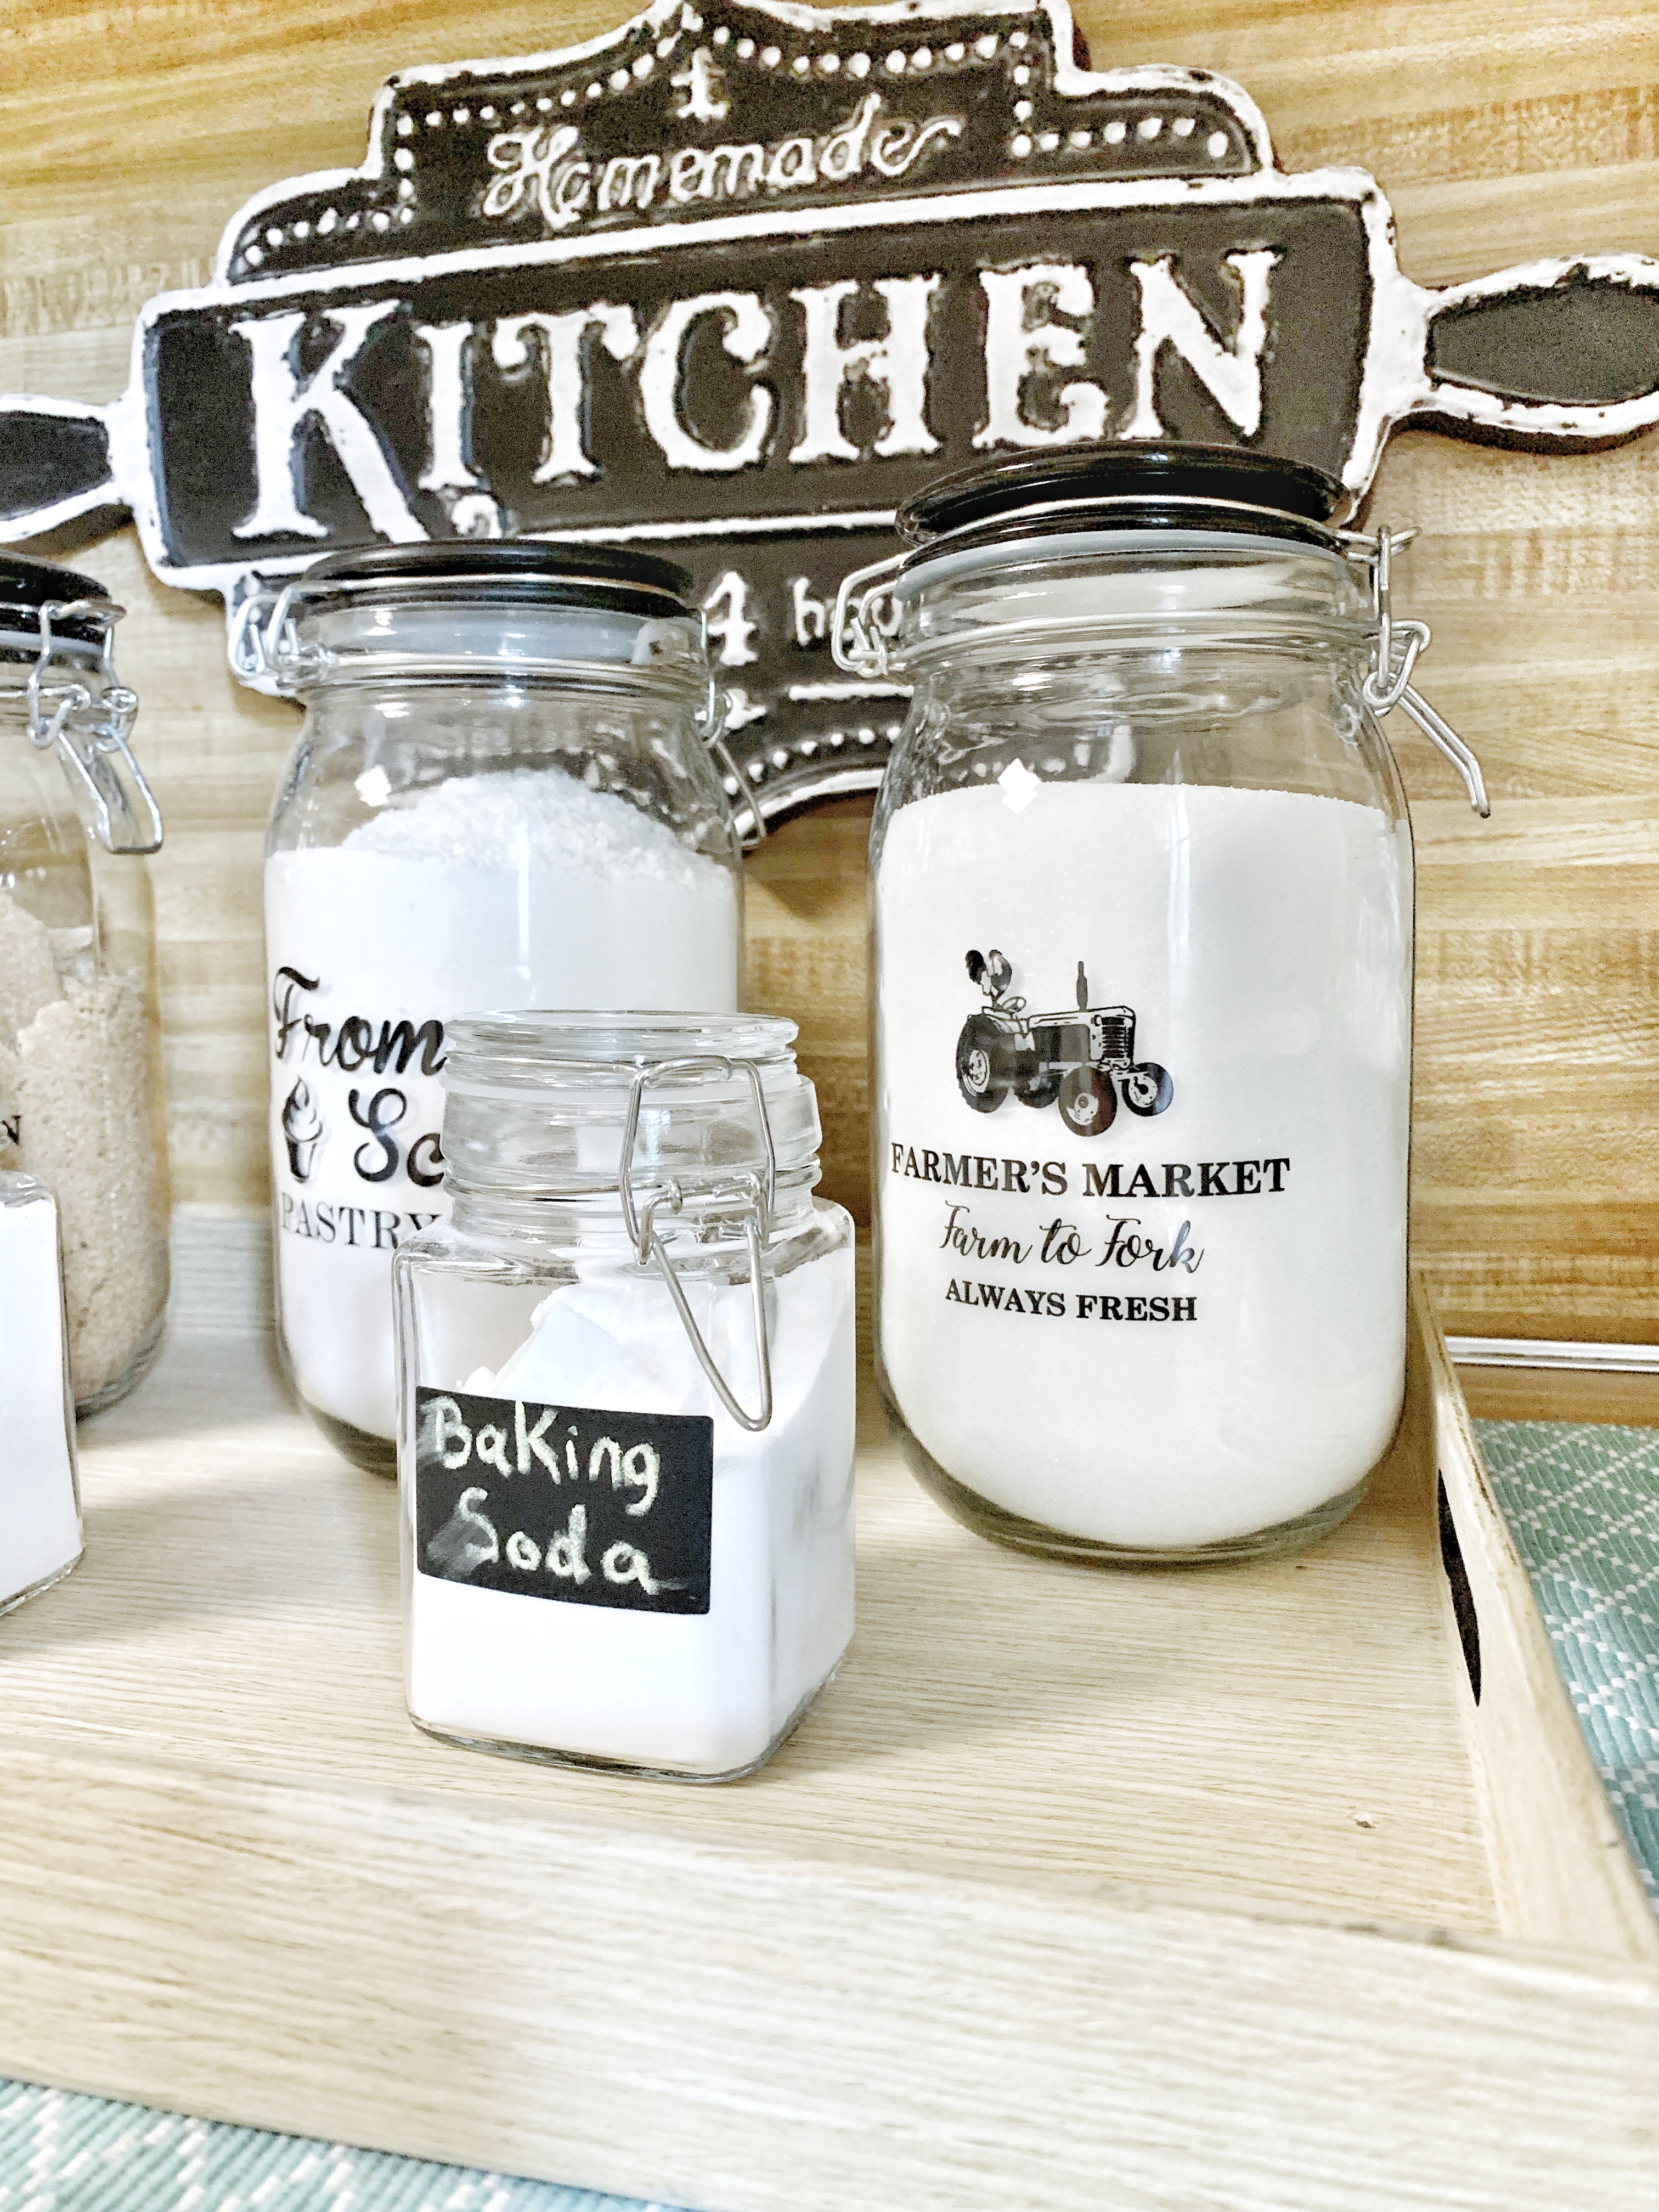
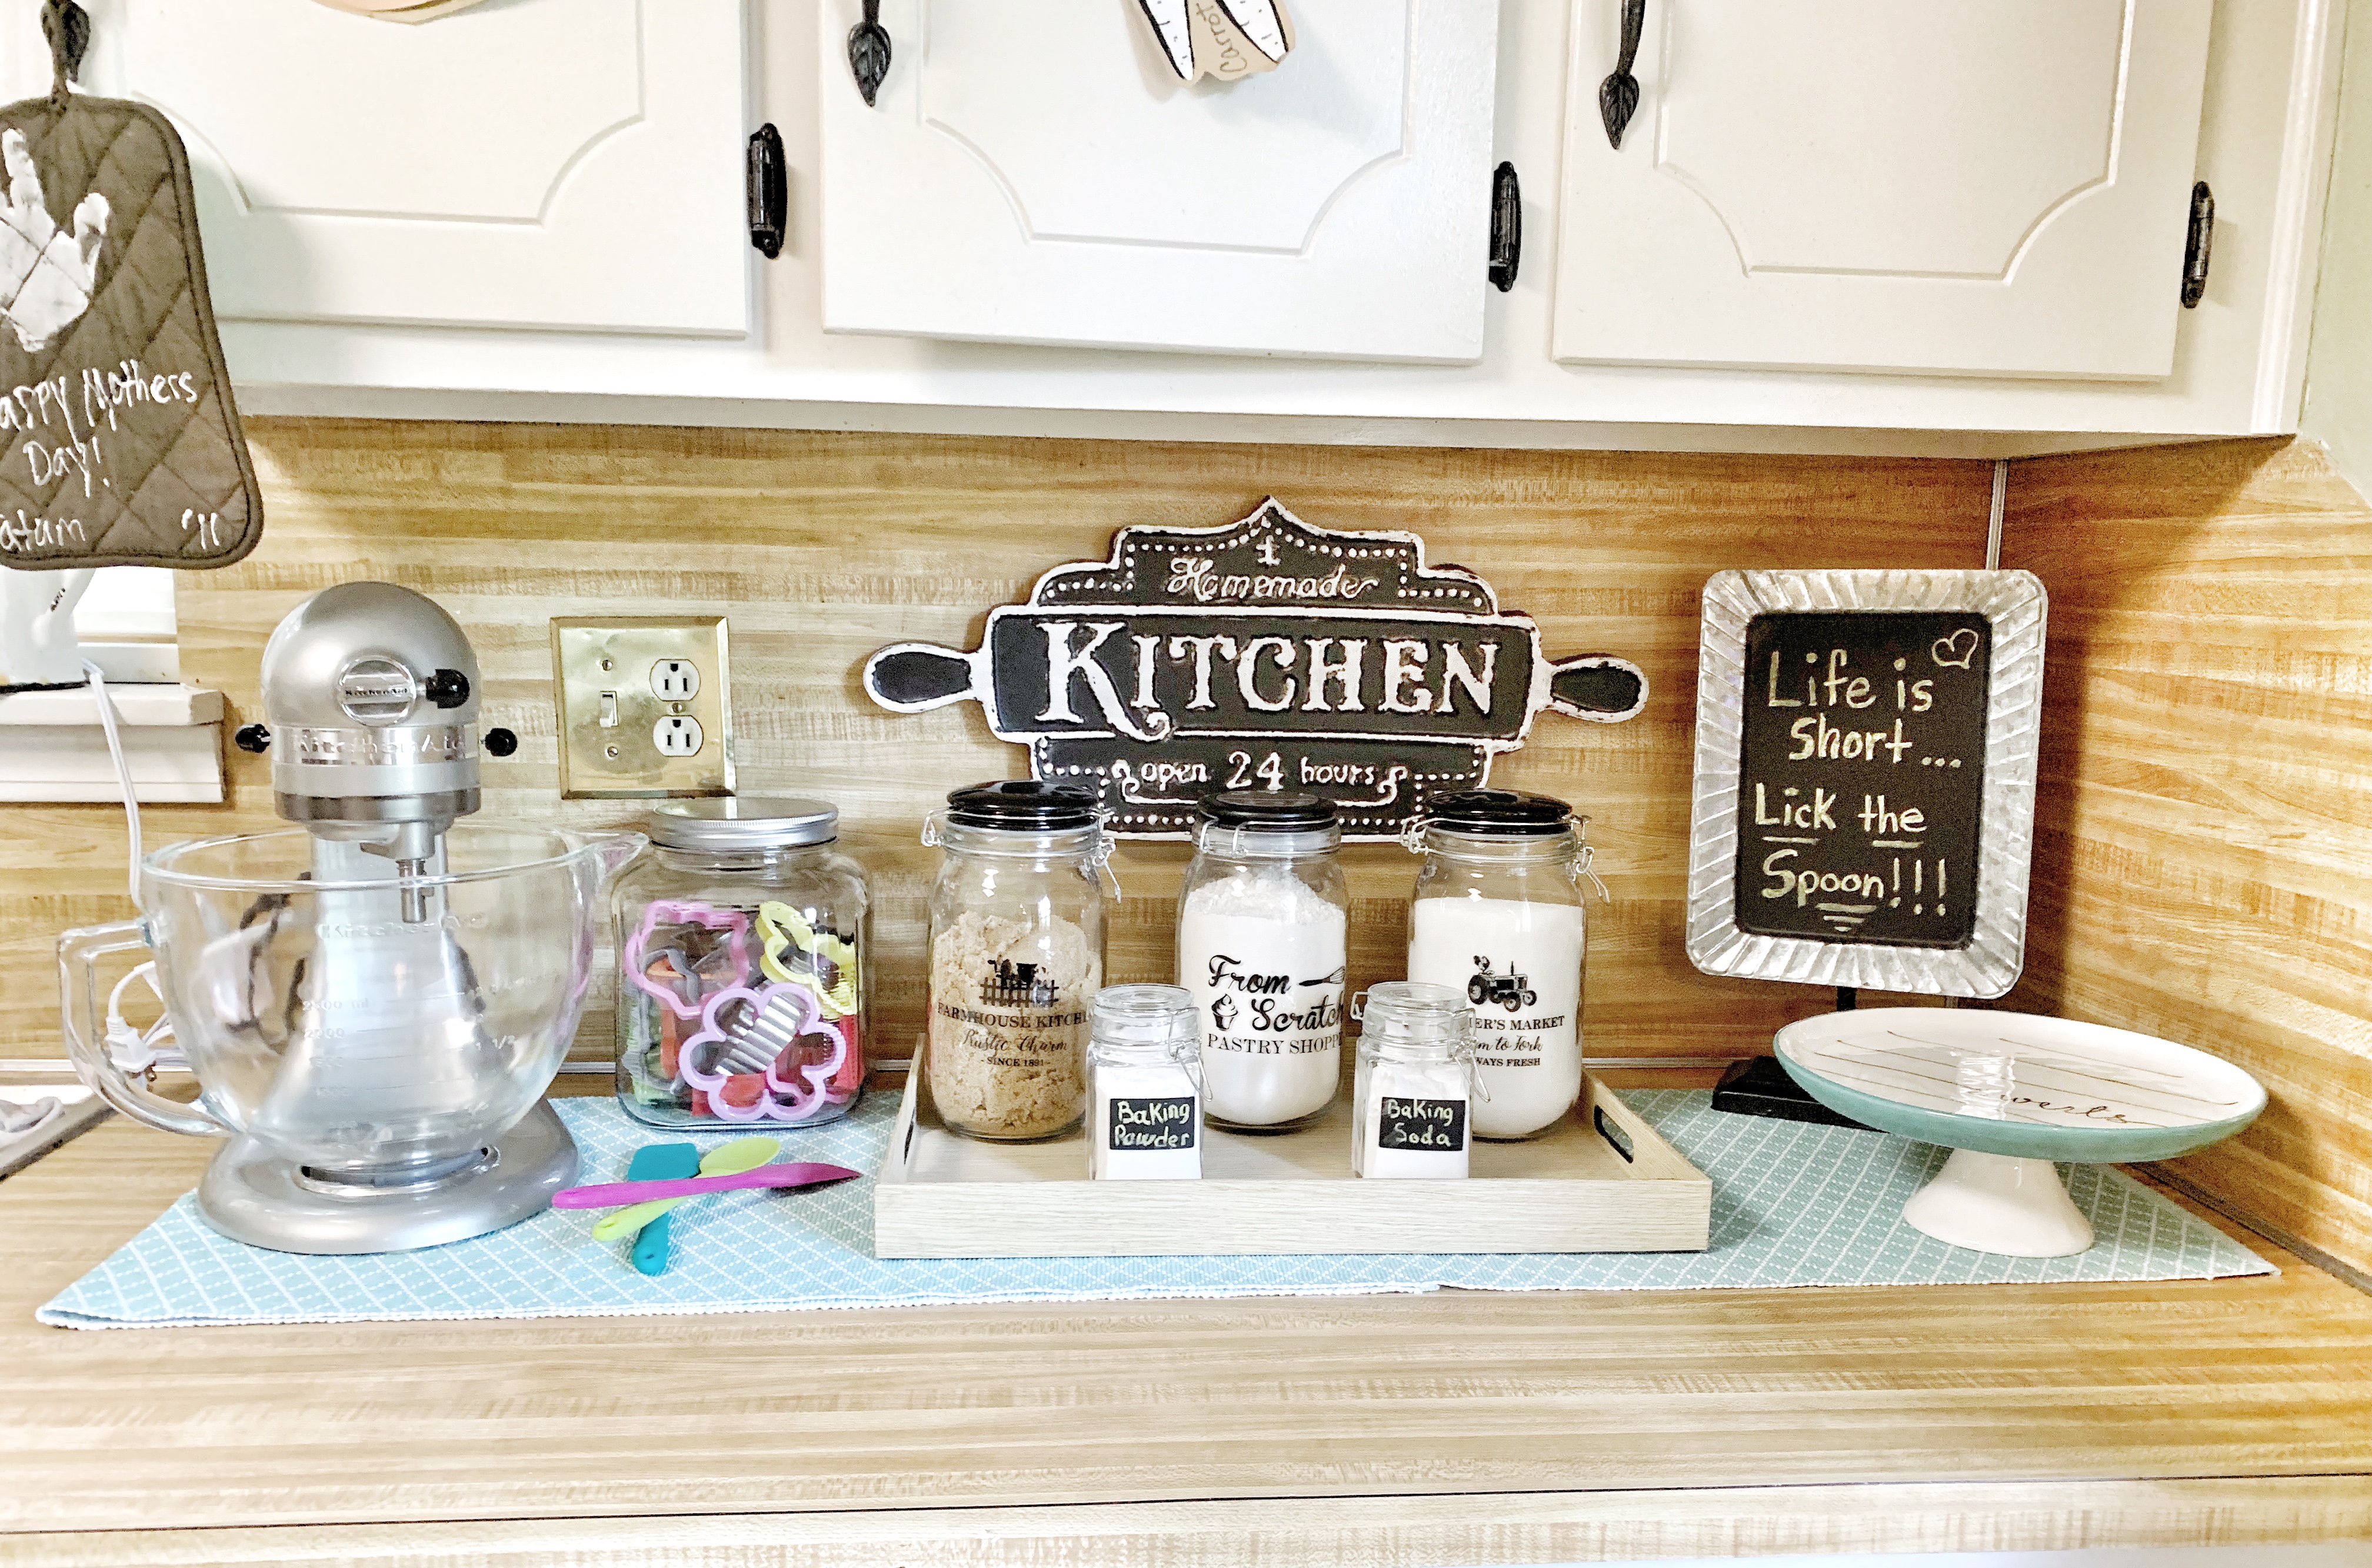
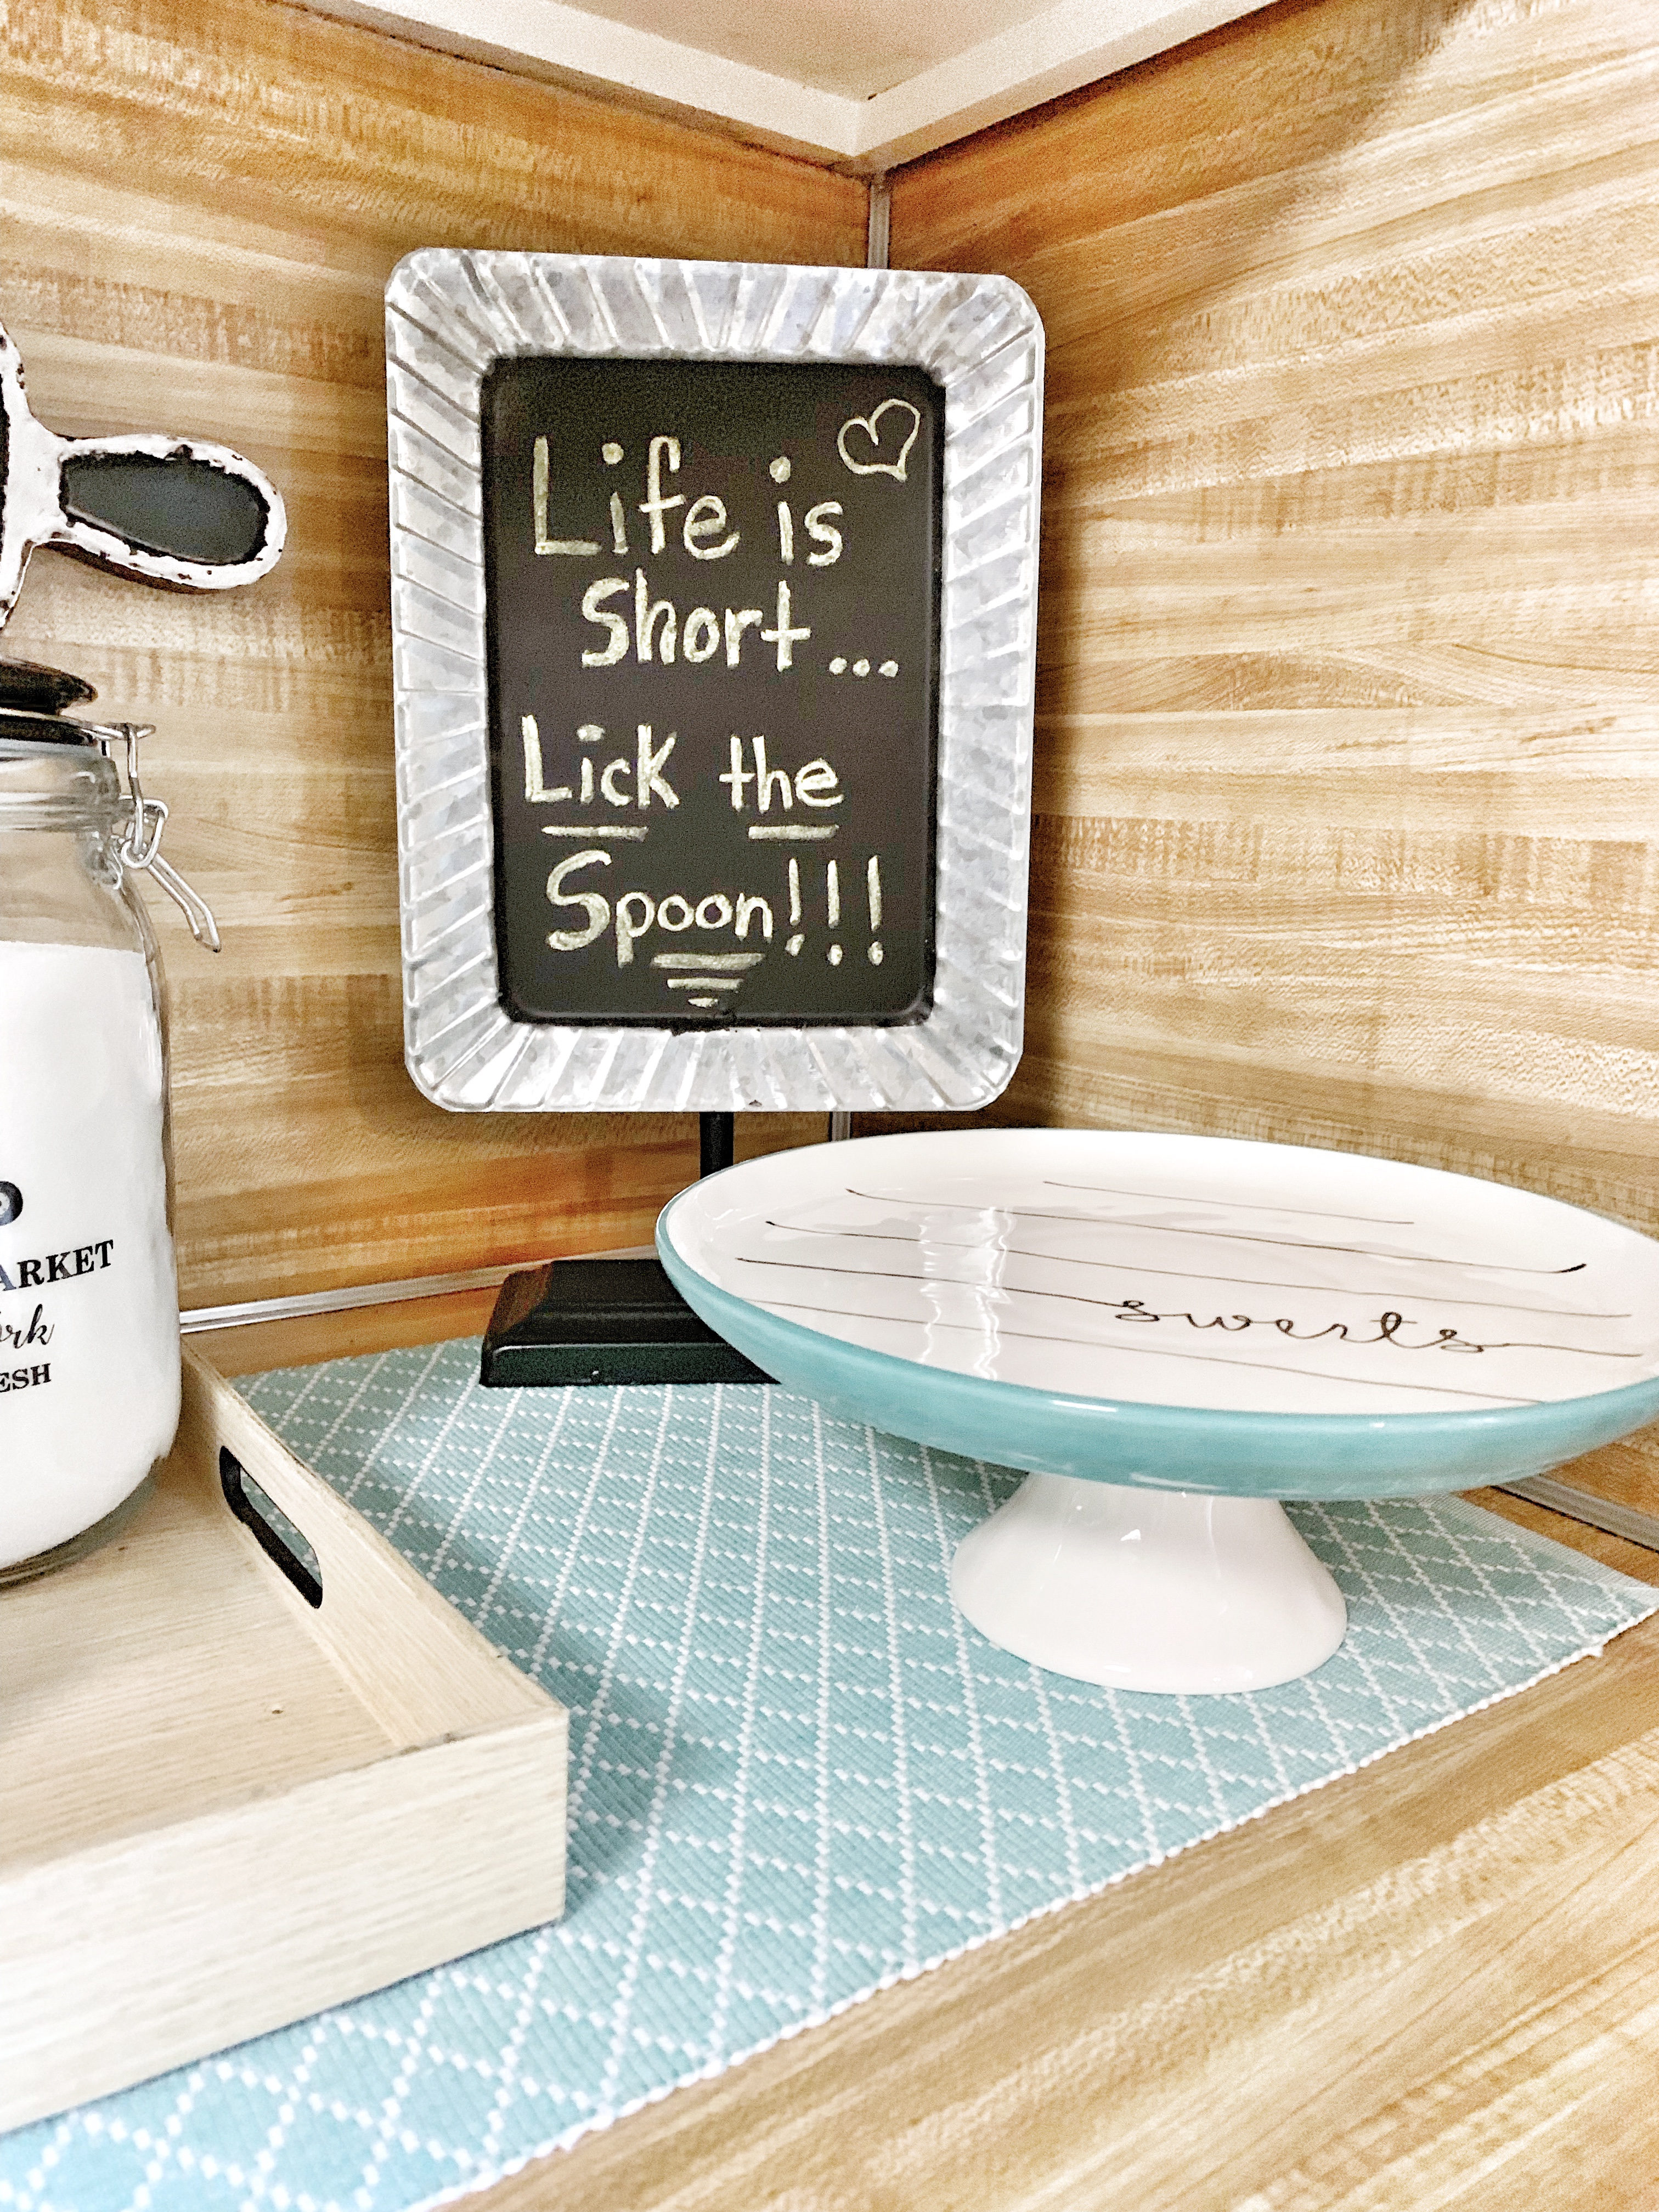
Next up is my coffee bar:

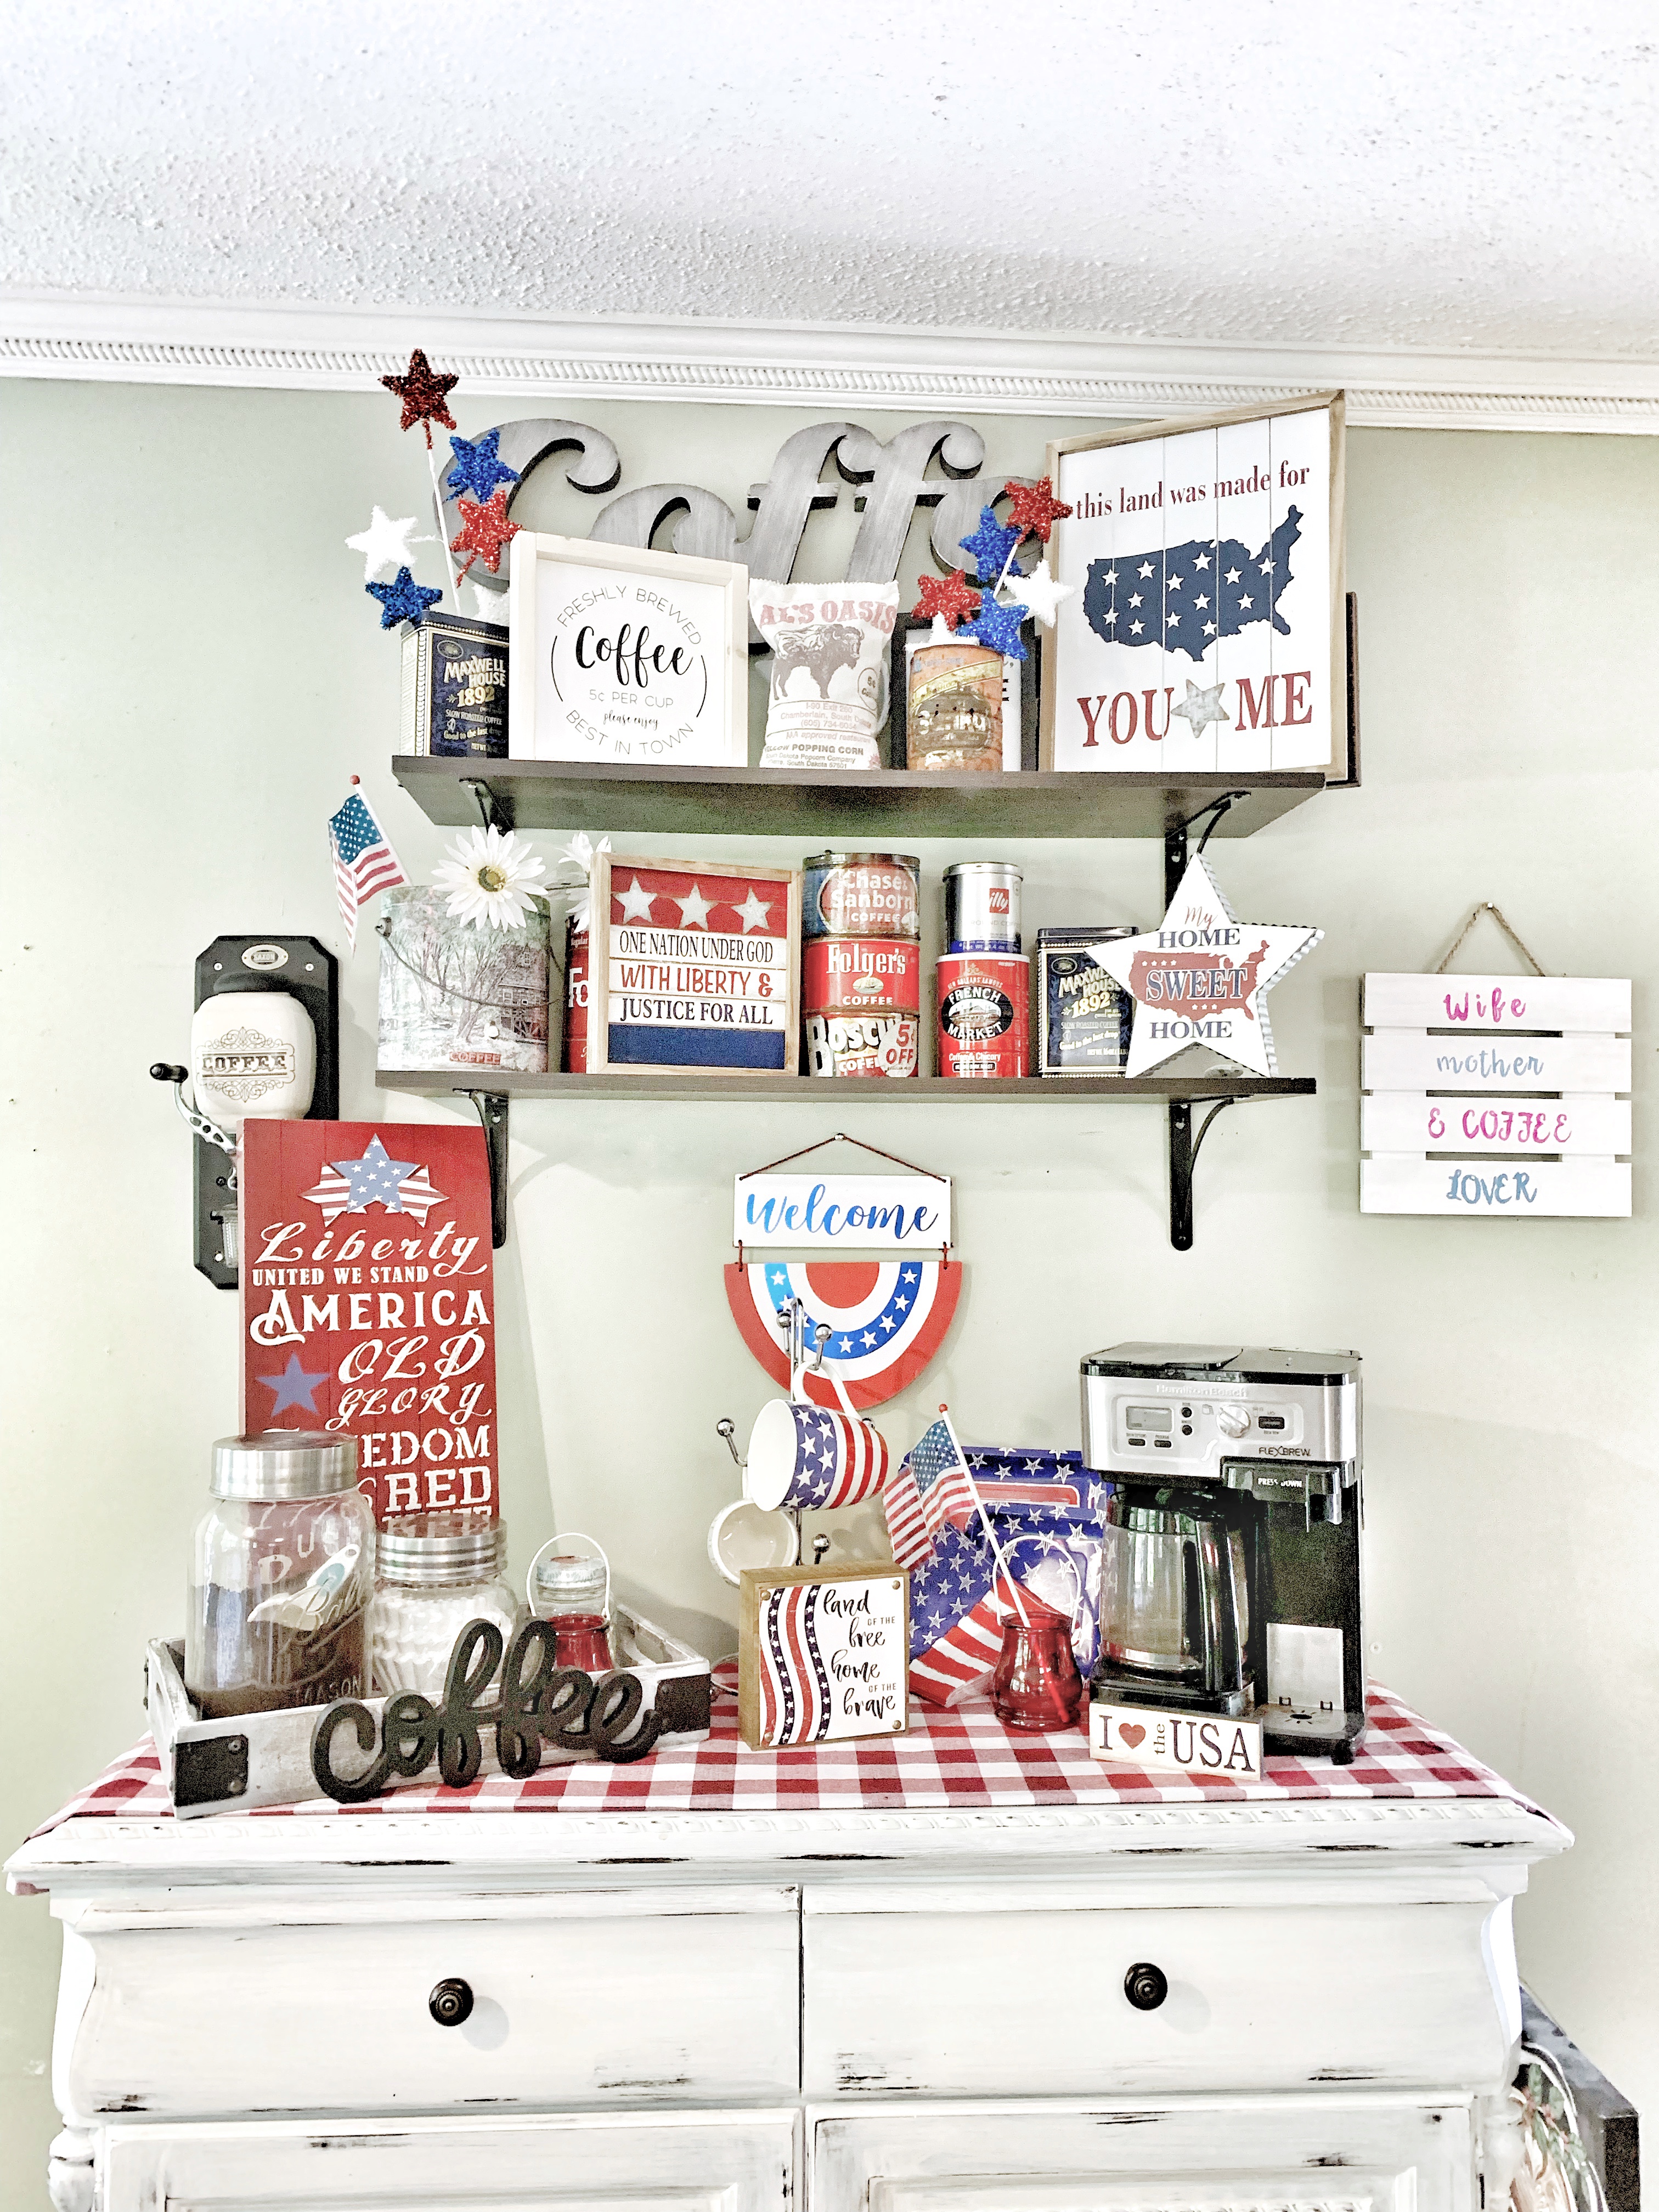
Again, for my coffee bar I used my red coffee tins, red coffee mugs, checked table cloth and all of the cute signs I found at Old Time Pottery. Seriously they have the cutest Americana decor!!

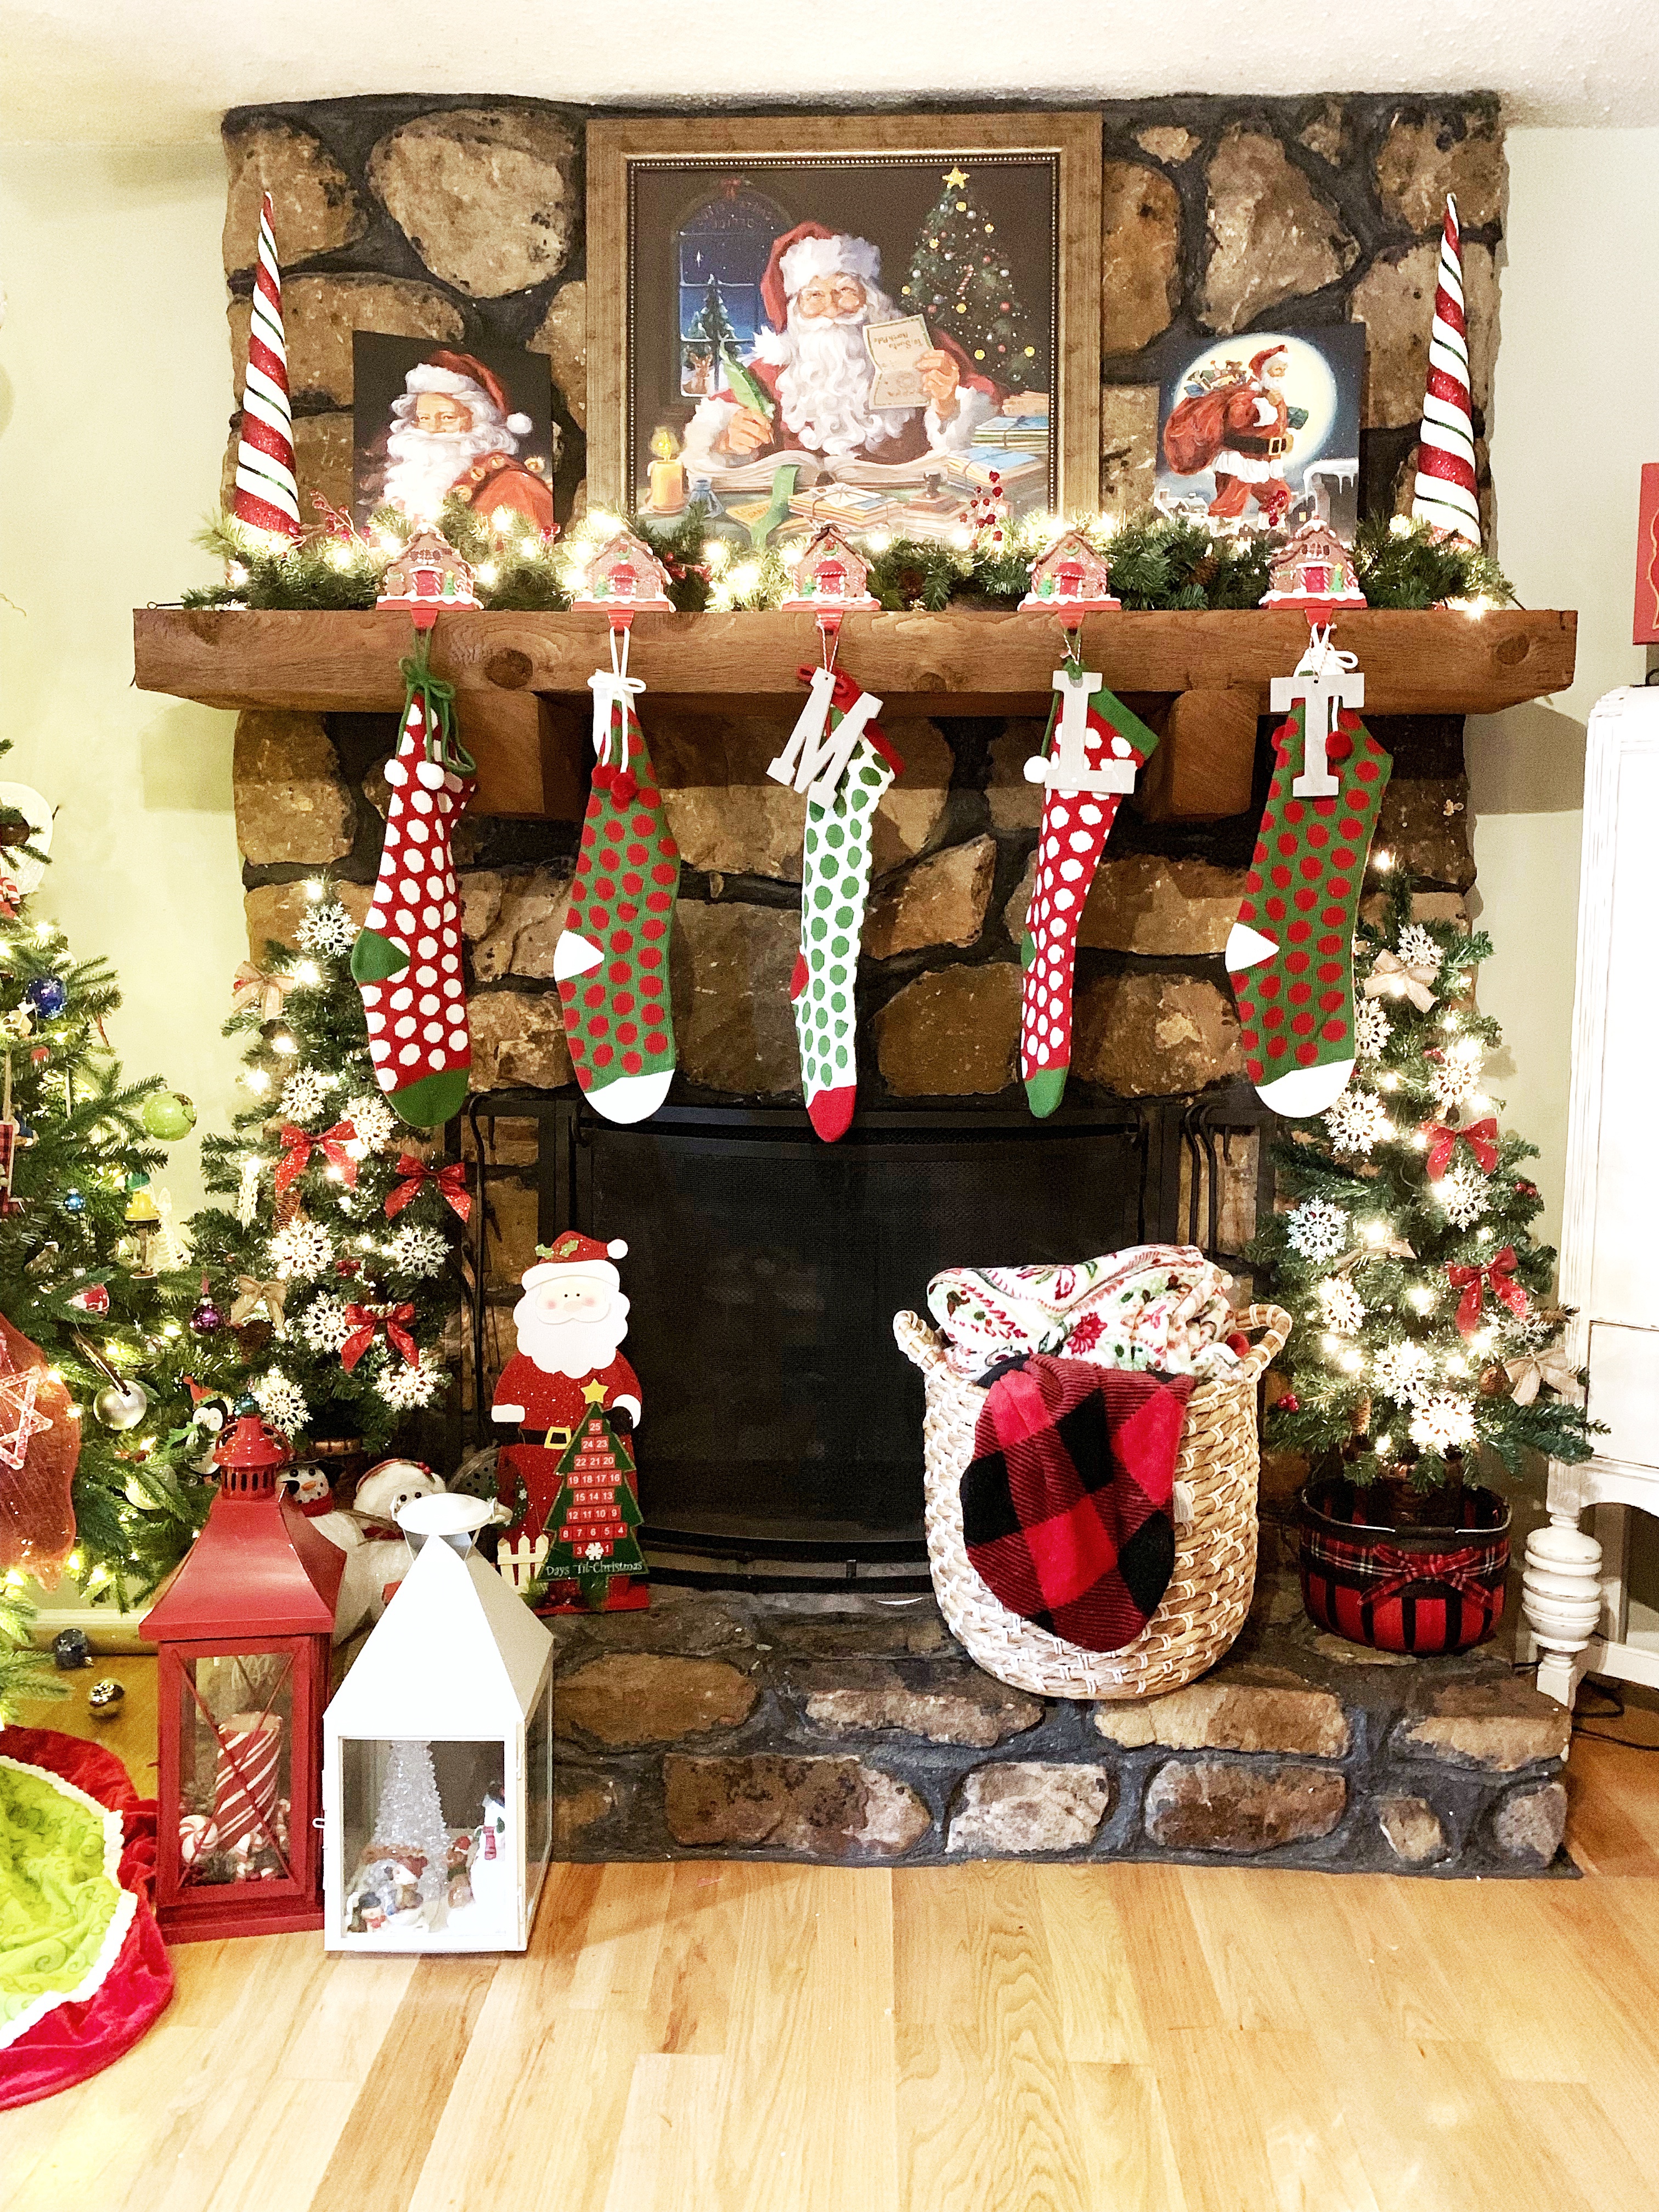
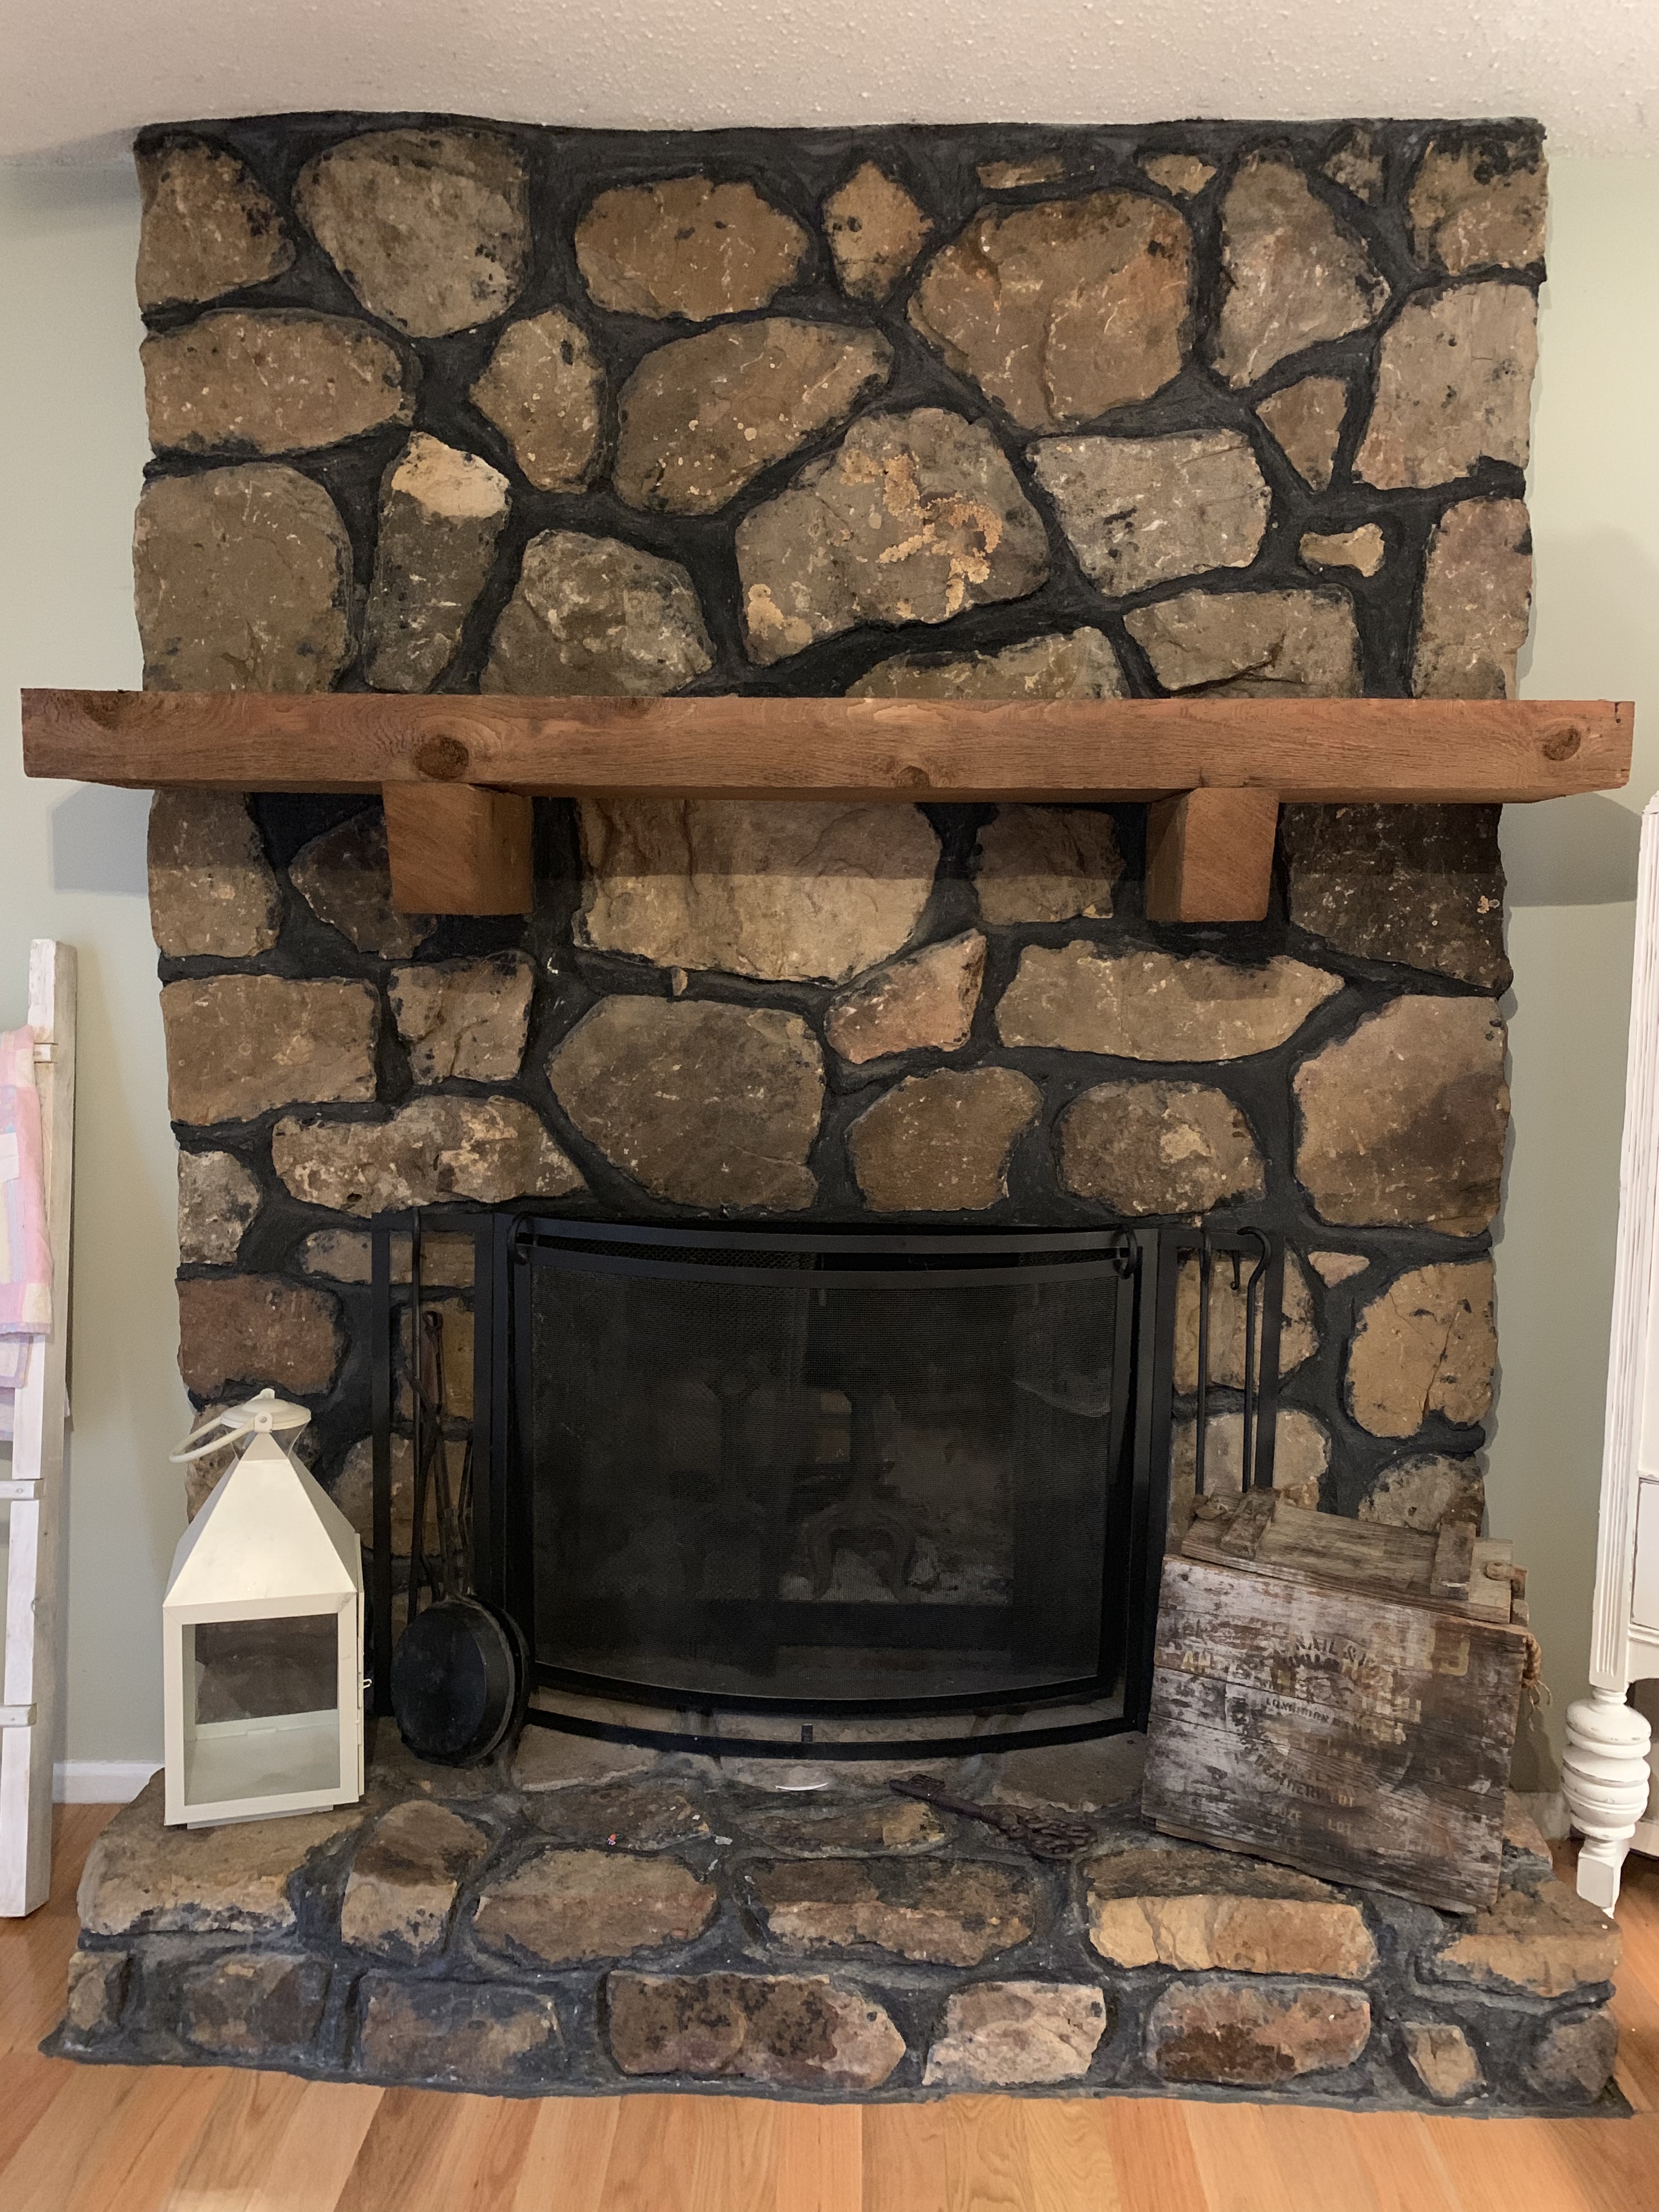
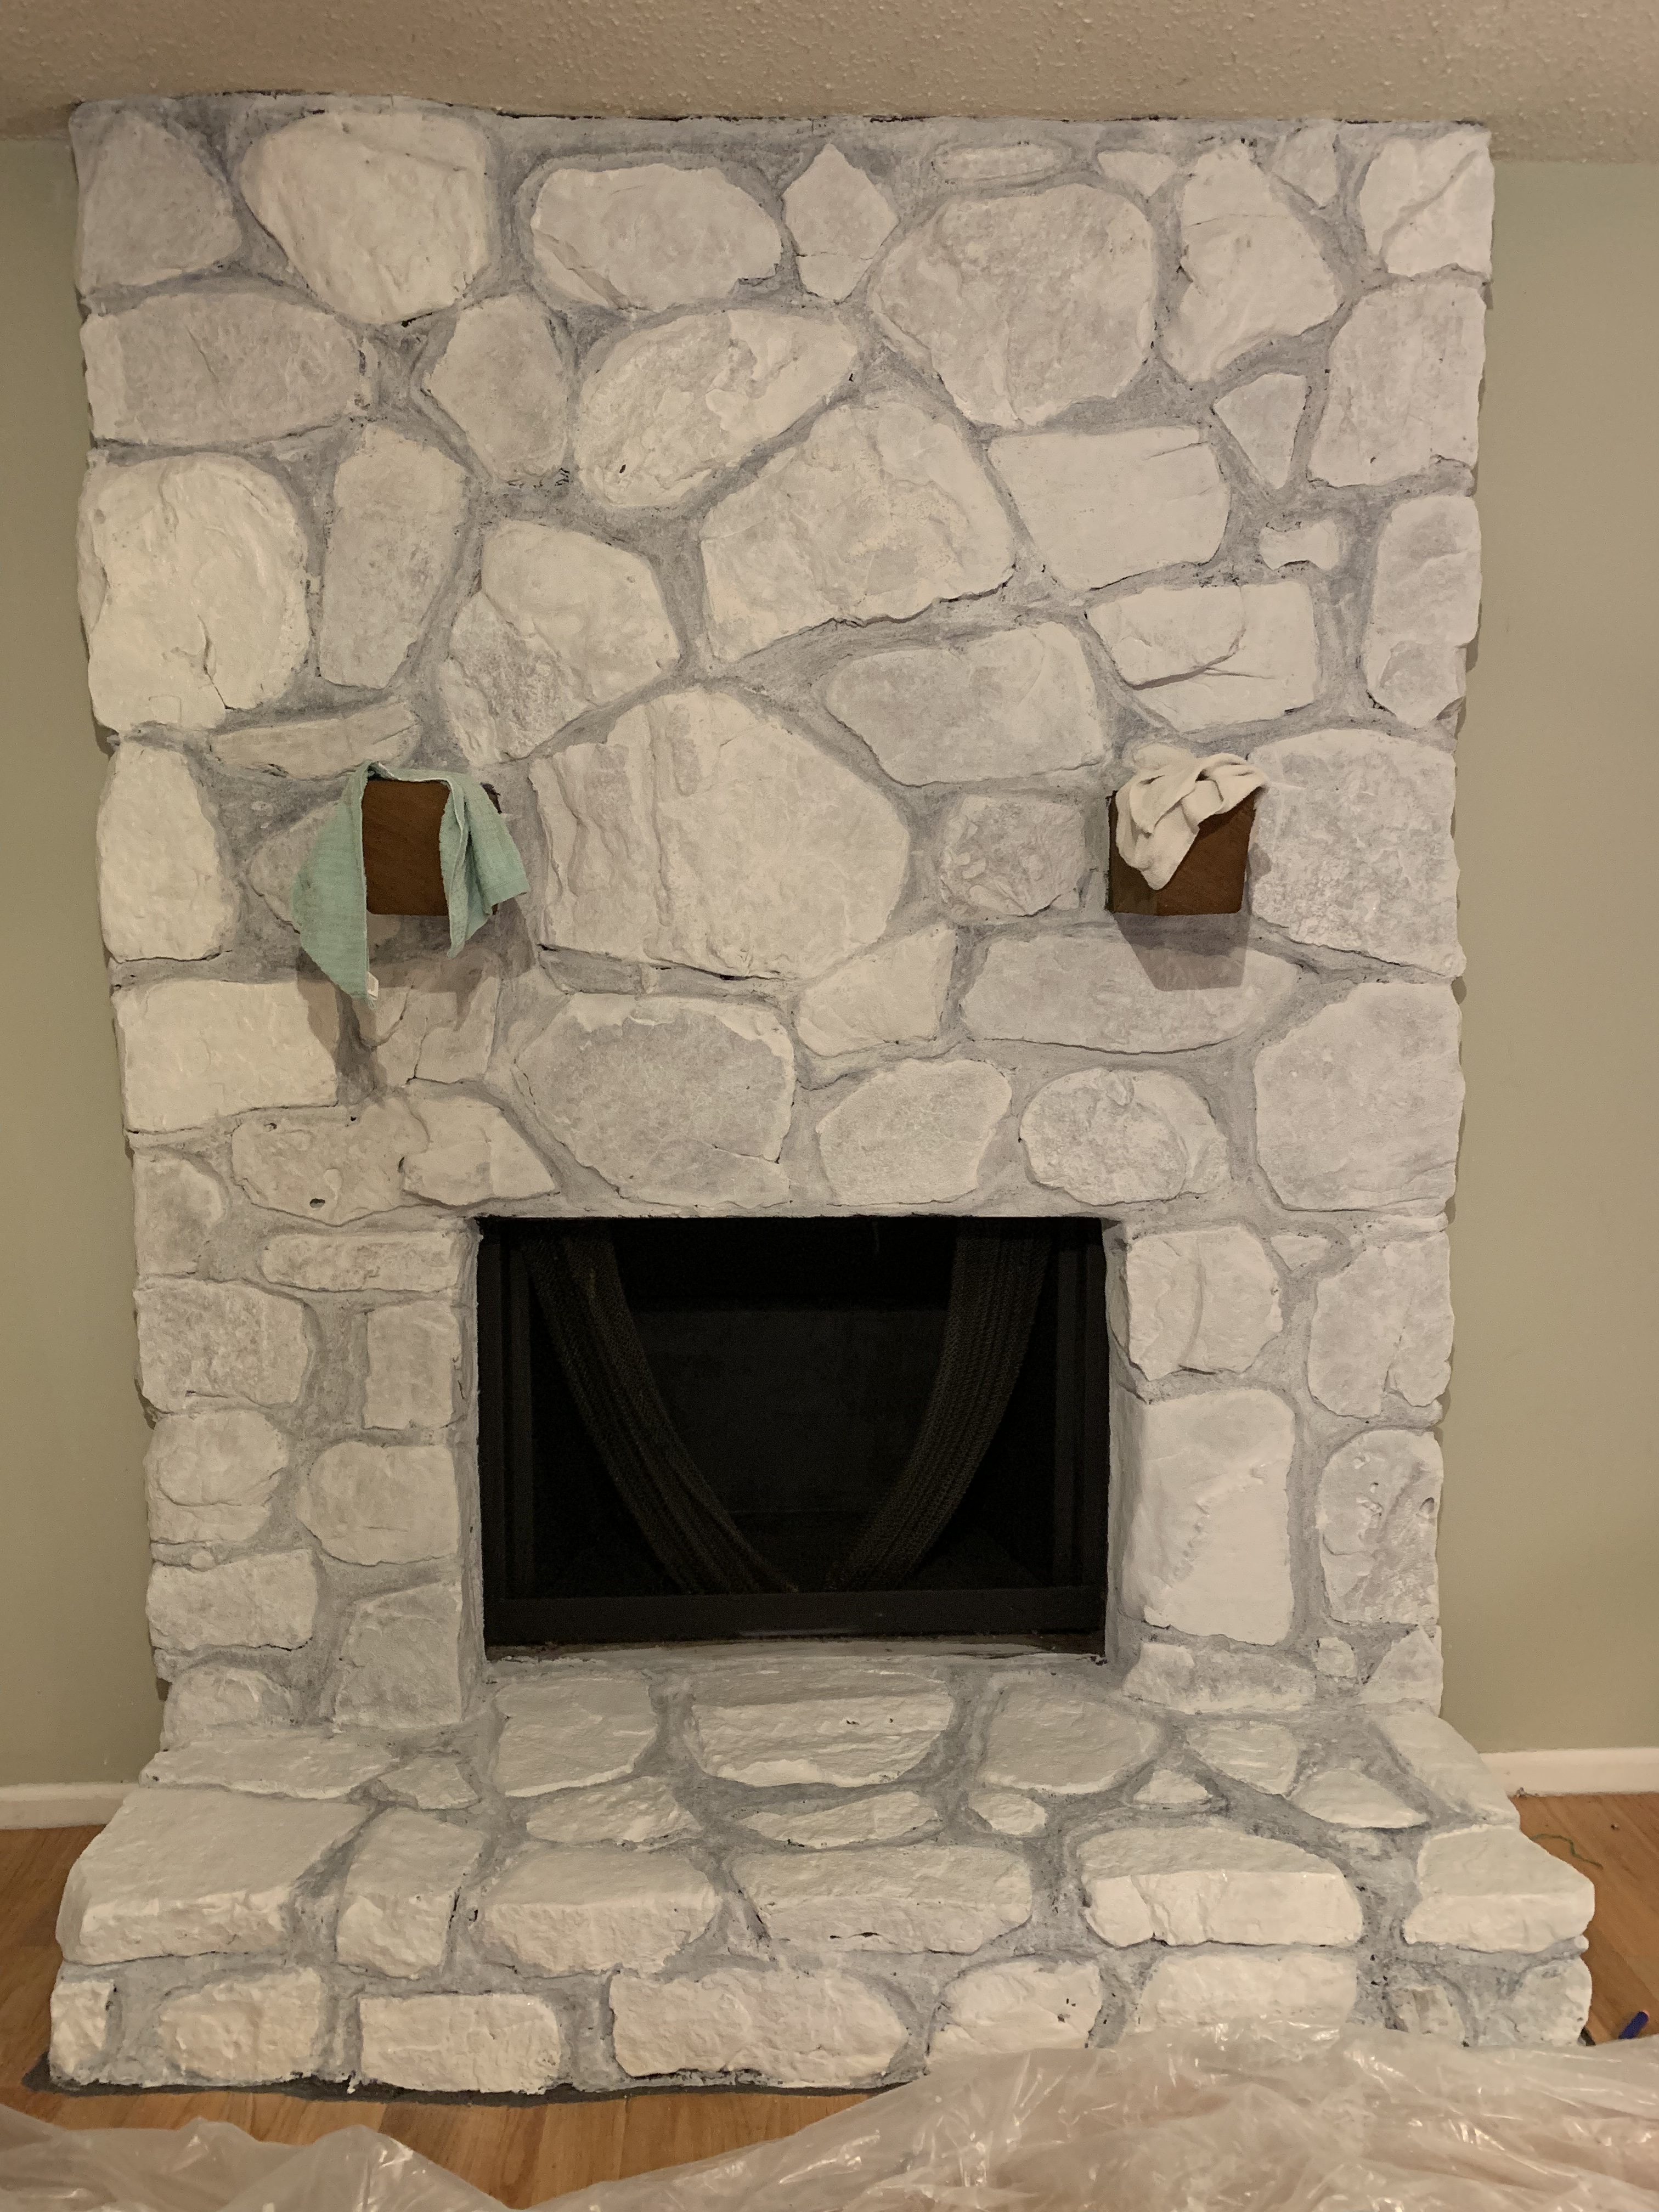
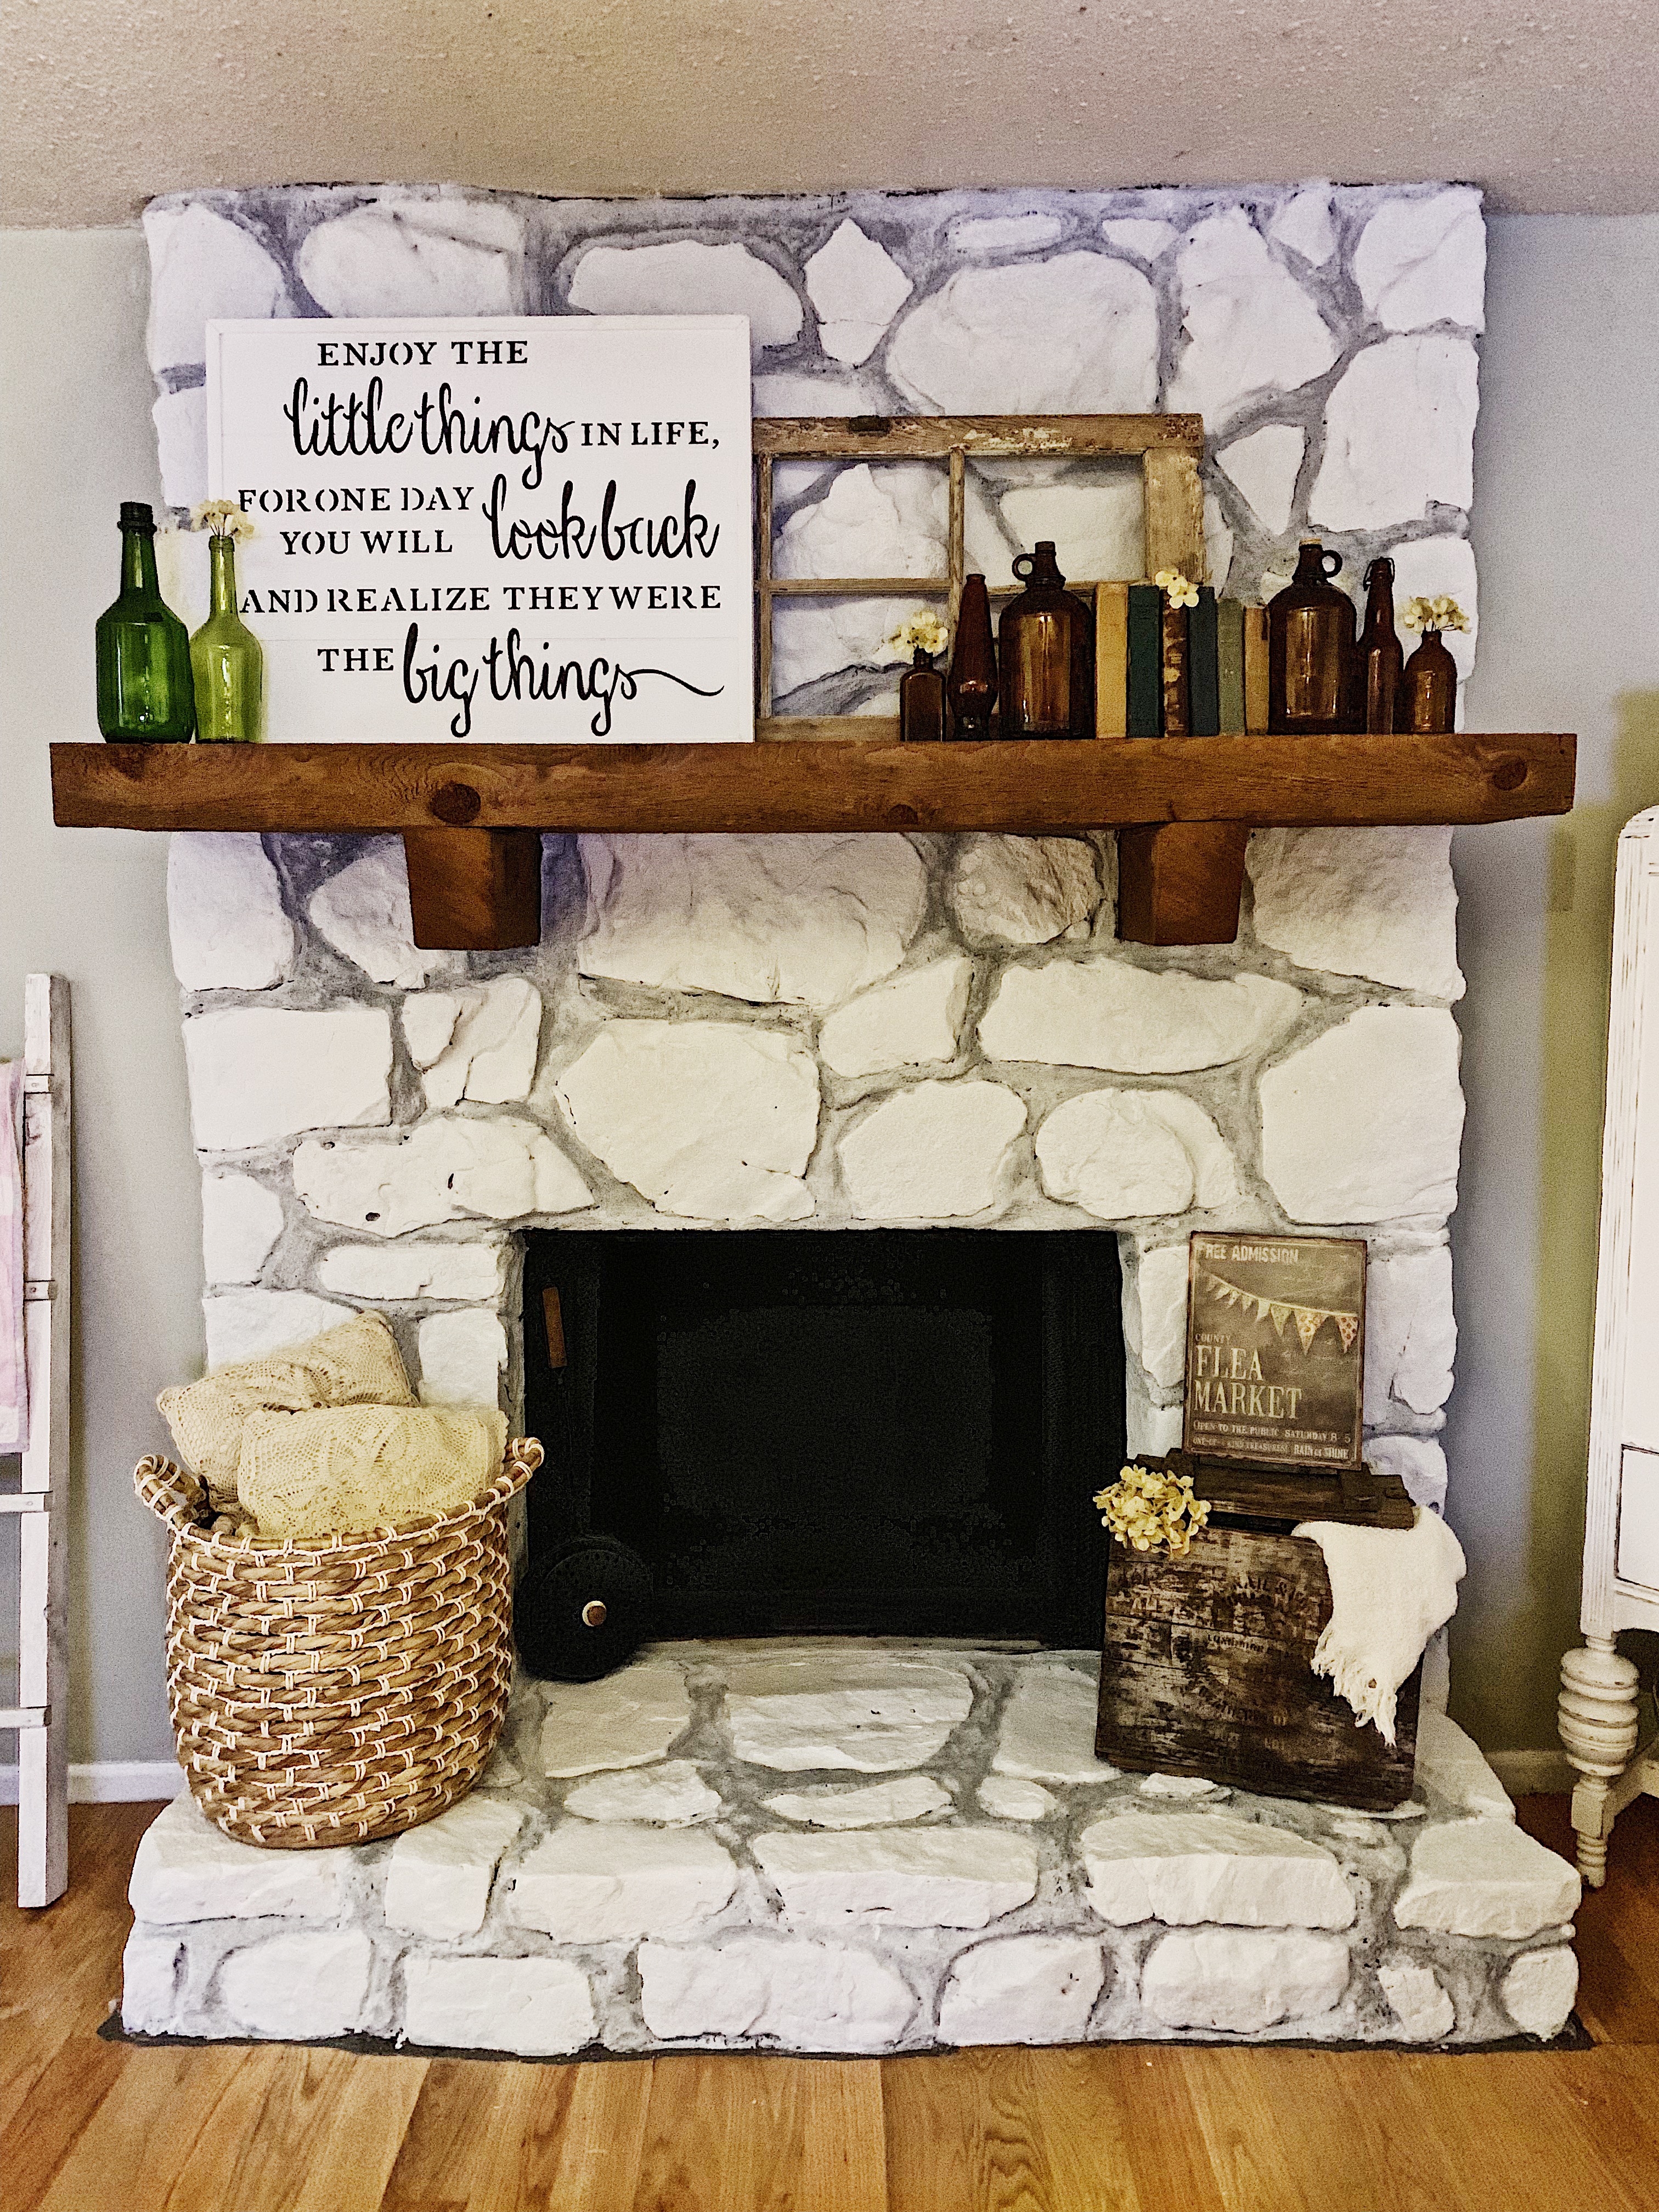
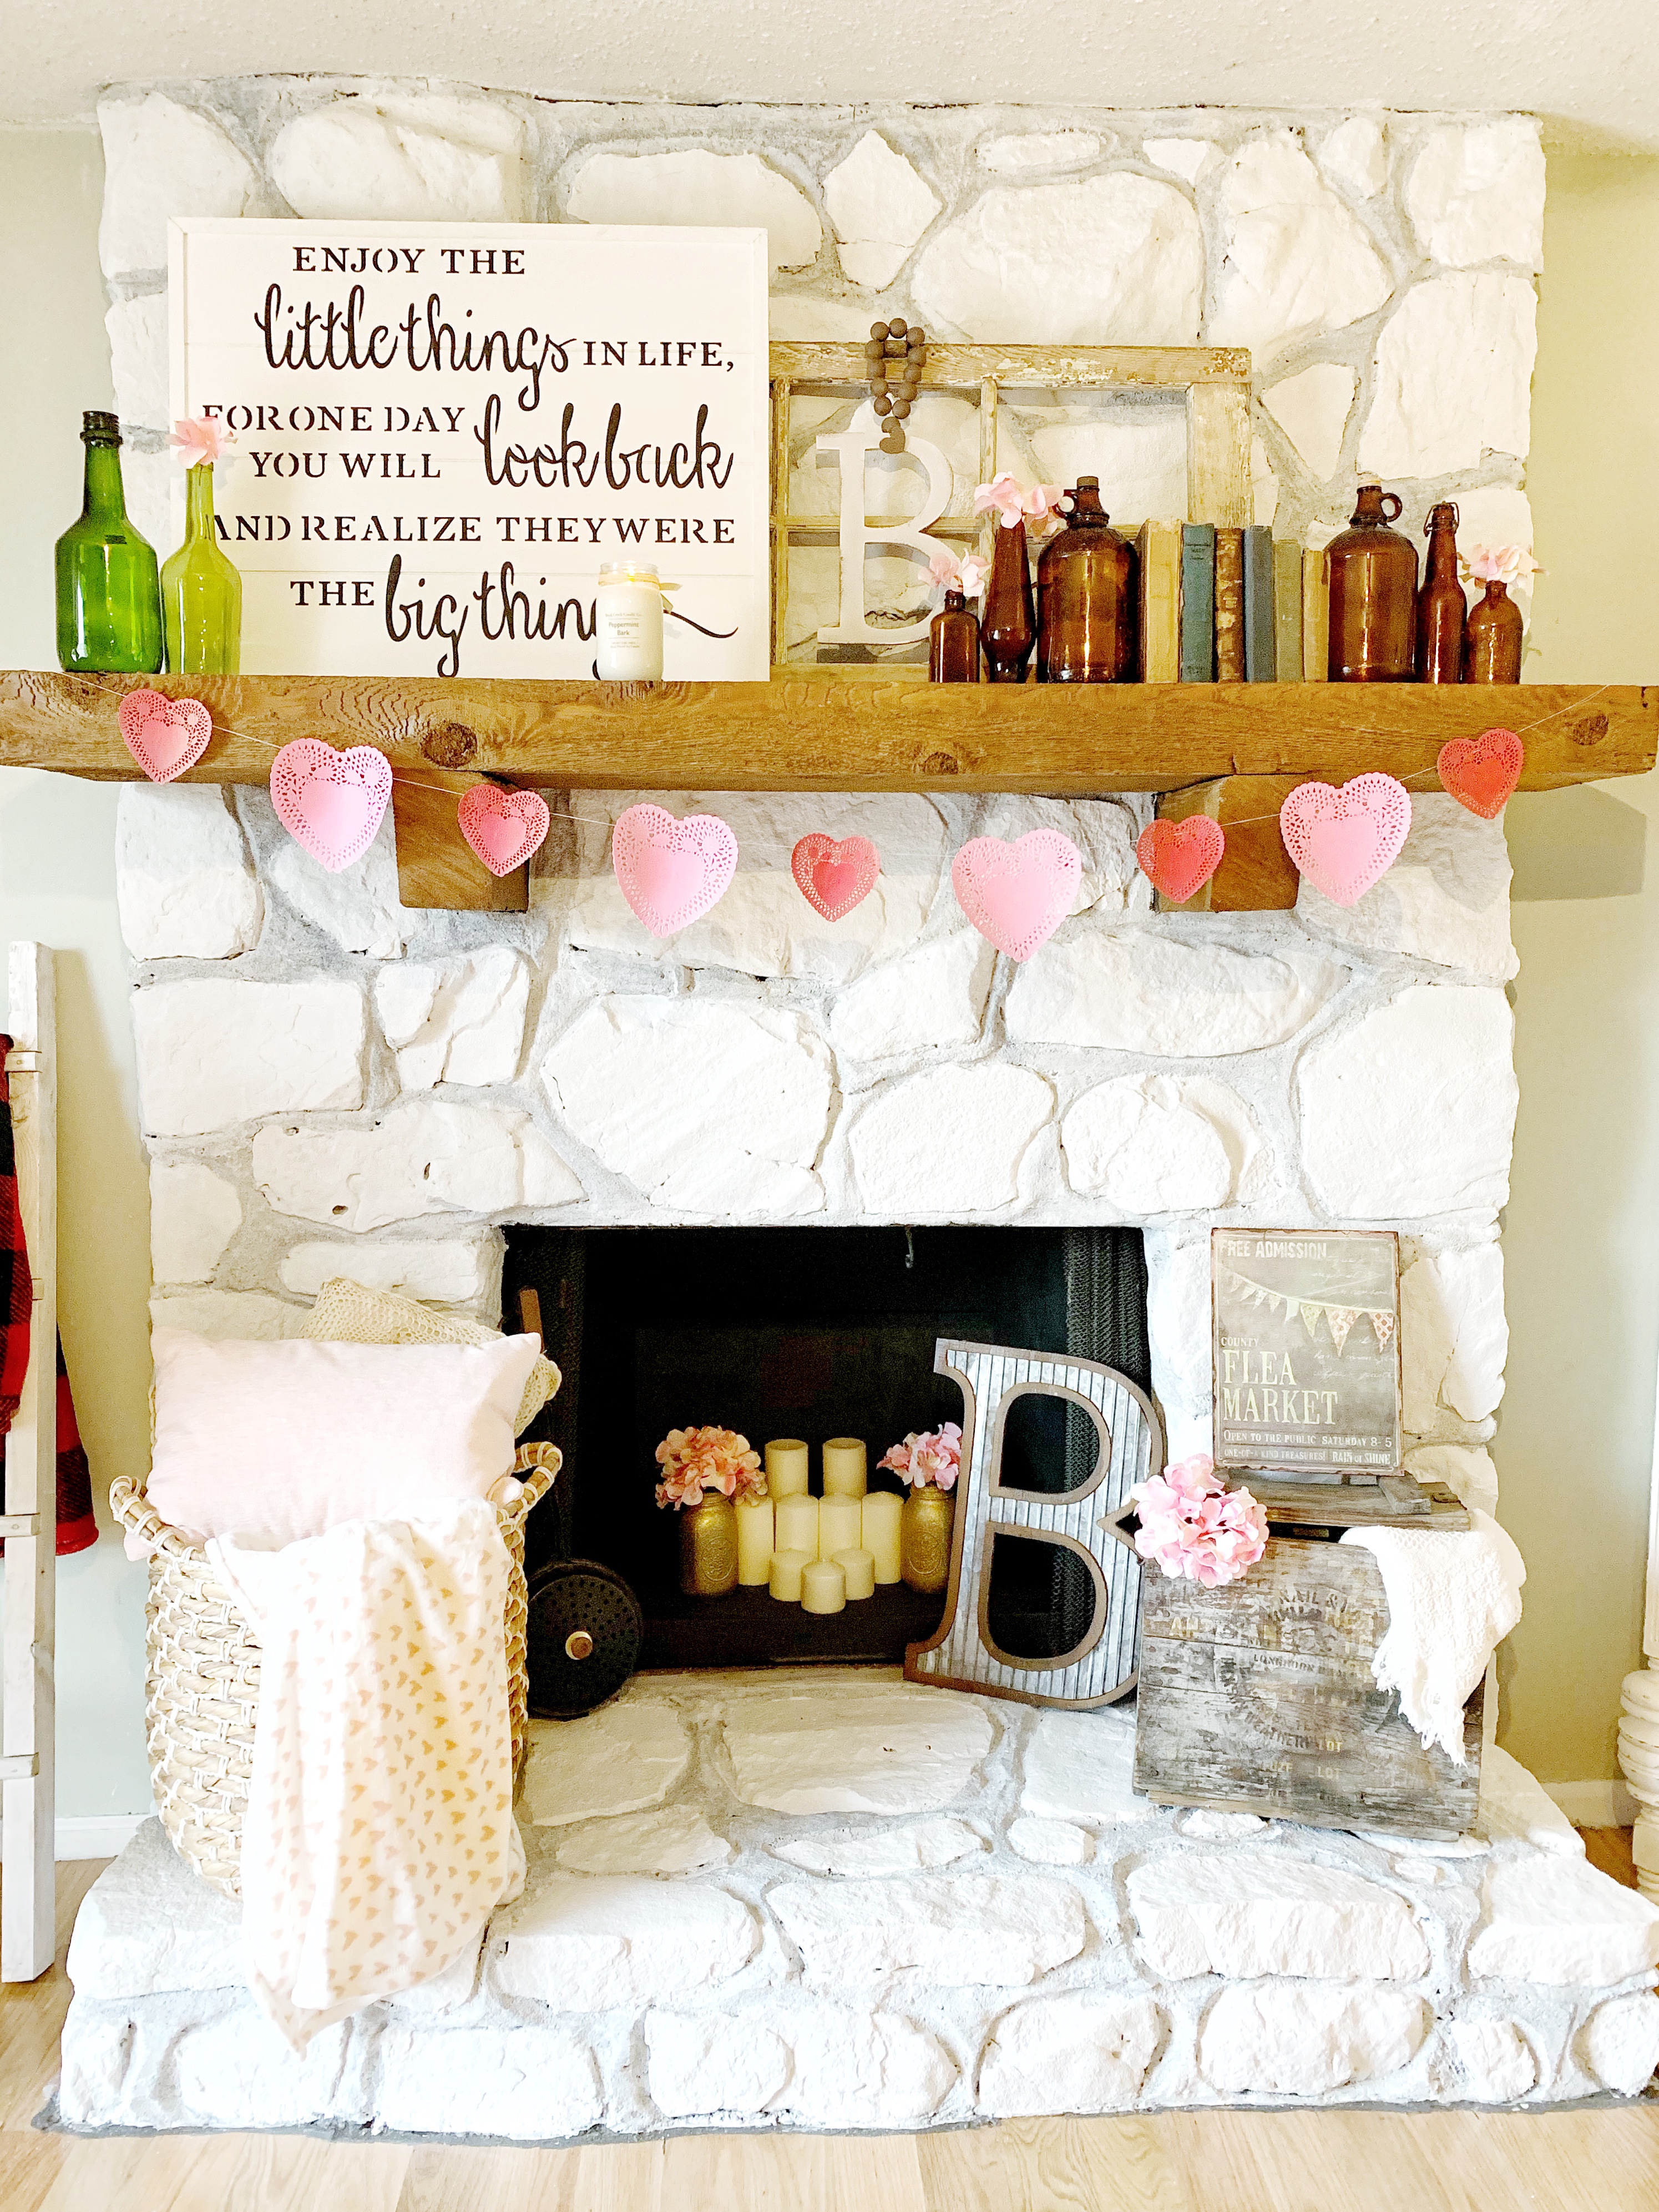
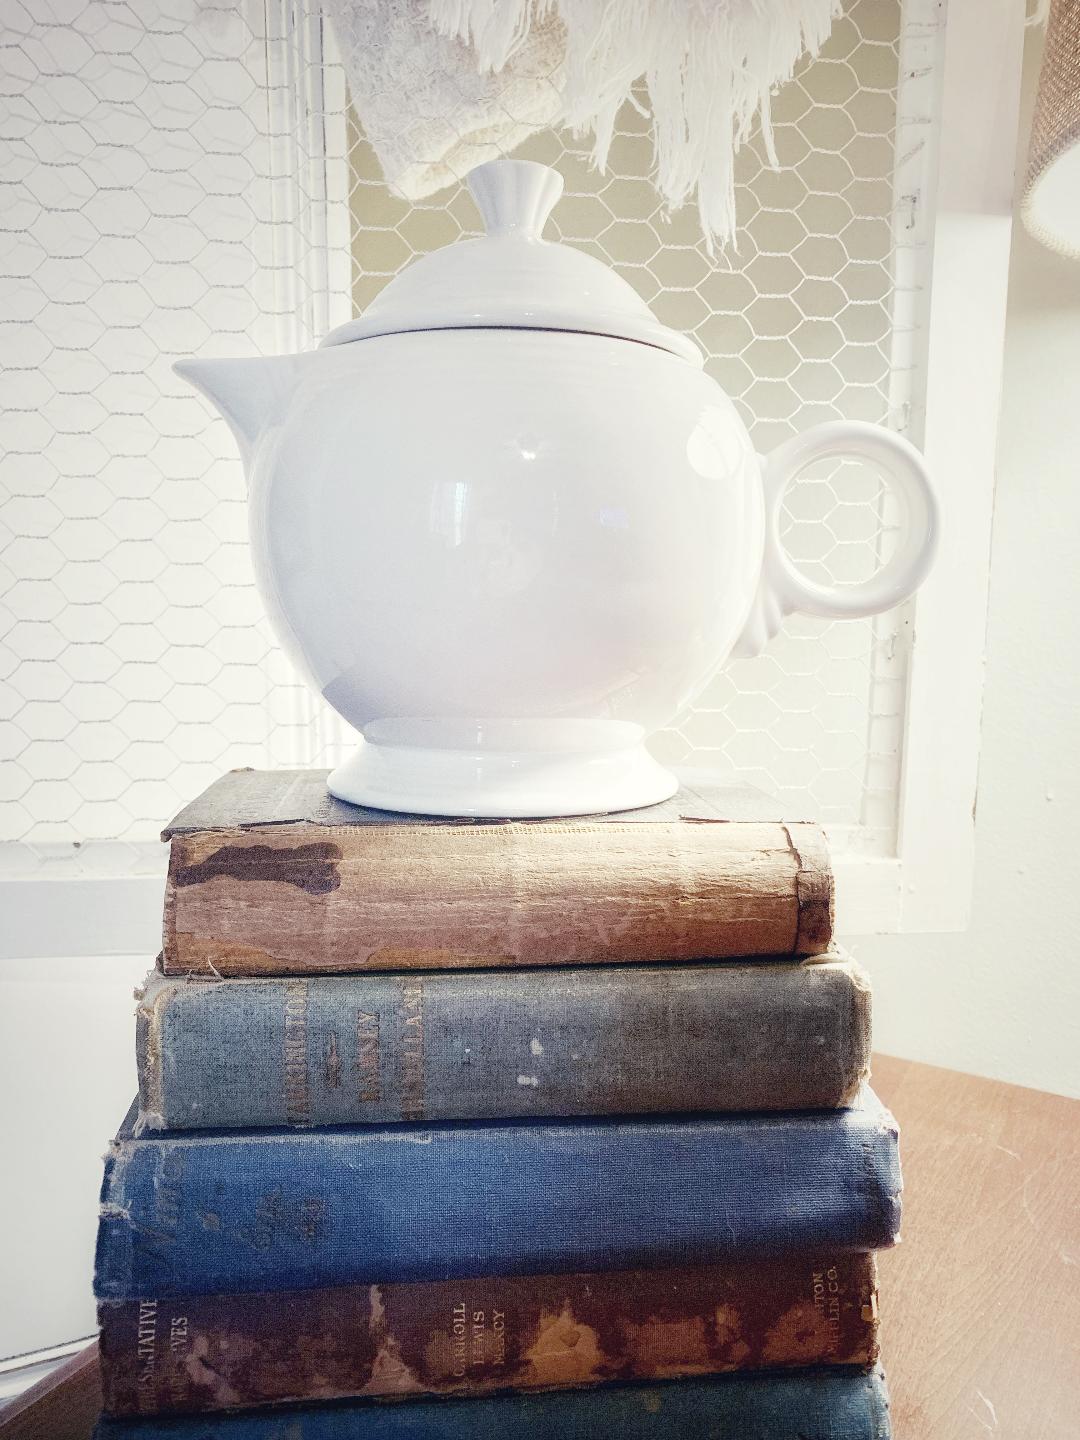
Lastly is my fireplace:

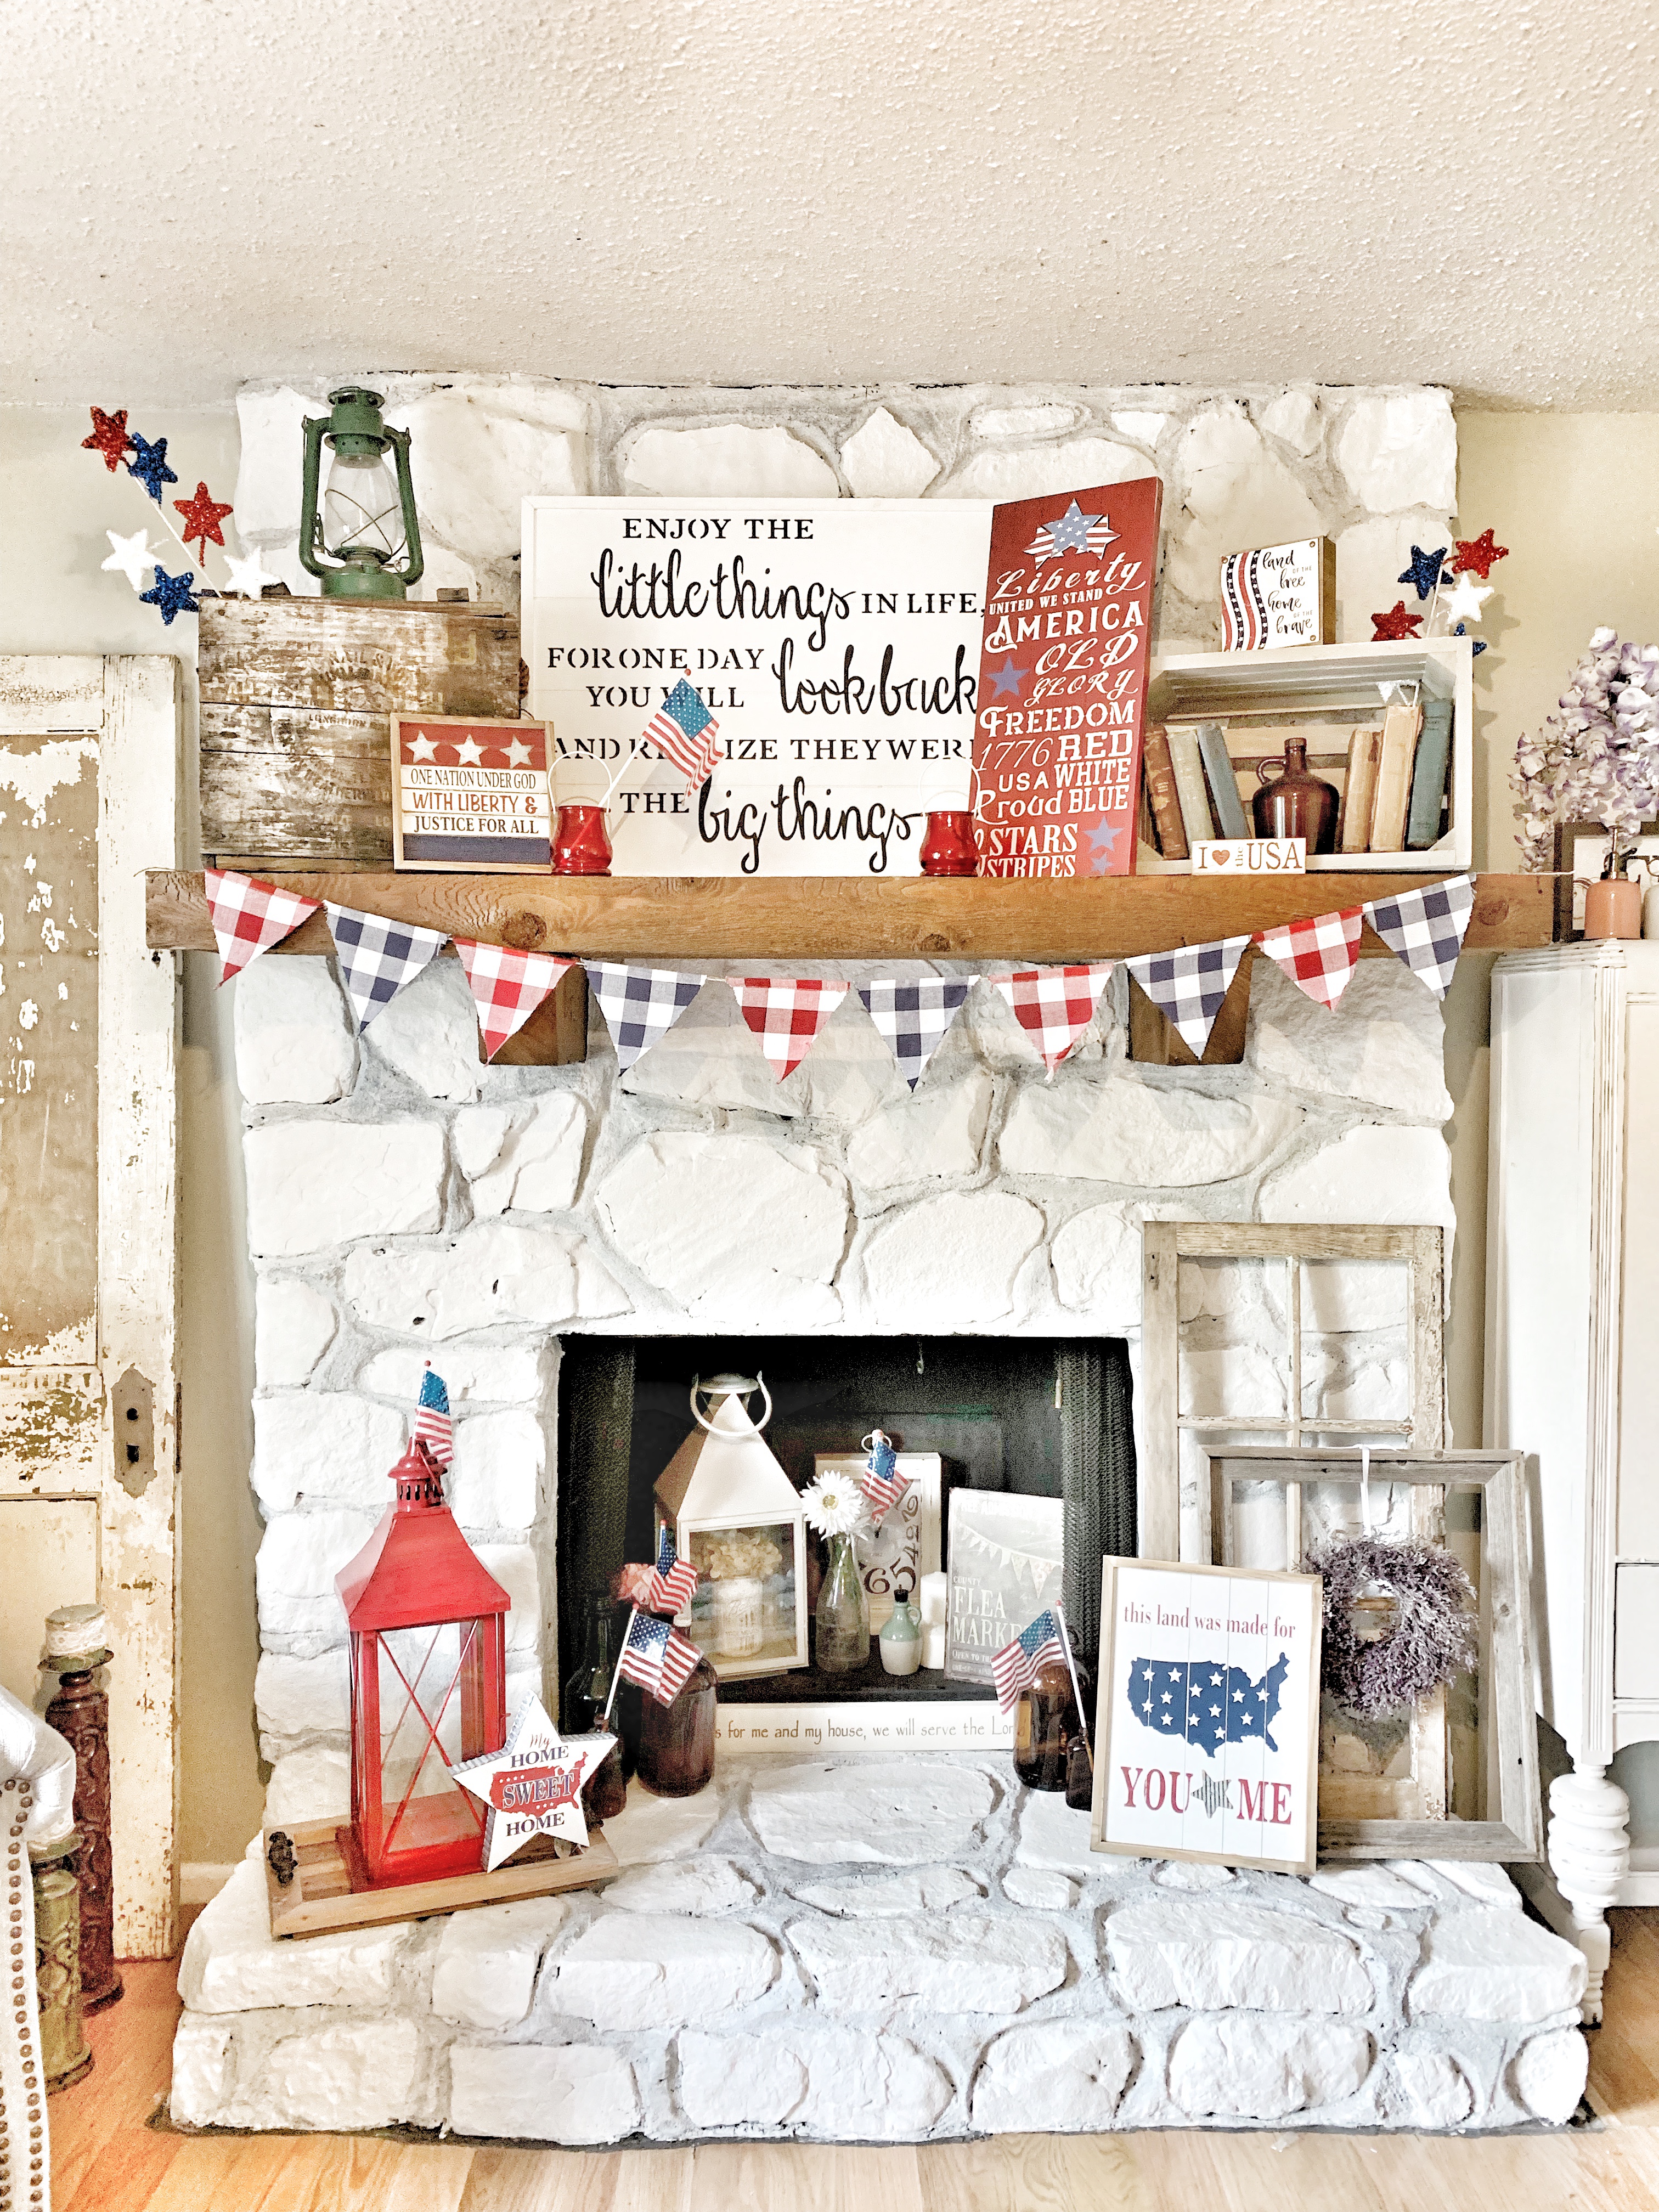
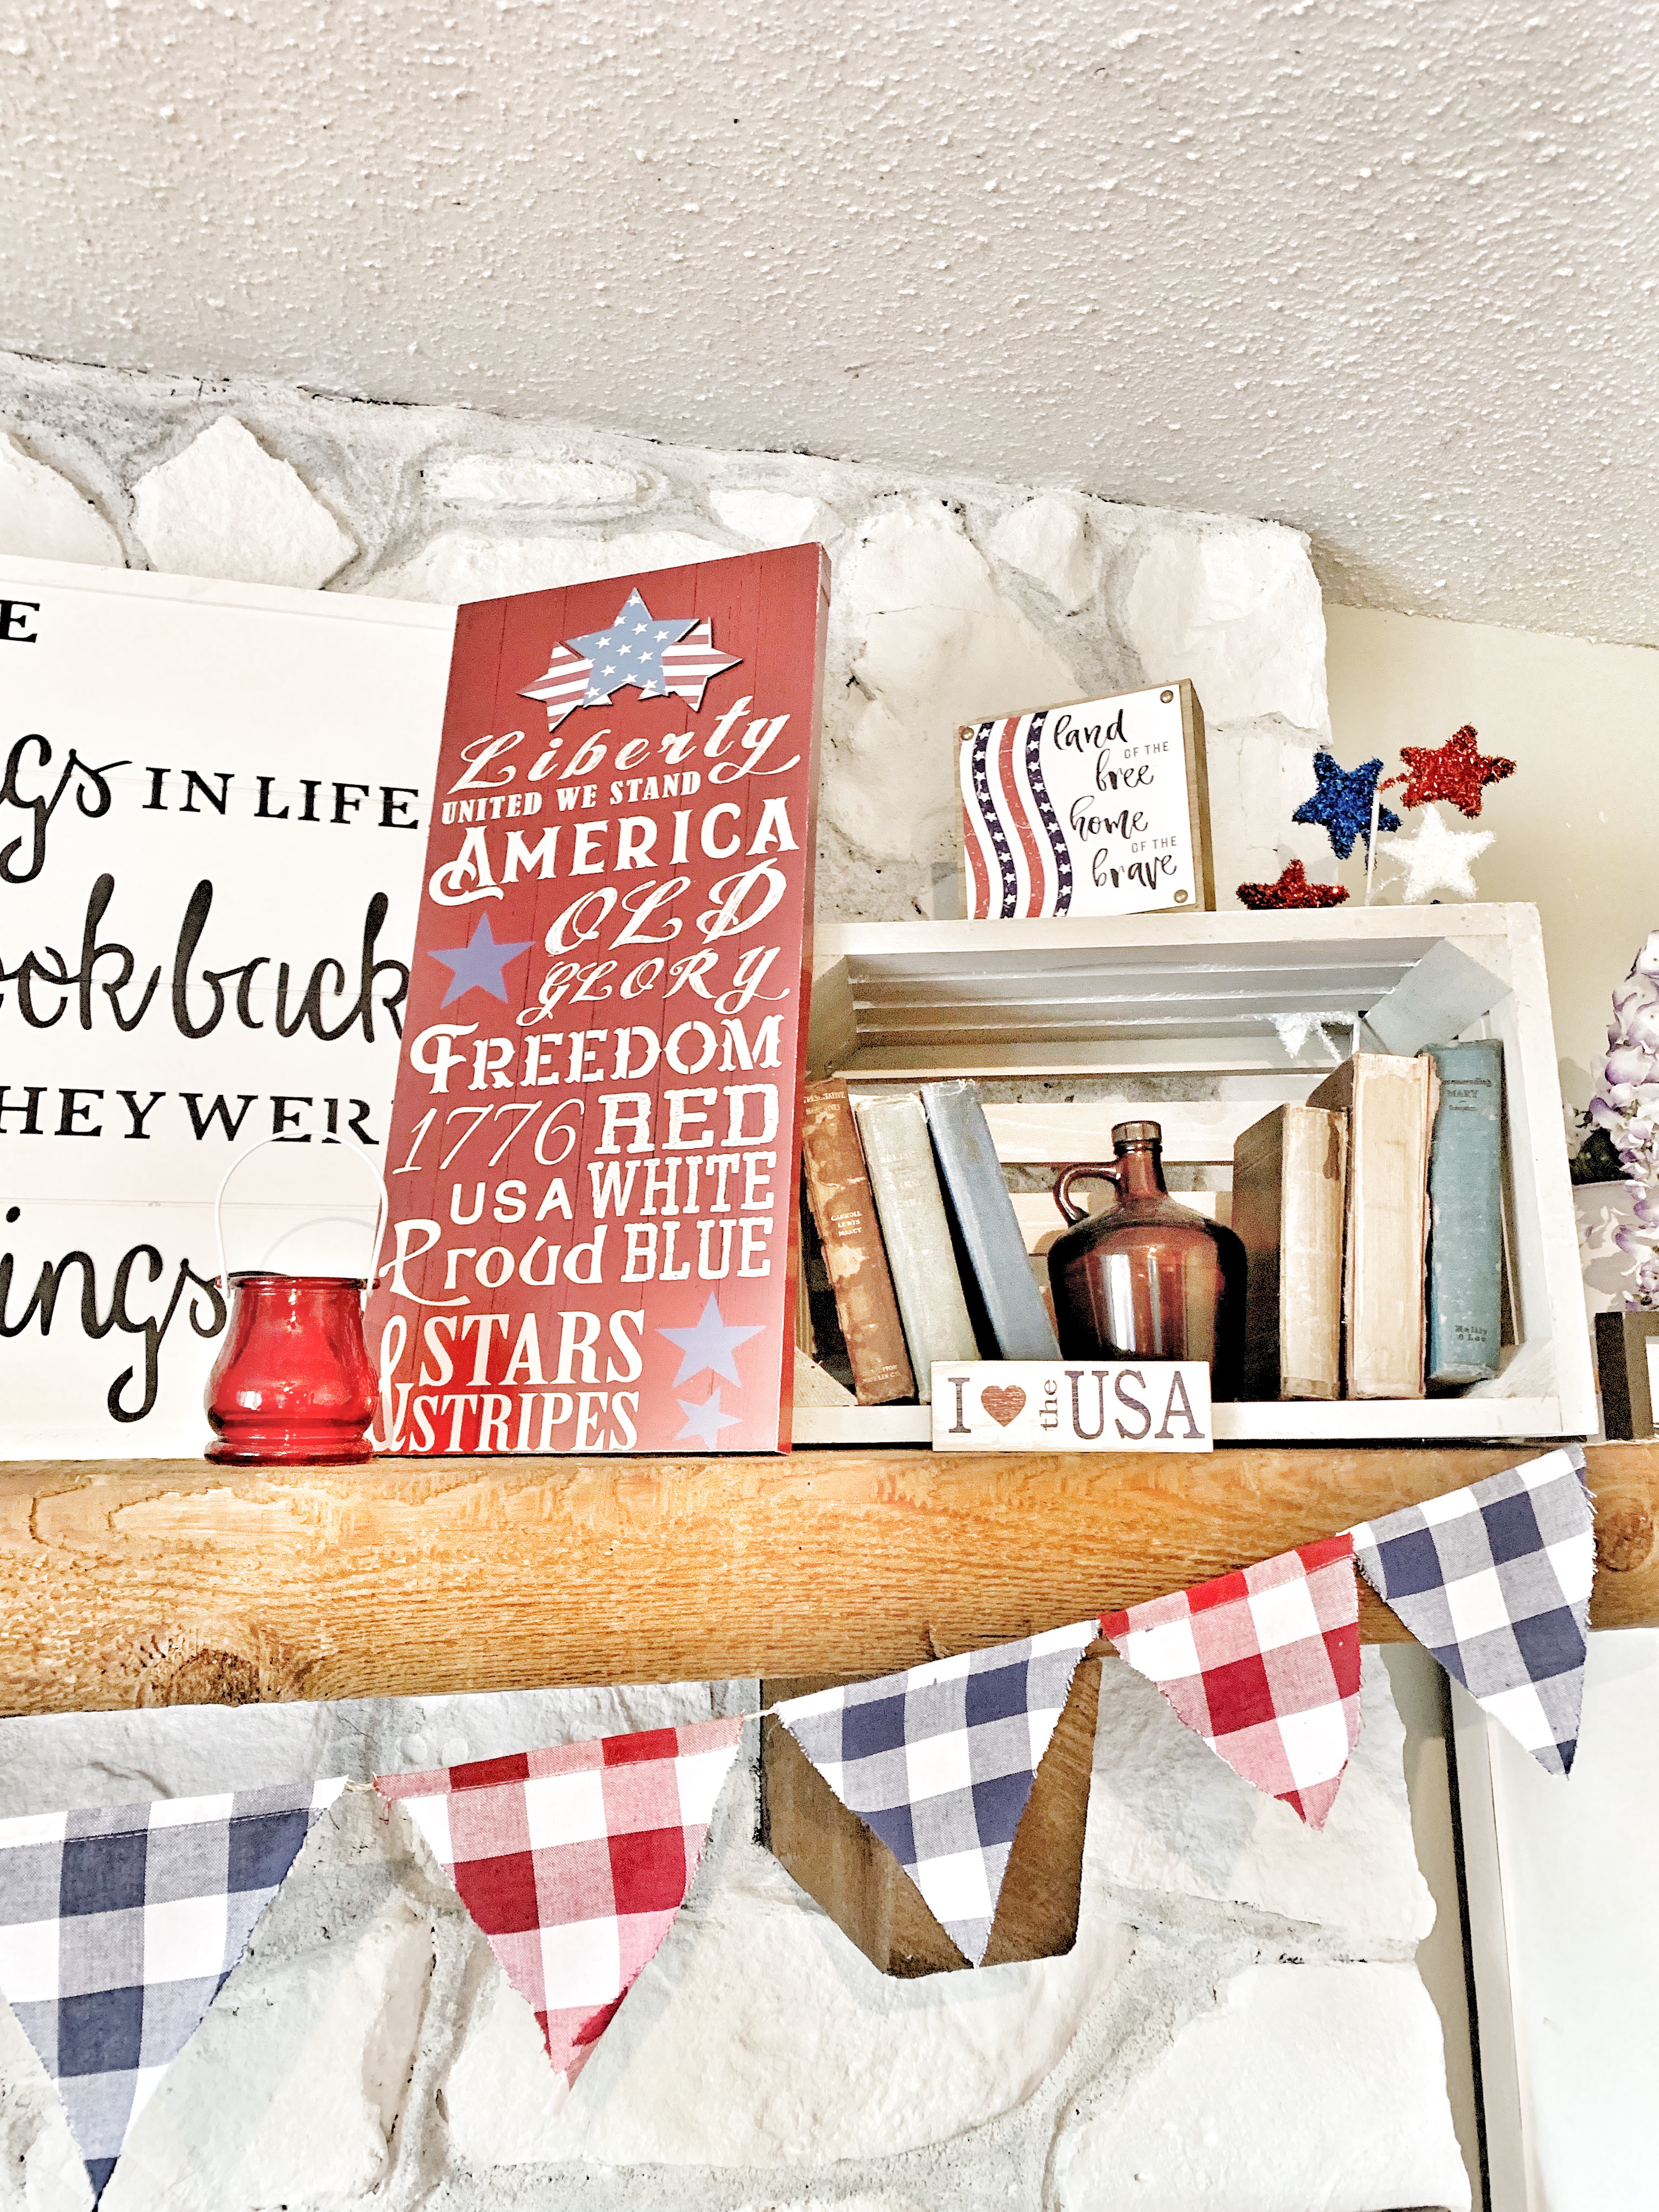
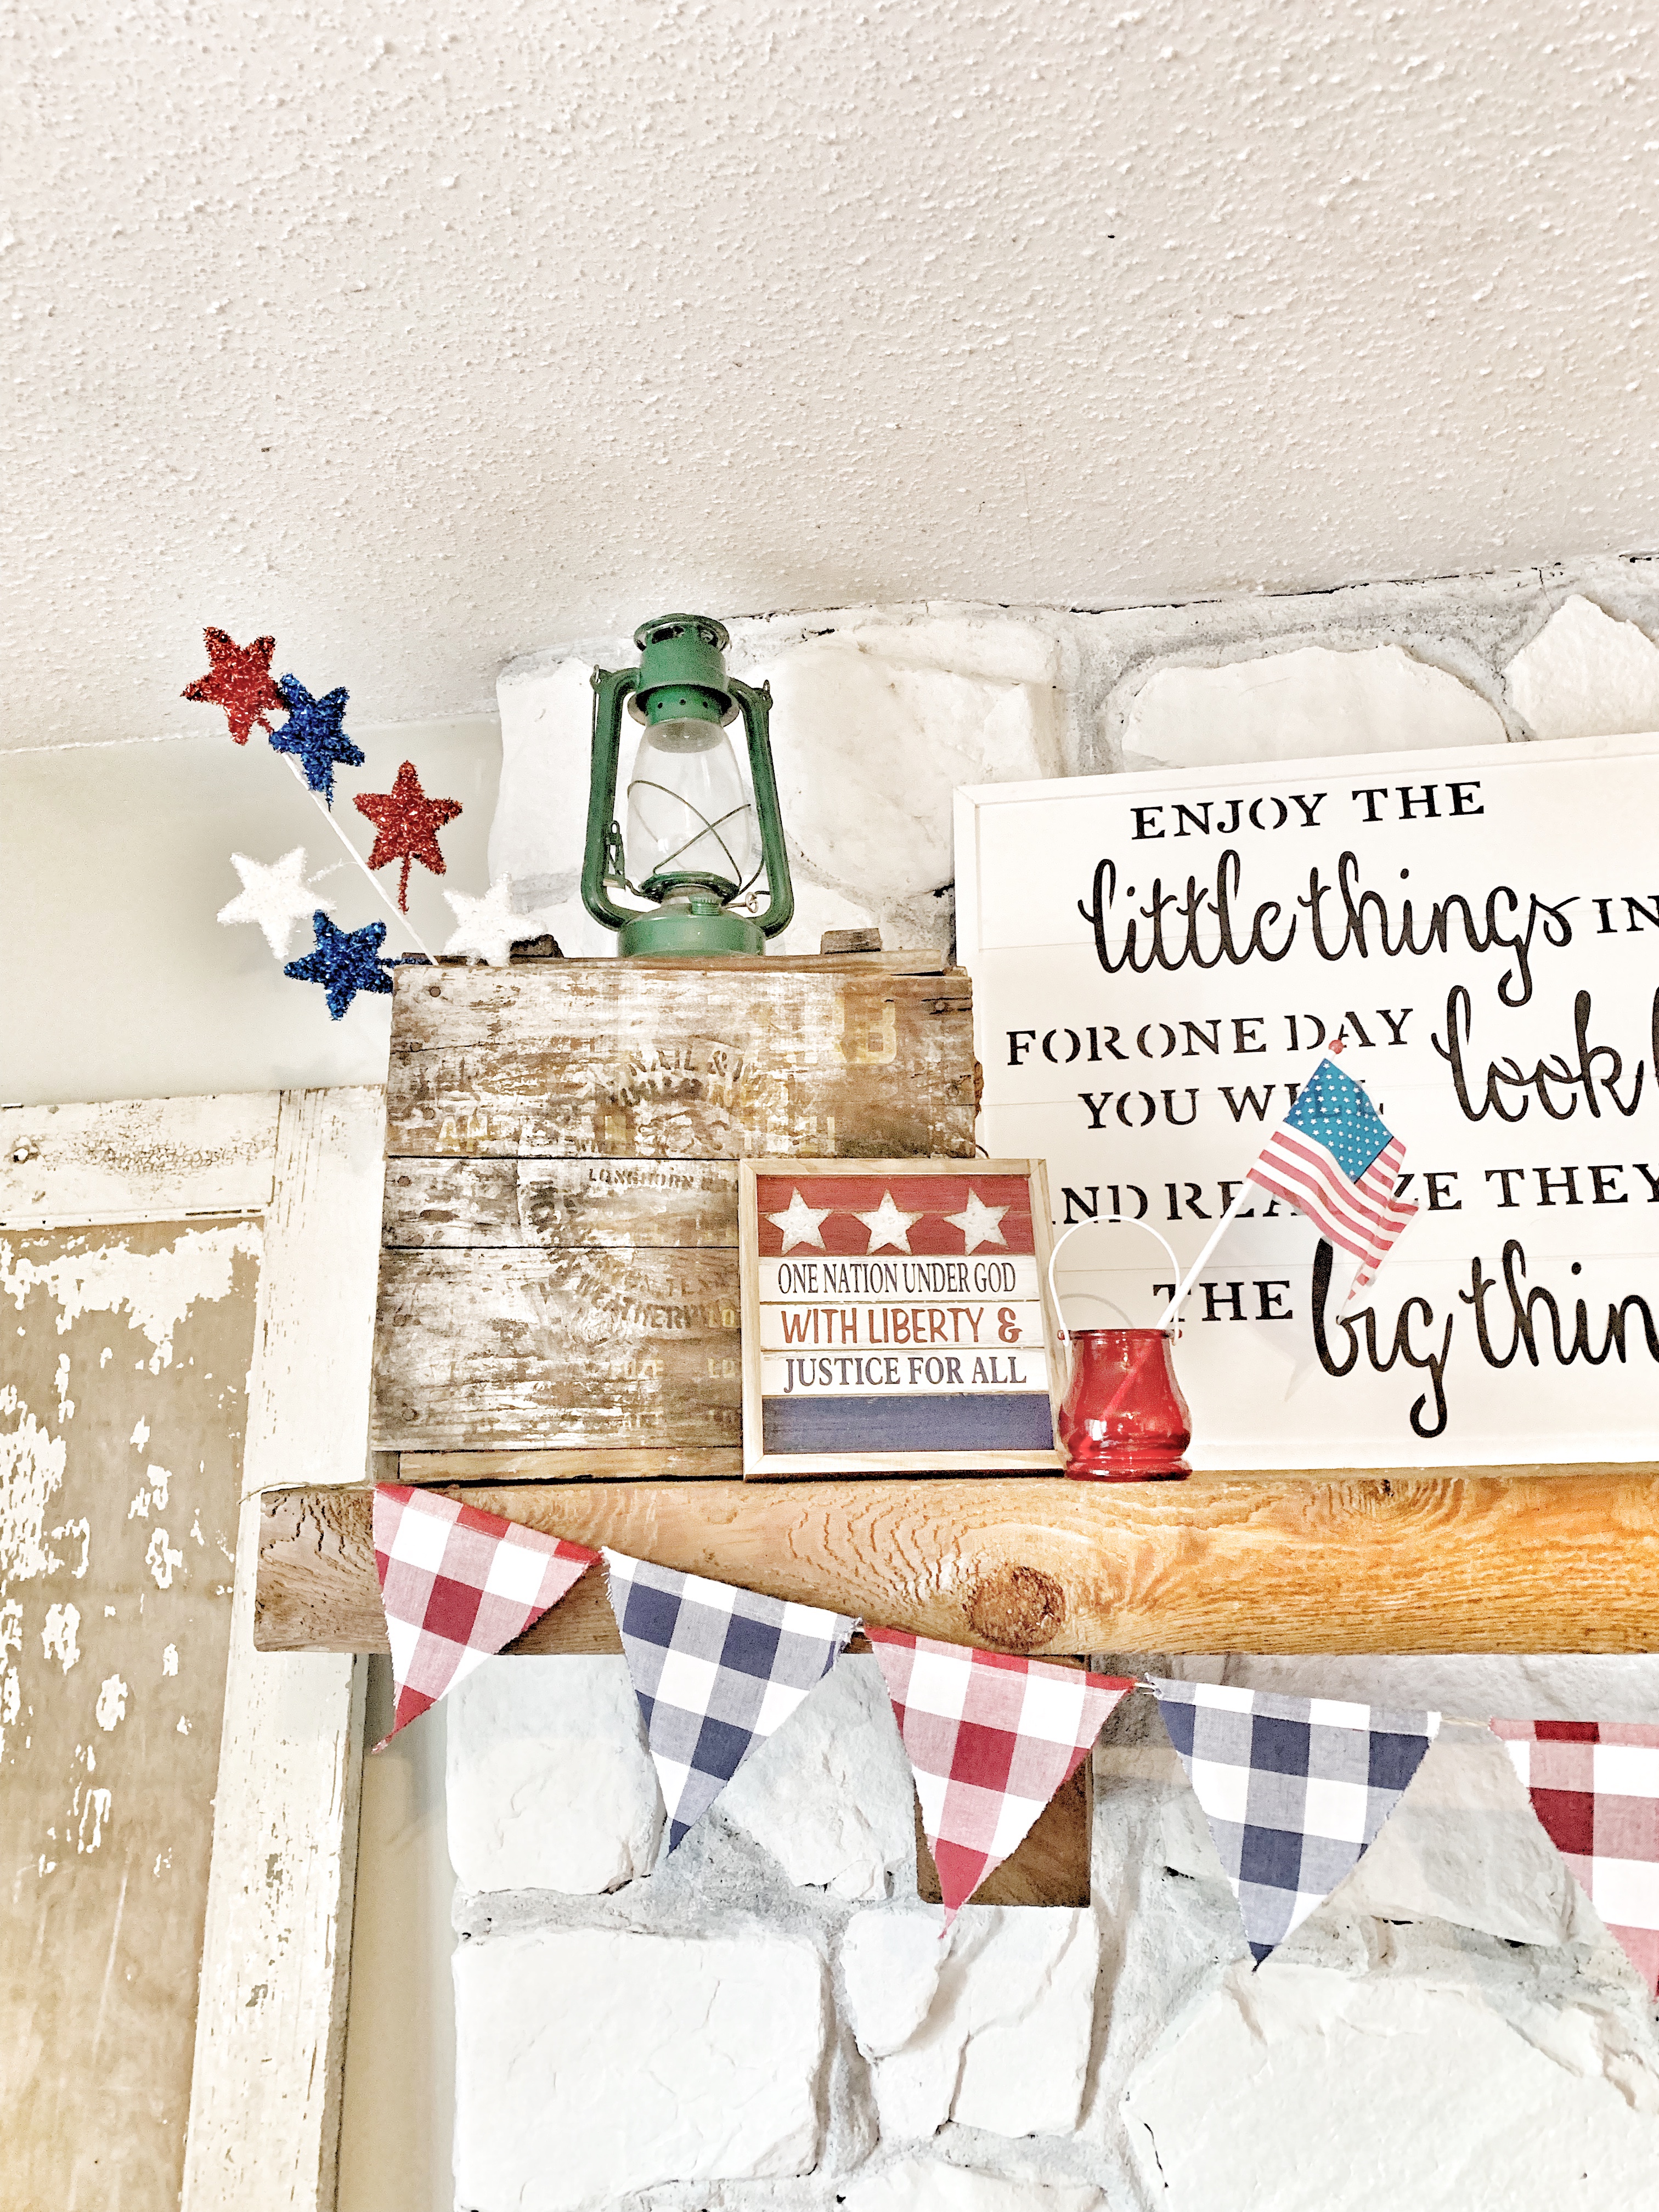
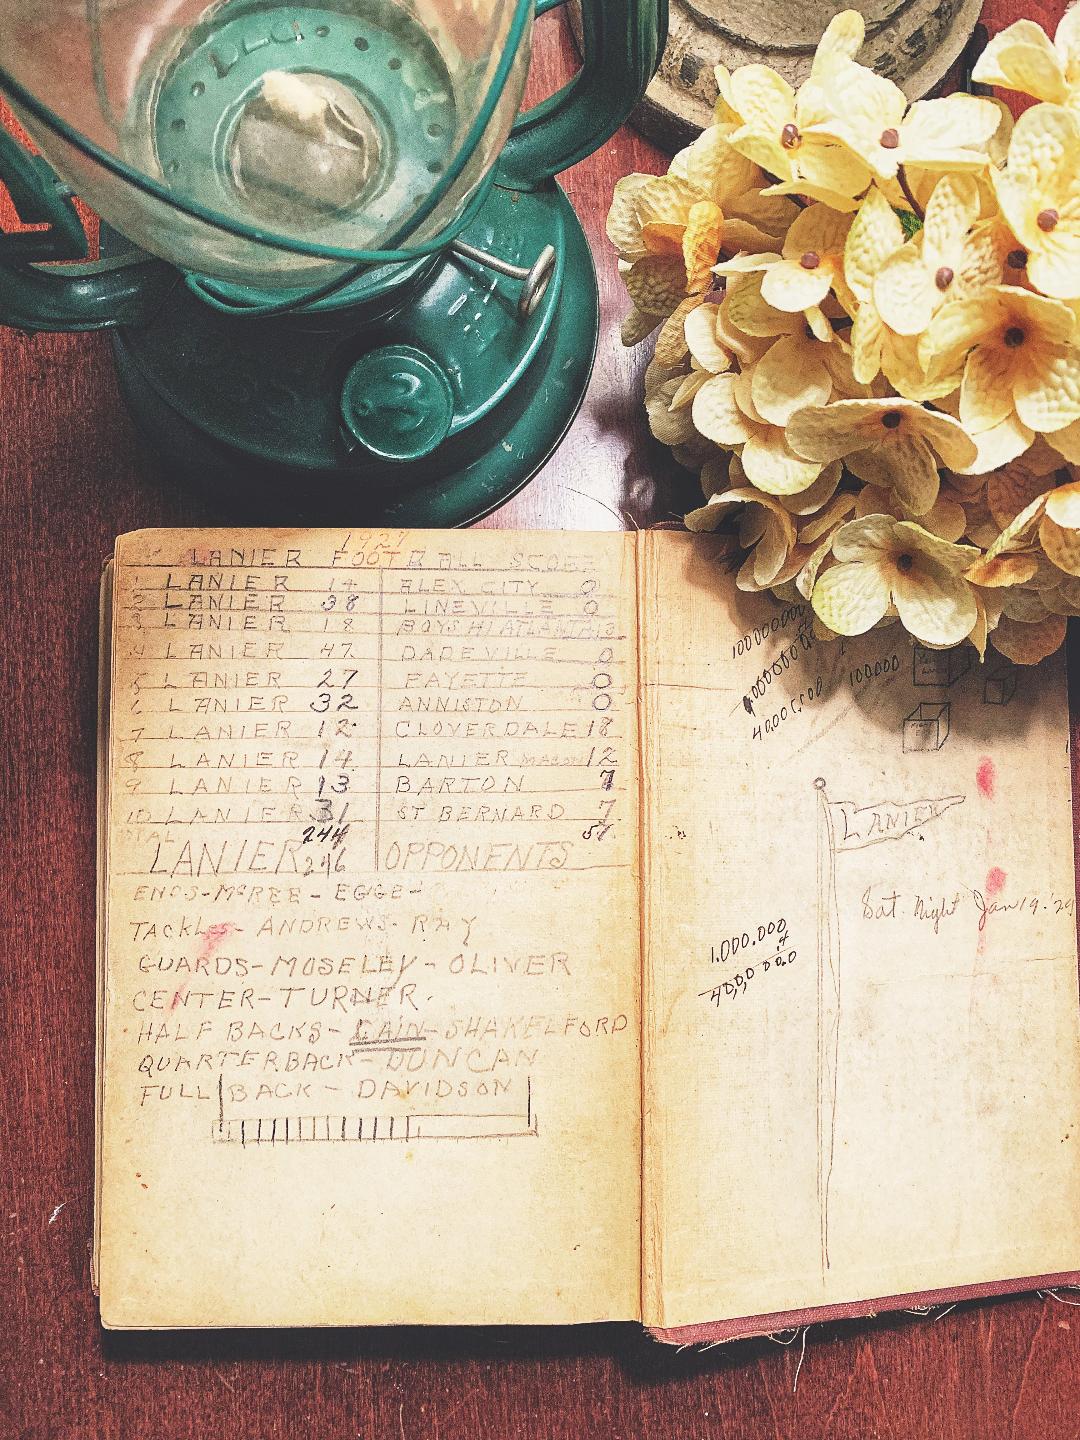
For my fireplace I left all of my vintage goodies and antiques up and just added to it. Let’s be honest, what goes together better than Americana and antiques?!

I spent less than $100 at Old Time Pottery for everything I needed to get my house ready to celebrate the 4th and can use it all again for Labor Day and Memorial Day!!

You can get so creative and really make your home so patriotic and beautiful for the 4th without spending a ton of money!

I hope you all have a wonderful Independence Day!! 🇱🇷

~Becca

@rebeccaannehome

Pantry Refresh

One of the most frequently visited spots in our home is the pantry. With 3 kids and a husband that all love to snack, someone is always in there.

The problem is none of them pick up after themselves! They will open a box of something and then just sit it in the floor or on a different shelf. Things get knocked over and spilled all over the floor. Anything that doesn’t have a home like extra bags or lunchboxes goes in the pantry floor. Most of the time you can’t even shut the door!

Well I’ve teamed up with my favorite store Old Time Pottery to get this pantry under control!!

I started by completely cleaning out the pantry and starting fresh.

I took the shelves out and gave them a fresh coat of paint, painted the walls and added this cute contact paper I found at Old Time Pottery.

My first thought was to put the kids snacks on a low shelf so they will be easily accessible. Also to go ahead and get everything out of boxes and ready to grab so that nothing ends up in the floor.

The next problem is that no one closes boxes of cereal properly so cereal gets stale and has to be trashed. We all know that groceries are outrageous so throwing away and entire box of food kills my soul a little! I found these fantastic containers for cereal and small snacks!!

Instead of having to wash the containers every time we change out the food in them I had this idea:

This way you just pull out the empty bag and drop a new one in. So easy!!

Then the bottom of the pantry is always littered with things that don’t actually have a home so I found these beautiful heavy duty baskets to hide all the things!!

Another big problem is because of the mess I have no idea what we need and don’t need so I end up buying multiple boxes of the same item or not buying things we need. With these see through baskets I know exactly what we have!!

I am so relieved to look at this pantry and see how neat and organized everything is!!

And how cute is this pantry sign!! I know that I went in for organizational pieces only but I just couldn’t pass up this sign!

Even the dog thinks she can help herself now! 🤣

Thank you for being here and taking the time to read my post!!

~Becca

@rebeccaannehome

Toy Storage

So let’s talk about my least favorite thing to figure out……where to put all the toys!!! Does anyone else struggle with this?! I swear it’s like toys grow out of the floor at night! Where do they all come from?! Grandparents! Grandparents is the answer 99.9% of the time. If y’all have grandparents like ours then they buy each kid a toy or 2, or 10 every single time they visit. Which, when you have 3 kids, equals to about 456,723 toys a year!

Ok I’m being a bit dramatic but really, we are drowning in toys. And before you say donate, we do, twice a year I promise! My kids will forever be scarred by the fact that I give their toys away twice a year! I’m not even joking one of them brings it up daily. “Hey Mom remember when you gave away my favorite Doc McStuffins mobile clinic?” Oh by favorite do you mean the one you played with twice, broke into 3 pieces and stuck in the closet for 6 months?

I have literally tried every single storage idea and Pinterest idea ever created. I’ve tried closet bins, I’ve tried under the bed bins, I’ve tried sorting the toys into their own individual bins. Y’all I even had them organized down to Barbie shoes in a Tupperware container last year! None of these things worked! When told to pick up, everything got shoved into one bin.

So walking through Old Time Pottery recently and staring and all of their millions of storage options it dawned on me. Let’s make this easy! Let’s make this easy to clean up so that it isn’t such a huge task for them. Instead of making them separate all of their toys into 20 different containers we are going to simplify this!

So here’s my idea for all of the new moms and the moms struggling like me that have tried everything. Buy a few large bins! I bought 3 large bins with lids that stay attached so we aren’t searching for lids and voila problem solved. We threw all of the baby doll supplies in one, all of the Barbie stuff in one, etc. Normally I would’ve separated clothes into a bin, bottles into a bin, diapers into a bin. But nope, not gonna do it! Instead all of the baby doll supplies went into one giant bin. That way when they are finished they can literally scoop up all of the stuff and dump it in.

This is working guys! My kids are cleaning up their own messes because it is so much easier now!! Get in your car, drive to Old Time Pottery and choose from their endless storage options and I promise you will thank me!!

It never even occurred to me until now that I was making this way too complicated for these little people to handle. I thought I was helping them by over-organizing but in fact it was doing the total opposite and making them dread cleaning up.

Now their room is staying clean and organized. I even chose bins that are brown and off white so dirty little finger prints wouldn’t show. So much simpler! I guess sometimes we overthink thinks when the answer all along was just to make it easy! Their short attention span can handle scooping up all of the things and dumping them into their home in just a few minutes.

Now that I’ve solved the world’s biggest problem I can go sit and relax with a cup of coffee! You’re welcome! Totally kidding of course, well kind of!

~Becca

@rebeccaannehome

*The bins and those beautiful prints are all from Old Time Pottery.

Mini Vintage Cabinet Reno

Happy Friday friends and thank you for being here!!

A couple of weekends ago I found this precious little cabinet for less than $50 at an antique store and just had to have it.

I had no idea where I was going to put it but I just had to have it!!

My original plan was to strip it and sand it down to a more natural color. I stopped at Home Depot and bought fresh sandpaper and stripper. This is the paint stripper I used:

This stuff worked great!!

This was after stripping and sanding. It wasn’t as light as I wanted it to be so I decided to bleach it. I just got gloves and a rag and rubbed on straight Clorox.

I rubbed it down with Clorox and let it sit in the sun for a couple of hours.

The process worked great but it still wasn’t quite the color I had envisioned! Here is the lightest it would go:

So after all of that I realized what I wanted to do with this little gem and that was to sit it on my kitchen counter for bread, paper plates, plastic utensils, etc. The problem was that my countertops and backsplash are butcher block Formica (thank you 1970s) so the natural wood color would look terrible against yellowy butcher block!

Out comes the chalk paint and voila it is beautiful!!

Don’t be jealous of my 1970s countertops now 🤣🤣🤣

I absolutely love the way it turned out and it made those precious little wooden knobs really stand out!!

Thank you again for being here! If you have any questions leave them in the comments and I’ll be happy to answer!!

Also I would love to know what this little cabinet was used for originally so if you have an idea please send it to me!!

~Becca

@rebeccaannehome

DIY Window Flower Boxes

Wanna know how we created window flower boxes for around $15 each? Well keep reading then!!

Ok that was corny but I’m totally serious! I’ve been pricing flower boxes for my windows and just could not make myself pay those prices for something we were going to fill with dirt! So we bought the material and made them ourselves. Another reason I didn’t want to spend a ton is because I basically kill all the things I attempt to grow! So here is the materials we used to make quick inexpensive window flower boxes:

My husband had the genius idea to use dog ears because they come pressure treated and to with stand the weather. And they are cheap!

To put the boxes together we used deck screws that we already had on hand.

We cut the rounded ends off and sanded down any rough spots. We measured each window and got to cutting!

And just like that they were complete! These literally took us less than an hour to build!

Next was the stain. I knew what I was looking for but had a hard time finding the right color. Finally I turned to Instagram and asked for help and a friend told me to look for a dark walnut stain. It was PERFECT!!

We stained the boxes, drilled holes in the bottom for water to escape and attached the brackets.

These are the brackets and lag screws we used to attach the boxes to the house:

After we got them attached to the house I didn’t like how you could see the brackets so we added an extra board to cover the brackets and help support the boxes.

I absolutely LOVE how they turned out!!! So much cheaper than buying them already made. Literally 1/3 of the price and it is fun to be able to say we made them with our own two hands!!

I filled them with coco plant liners and researched what flowers do best in full shade. Those turned out to be Impatiens and so far they are growing beautifully!!

Our next project is taking down these 1970s shutters and creating our own to match our flower boxes!! So stay tuned!!!

Thank you for taking the time to read my blog post!!!

~Becca

@rebeccaannehome

Life is what you BAKE it!

Hi friends!! Thank you for being here! I hope you all had a wonderful Easter! We celebrated with family and friends and ate way too much!!

My oldest daughter, Tatum, will be 12 this summer and has loved to bake as far back as I can remember. It is her favorite thing to do. As a matter of fact she had her first baking class this weekend!

She had a blast at her baking class!!

So when I moved my coffee station it opened up a lot of counter space and I just couldn’t decide what to do with it. Then it dawned on me! A baking area for my babe!

I knew I wanted it to be cute and fun but also functional. I wanted canisters that actually sealed shut to keep our ingredients fresh. I also knew that the likelihood of things getting broken (since kids would be using it a lot) was pretty good so I didn’t want to spend a lot of money. Basically I was looking for:

~ Cute

~ Fun

~ Functional

~ Affordable

So we headed to our favorite store, where I knew we could find all of the above! Old Time Pottery!! We stayed there for so long trying to decide on what we wanted. There were so many choices!! Finally, we decided on a farm fresh, handmade theme since we would be using this space to make things from scratch!

See what I mean about kids, the chalk got smudged in less than 5 minutes!

I am in love with how it turned out!!

The canisters are exactly what I was looking for and we added pops of turquoise because that is Tatum’s favorite color!!

We used our new baking corner this weekend and made all kinds of delicious Easter goodies!!

The best part of this baking corner is we got everything you see for $100!! Years of memories will be made with my sweet girls in this corner and I can’t wait!!!

I hope you all had a Happy Easter!!

~ Becca

@rebeccaannehome

Let’s Talk Chalk Paint

Hello everyone, and thank you for taking the time to come read my blog!! It truly means the world to me!!

So I chalk painted a piece of furniture for the first time ever recently. Yes I know, where have I been?! Apparently under a rock somewhere. But that’s me, always late to the game. All of my life I’ve decide I like things wayyyyyy after everyone else. It takes me a while to decide! Someone will tell me about a song (usually my sister) and I’ll listen and think meh not for me, then 6 months later I hear it and fall in love with it. And she’s always like “I TOLD YOU ABOUT THAT SONG FOREVER AGO!!” I’m weird that way. But anyways onto the reason for this post- CHALK PAINT!

Well of course I love it!! It was so easy to just paint and not have to sand!! No one likes sanding! The consistency of chalk paint was very different from regular paint so that took some getting used to. The only time I’ve ever used chalk paint was on my fireplace and it was mixed with water so I didn’t notice the thickness of it.

I used Valspar Chalky Paint that I bought at Lowe’s:

It said “must be tinted” so I took it to the paint guy and asked if I could just use it as is. He was super nice and shook it for me and opened it up to show me the shade of white. It was classic bright white just like I was hoping for so I didn’t have to have it tinted. But if you are looking for a different color they tint it for you at Lowe’s and will show you your color options.

Next I bought a chalk paint brush. It was located right next to the Valspar Chalky Paint:

And lastly I bought the Valspar clear sealing wax:

Now I was ready to start! I wiped down the piece of furniture really well and made sure it was clean before I started. I removed all the knobs and got started. Here is what it started out as:

I also removed the top piece because this was being turned into a coffee bar.

I started painting the first coat and quickly noticed how easily you could see the brush strokes. Then I remembered one of the bloggers I follow saying you have to use long strokes with chalk paint. (Thank you Shae from @sweet_southern_grace) So I started making sure to paint in long smooth strokes and it really helped. I love to paint so this was so fun to paint furniture!! The first coat was done quickly:

I let the first coat dry for a couple of hours (be sure to read on the can to see how long to wait between coats) and then started on the second coat. Painting on the second coat was much smoother and you could already tell how great it was going to look!!

I’m already in love at this point and ready to chalk paint anything that will stand still! Now time for the fun part, DISTRESSING!! I had been looking forward to this part from the very beginning!! I just used sand paper that I already had in the garage and started sanding. I had always heard that you want to sand the parts that would naturally get scraped and bumped, so that’s where I started. I sanded corners and edges, places that would get touched a lot so it would look like “natural” wear and tear. The distressing just sealed the deal, now I was really in love!!

Since this piece was for a coffee bar I wanted to make sure to seal it really well with the sealing wax. I read all the instructions on how to use the wax and did exactly like it said. You work in small sections so you can wipe off the excess before it dries. So I waxed and wiped, waxed and wiped (starting to feel like Mr. Miyagi’s student at this point). I let the first coat dry for a little while then did a second coat of wax. Waxing and wiping, waxing and wiping. I let that dry and put the hardware back on and it was finished! I am still surprised how easy this was!! And also I’m wondering why it took me so long to start chalk painting all the things!! This whole project only cost me around $50! $50 for a piece of furniture that looks like you went out and spent hundreds!! Chalk paint you have my heart!!

Stay tuned for the plans I have for the inside of this baby!!

Thank you for reading!!

~Becca

@rebeccaannehome

1970’s Stone/Rock Fireplace Renovation

When we bought our home 12 years ago, one of the things I loved about it was the stone fireplace that went all the way to the ceiling. That love didn’t last long! A couple of years later I was totally over the dark stone and black grout, but wasn’t brave enough to do anything about it! Finally, after reading every post I could find and watching countless YouTube videos I decided to go for it!! And I’m so glad I did!!

Below is a picture from this past Christmas before I started the renovation.

The first thing I did was clean out the firebox. I got out all of the ashes and vacuumed out everything I couldn’t sweep out.

Next I vacuumed all of the rock and grout and removed the mantle. I wanted to make sure the fireplace was as clean as possible before I started painting.

I hated how the inside of the fireplace was half dark and half light, it just looked dirty. (Well it was dirty, duh, it’s a fireplace!) So I did my research to find out what I could do about it. I found a heat resistant paint to freshen up the inside! Here is the one I used.

Let me warn you that this paint is as thin as water and smells HORRIBLE, but it looks beautiful when it’s dry!! Make sure you cover all surfaces you don’t want painted and open some windows!! I used a mini roller to roll it on and then a small brush for the corners. I did 1 coat and let it dry for a couple of hours then did a second coat and voila!

The next part is where I got nervous! The actual painting of the rock. My husband thought I had totally lost my mind and just could not envision a white fireplace!! I had the image in my head of what I wanted it to look like and it was white, but not shiny white. I didn’t want it to be shiny, that was my biggest fear. So I started with a white chalk paint and mixed 1/4 paint with 3/4 water. I used a heavy duty paint brush. I started at the top, next to the ceiling because I knew it was going to be runny. I started by painting a small section and then taking a damp cloth and dabbing off the excess.

Here goes nothing!!

At this point I was getting nervous because it DID NOT have the look I was hoping for!!

First coat is complete!! At this point I decided I didn’t want it quite this flat. So I went to the basement to my paint stash and found some white semi-gloss wall paint. I had about 1/4 of my chalk paint mixture left and poured the semi-gloss wall paint in with it. Then I added water to get it back to the consistency I needed. (Basically like the consistency of heavy whipping cream) And here goes nothing, I was going in for a second coat!! The entire time I was thinking, my husband is going to hate it as soon as he walks in!!

I started going over the stones and decided not to dab off the excess on the second coat and I liked it so much better!! The chalk paint mixed with semi-gloss gave it the perfect look! Not too flat, not too shiny!! Also, I did not do a second coat on the grout. I wanted it to be darker than the stone.

ALL DONE!! And it turned out exactly how I pictured it in my mind!!!

I am so beyond happy with the way it turned out!!! It brightens up the room so much and I am just in love!!!

My biggest tip for you, if this is the look your going for, is to mix white chalk paint with white semi-gloss wall paint. And don’t waste your time dabbing off the excess! It was way prettier without doing that step.

If you have any questions that I didn’t answer feel free to send me a message on here or on IG!

~Becca

@rebeccaannehome

Welcome to my Home!

Hi! Let me start by saying, I am so thankful you are here!! My name is Rebecca Boothe and I was born and raised in Alabama. I am married to my high school sweetheart (cliche I know, but it’s true). We got married at 20, bought our first home at 21 (where we still live) and had our first daughter at 22. Another daughter followed 4 years later, then our precious little caboose came 3 years after that, giving us a total of 3 daughters! I absolutely love everything about having daughters, even the drama and fighting! I work in a family practice office in our town and I have been there since I was 19. My husband is a survey drafter and he has been with his company for 15 years. My husband traveled for the first 13 years of our relationship and just within the last 2 years has stopped traveling! It is so nice to finally have a husband home every night!!

I love all things antique and started antiquing with my Dad as a pre-teen. I walked into my first antique store and fell instantly in love. There is just something about finding a treasure with so much history! My favorite type of antique stores are the really cluttered ones where you could go daily and still not see everything! That thrill of finding something that someone else didn’t see is just so fun!! I love to incorporate antiques and family heirlooms into my decor. I love to decorate with color. I know I know, neutrals are the cool thing and don’t get me wrong they are beautiful! But I love color!! I love cool earth tones and pastels. And did I mention I LOVE ANTIQUES!!!

When we bought our home in 2006 it was a one owner. The same man had owned our house since it was built in 1978 and had pretty much left everything as is, which left for a very outdated home. The problem was, we were 21 and newlyweds so money was tight. I quickly learned how to decorate on a budget. It is so funny to think back now and compare my decor style then to my style today. Totally different ends of the spectrum!! Isn’t it funny how our tastes change as we get older? But my goal back then was to make my home beautiful and inviting without spending a ton of money and it was so fun. Now that our kids are a little older and money isn’t so tight we are finally starting to update our house one project at a time. I can’t wait to share our home and ideas with you!! Thank you so much for being here and taking the time to read my first ever blog post!!!

~Becca~