
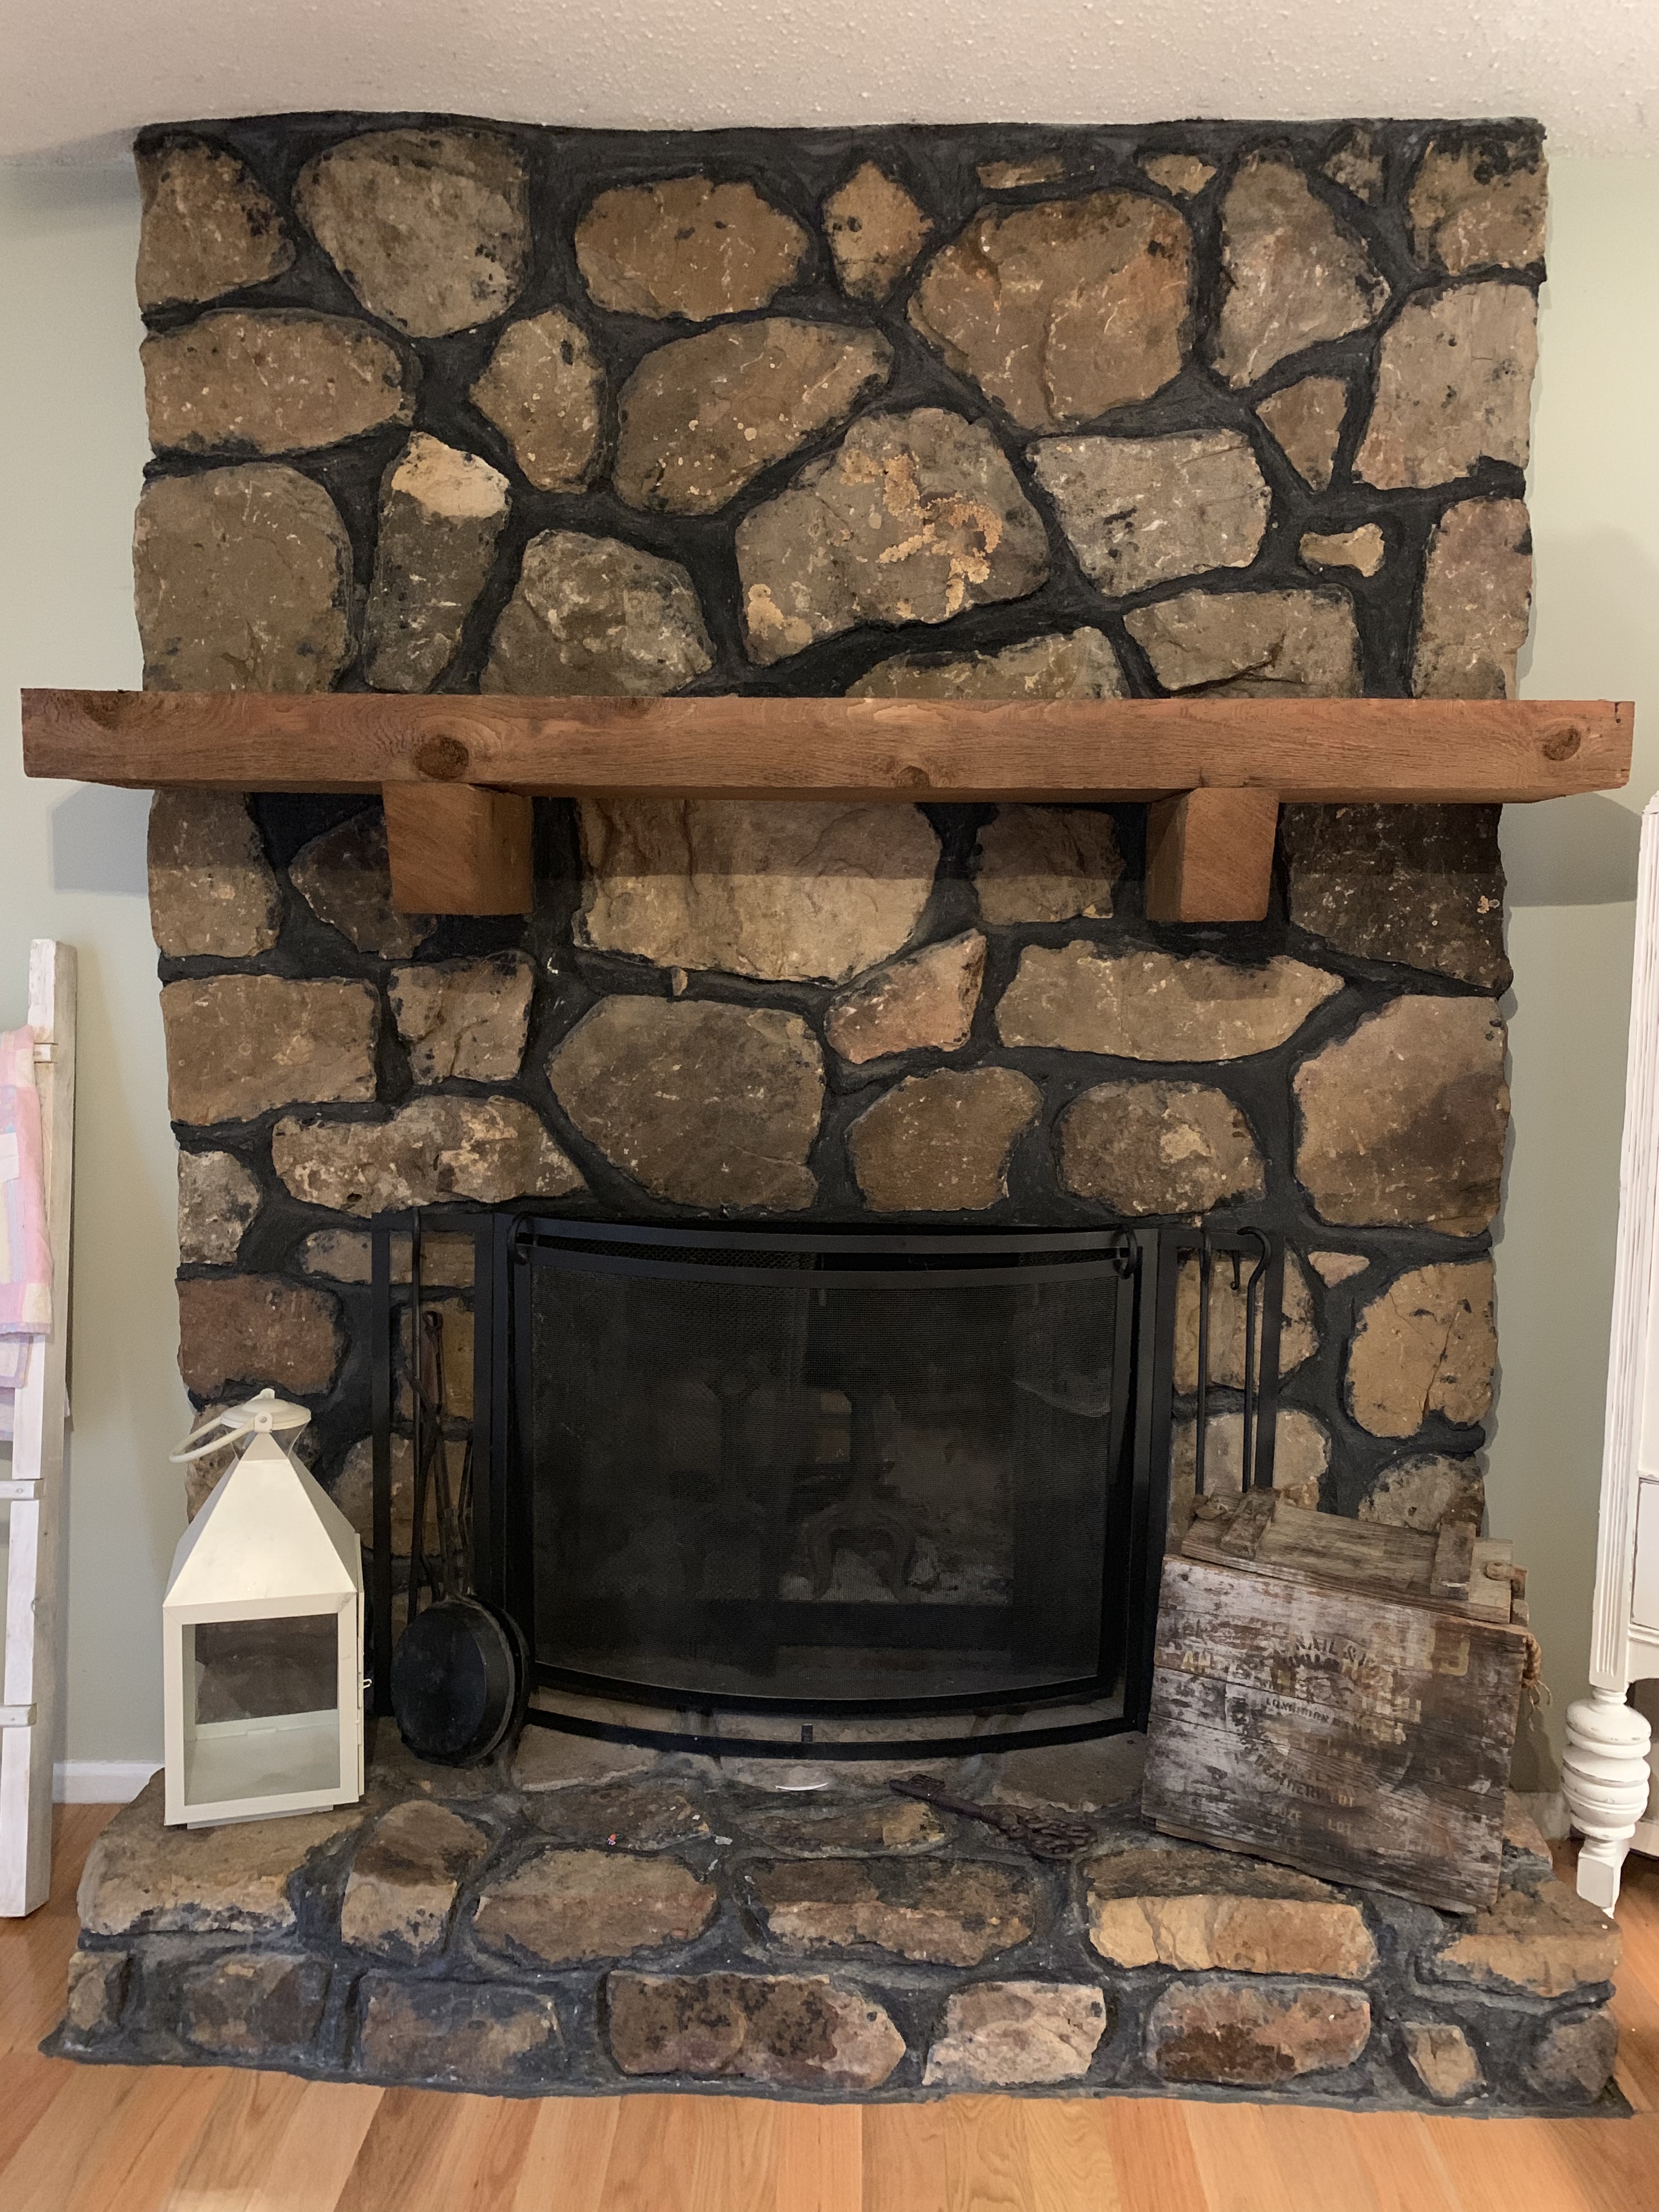
When we bought our home 12 years ago, one of the things I loved about it was the stone fireplace that went all the way to the ceiling. That love didn’t last long! A couple of years later I was totally over the dark stone and black grout, but wasn’t brave enough to do anything about it! Finally, after reading every post I could find and watching countless YouTube videos I decided to go for it!! And I’m so glad I did!!
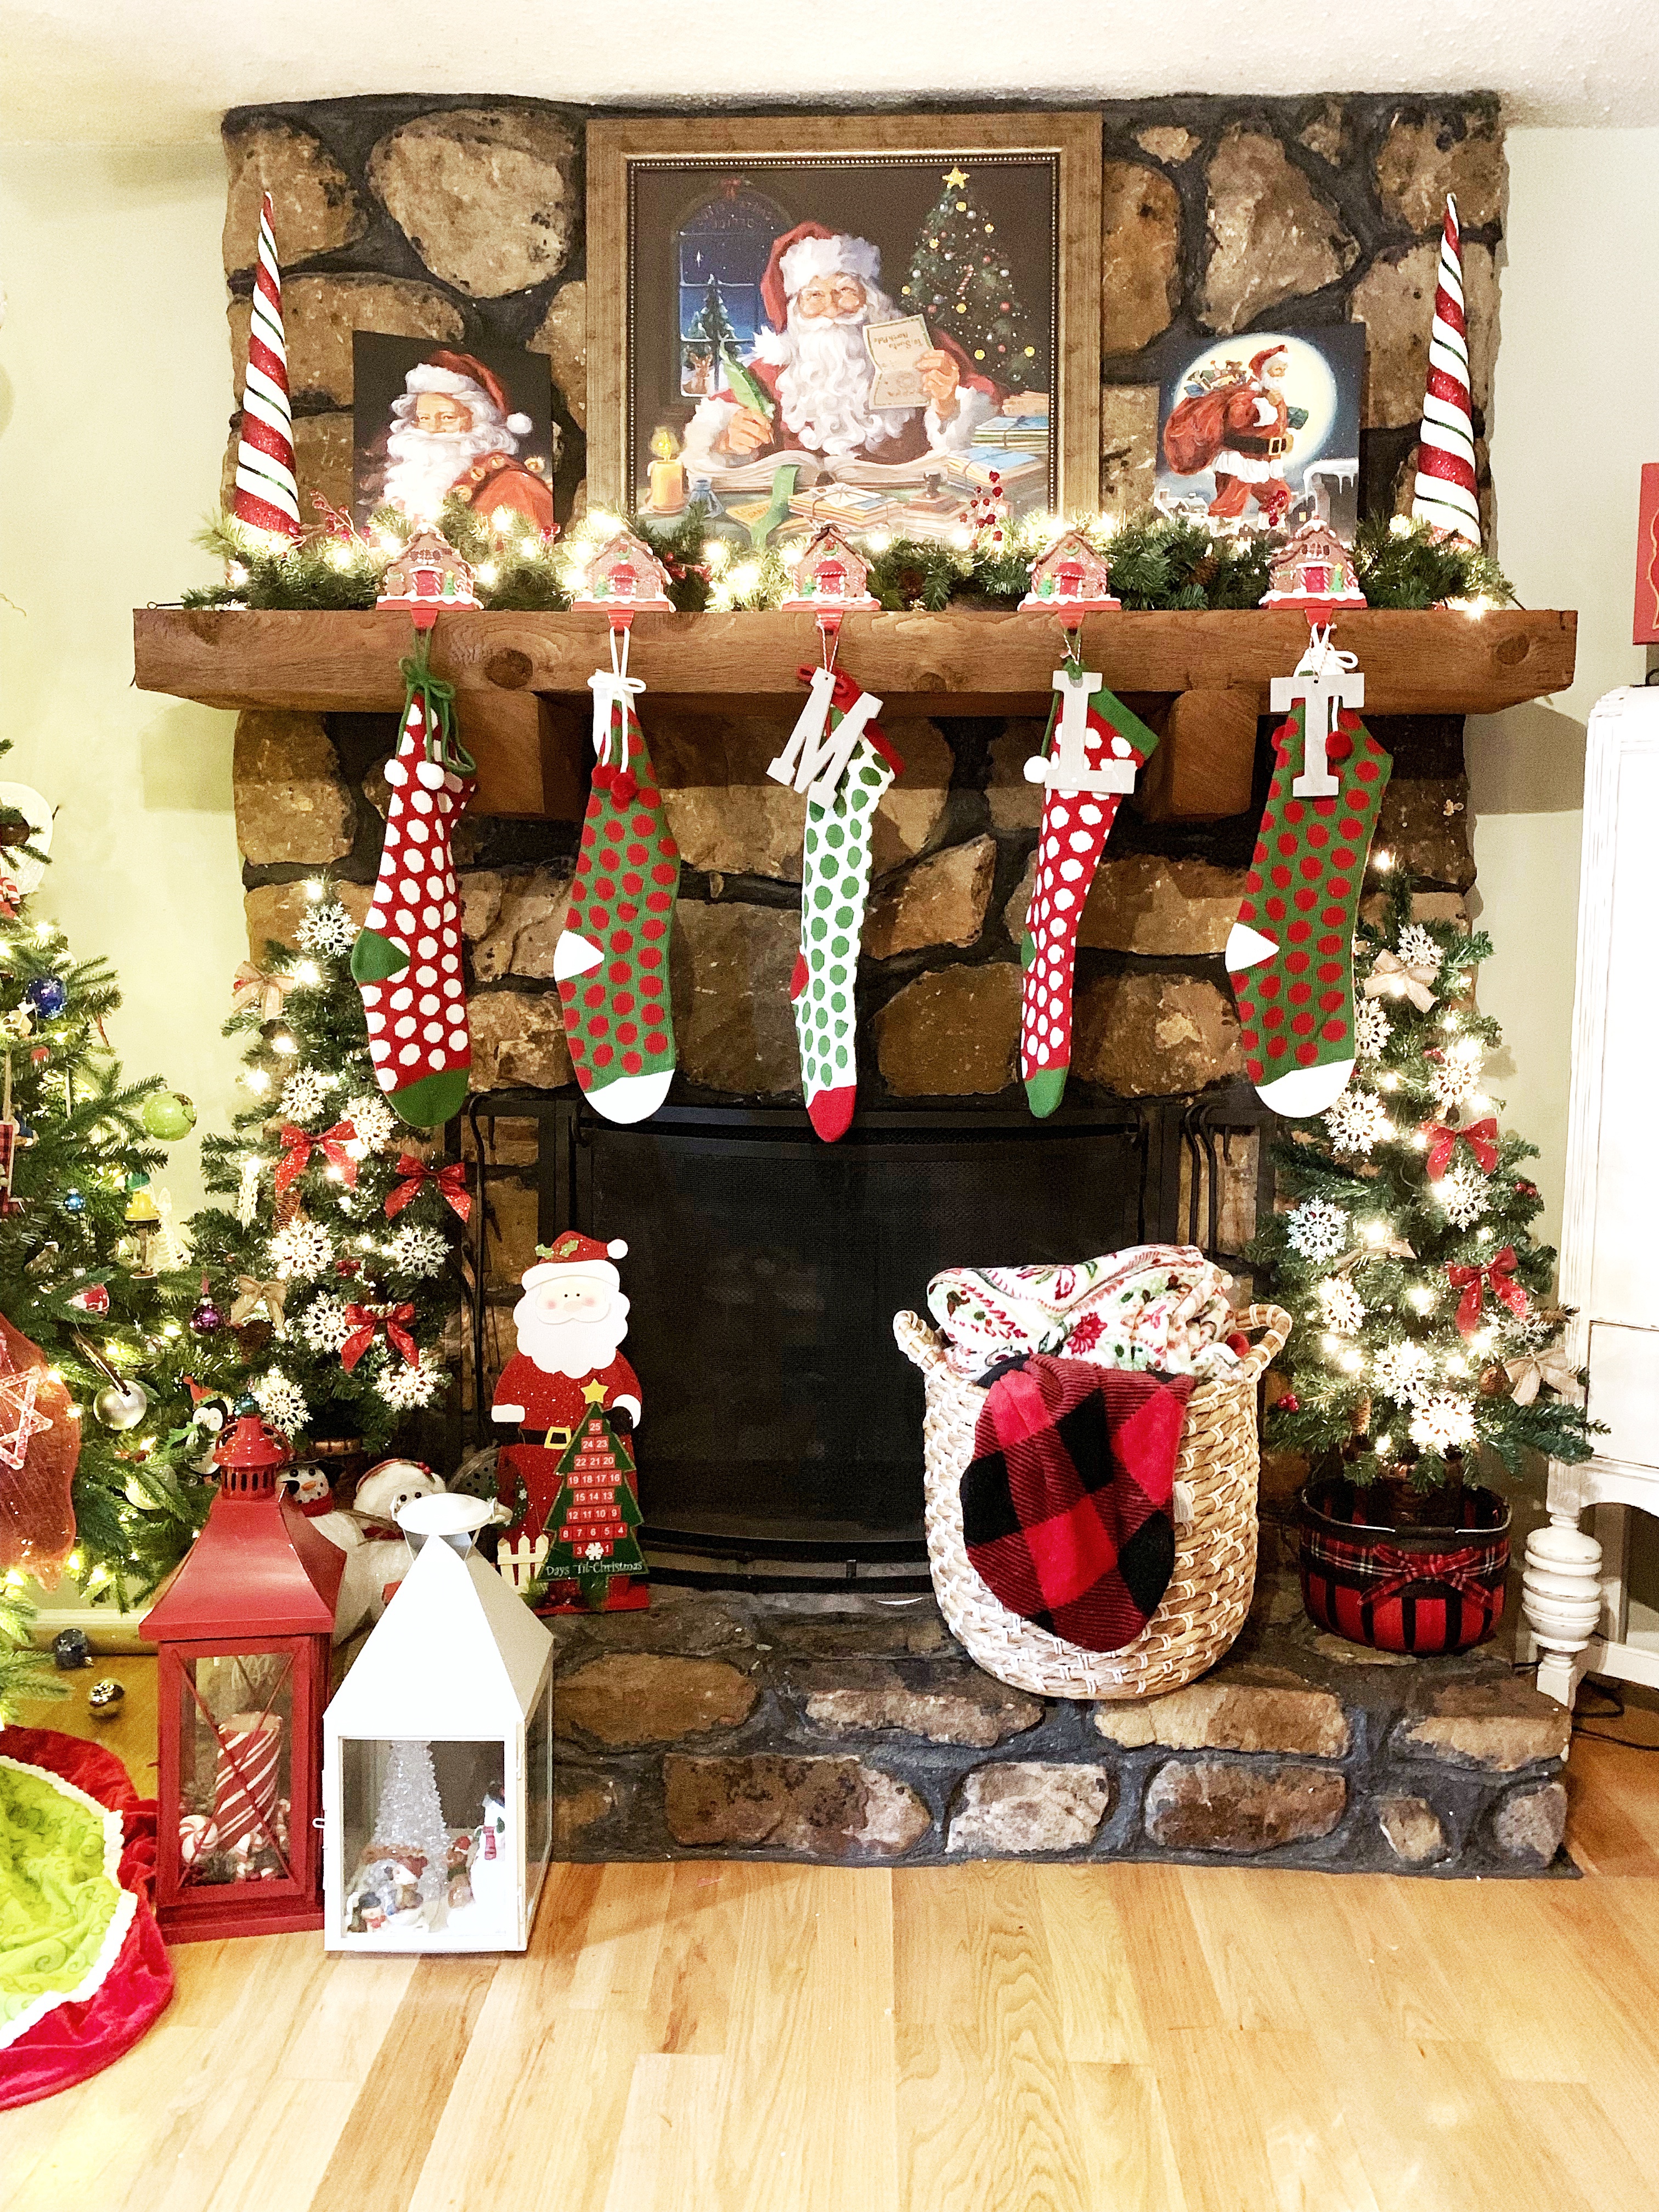
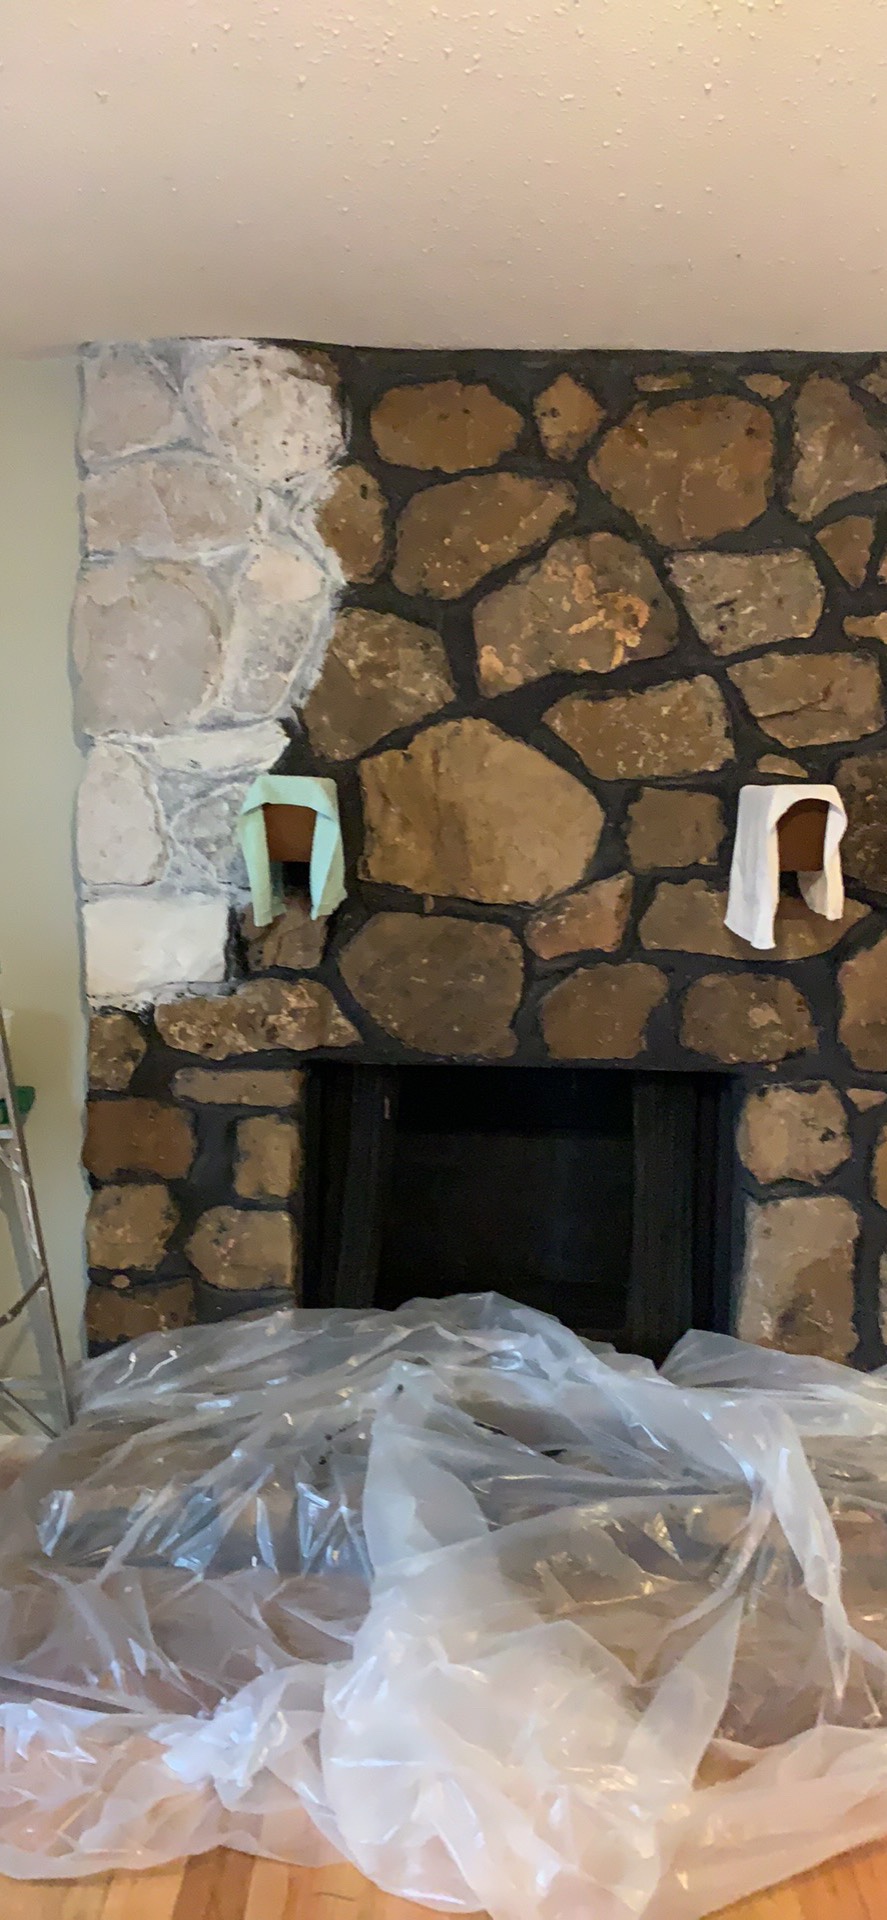
Below is a picture from this past Christmas before I started the renovation.
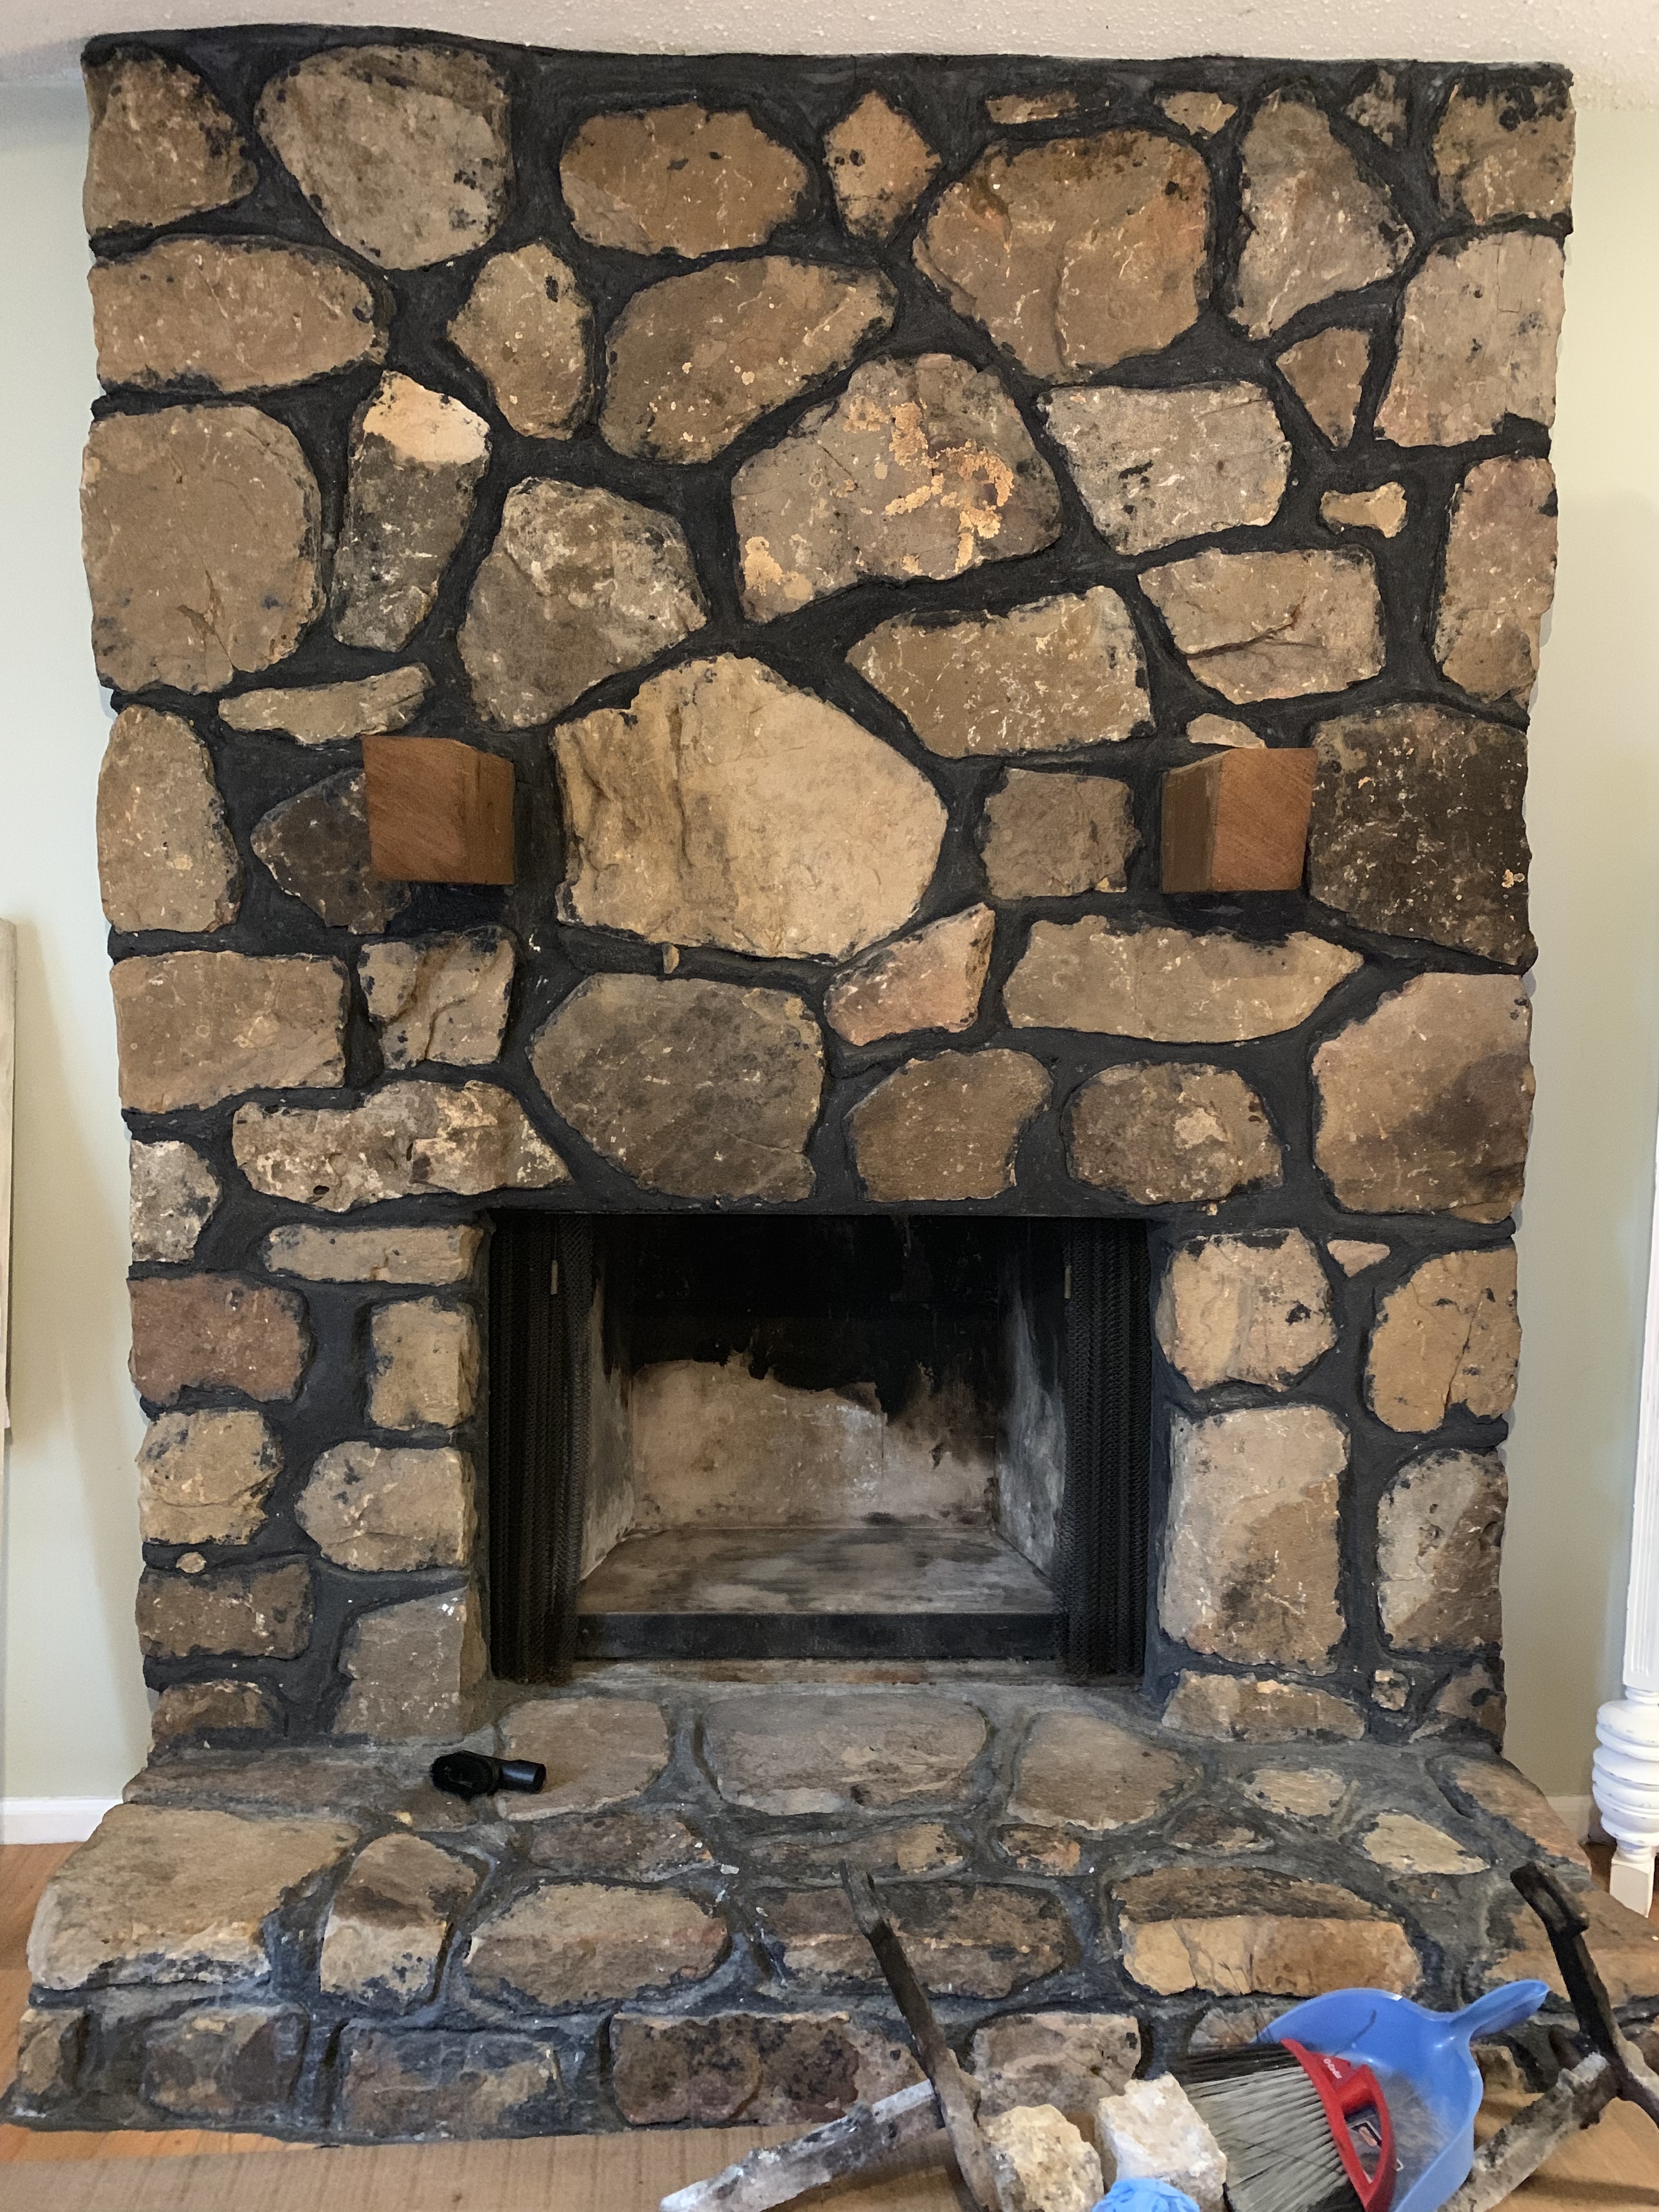
The first thing I did was clean out the firebox. I got out all of the ashes and vacuumed out everything I couldn’t sweep out.
Next I vacuumed all of the rock and grout and removed the mantle. I wanted to make sure the fireplace was as clean as possible before I started painting.
I hated how the inside of the fireplace was half dark and half light, it just looked dirty. (Well it was dirty, duh, it’s a fireplace!) So I did my research to find out what I could do about it. I found a heat resistant paint to freshen up the inside! Here is the one I used.
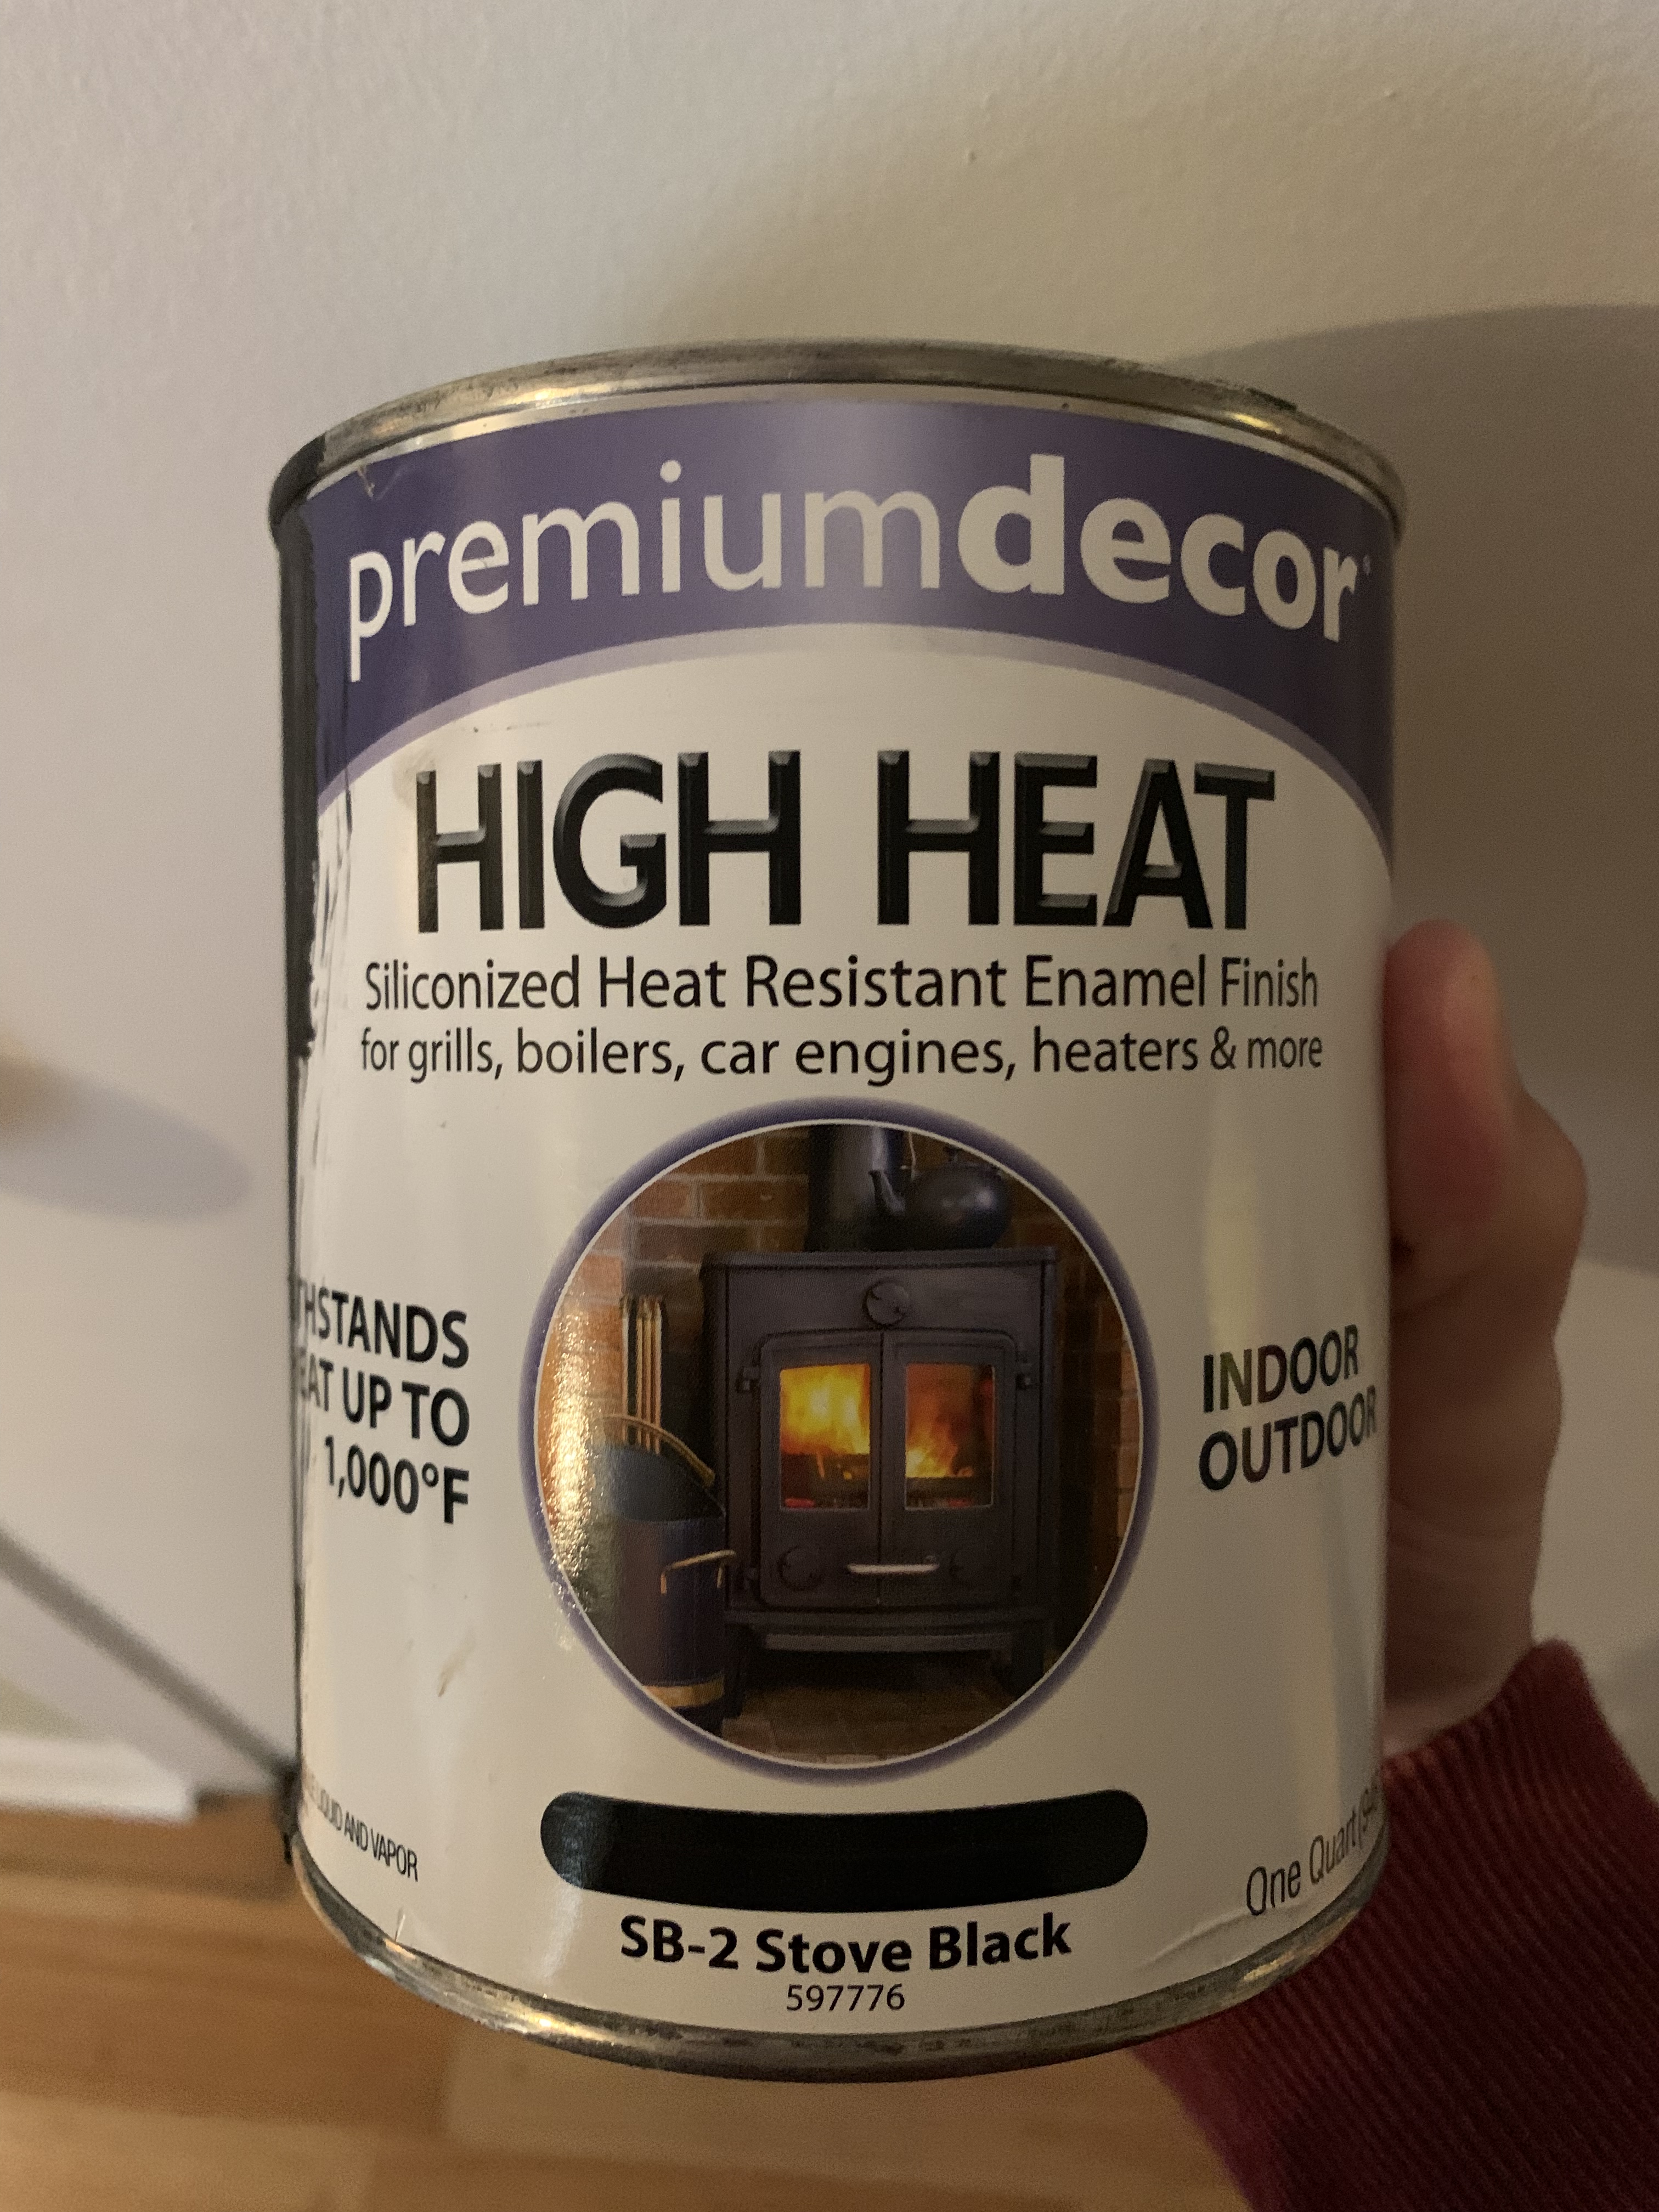
Let me warn you that this paint is as thin as water and smells HORRIBLE, but it looks beautiful when it’s dry!! Make sure you cover all surfaces you don’t want painted and open some windows!! I used a mini roller to roll it on and then a small brush for the corners. I did 1 coat and let it dry for a couple of hours then did a second coat and voila!
The next part is where I got nervous! The actual painting of the rock. My husband thought I had totally lost my mind and just could not envision a white fireplace!! I had the image in my head of what I wanted it to look like and it was white, but not shiny white. I didn’t want it to be shiny, that was my biggest fear. So I started with a white chalk paint and mixed 1/4 paint with 3/4 water. I used a heavy duty paint brush. I started at the top, next to the ceiling because I knew it was going to be runny. I started by painting a small section and then taking a damp cloth and dabbing off the excess.
Here goes nothing!!
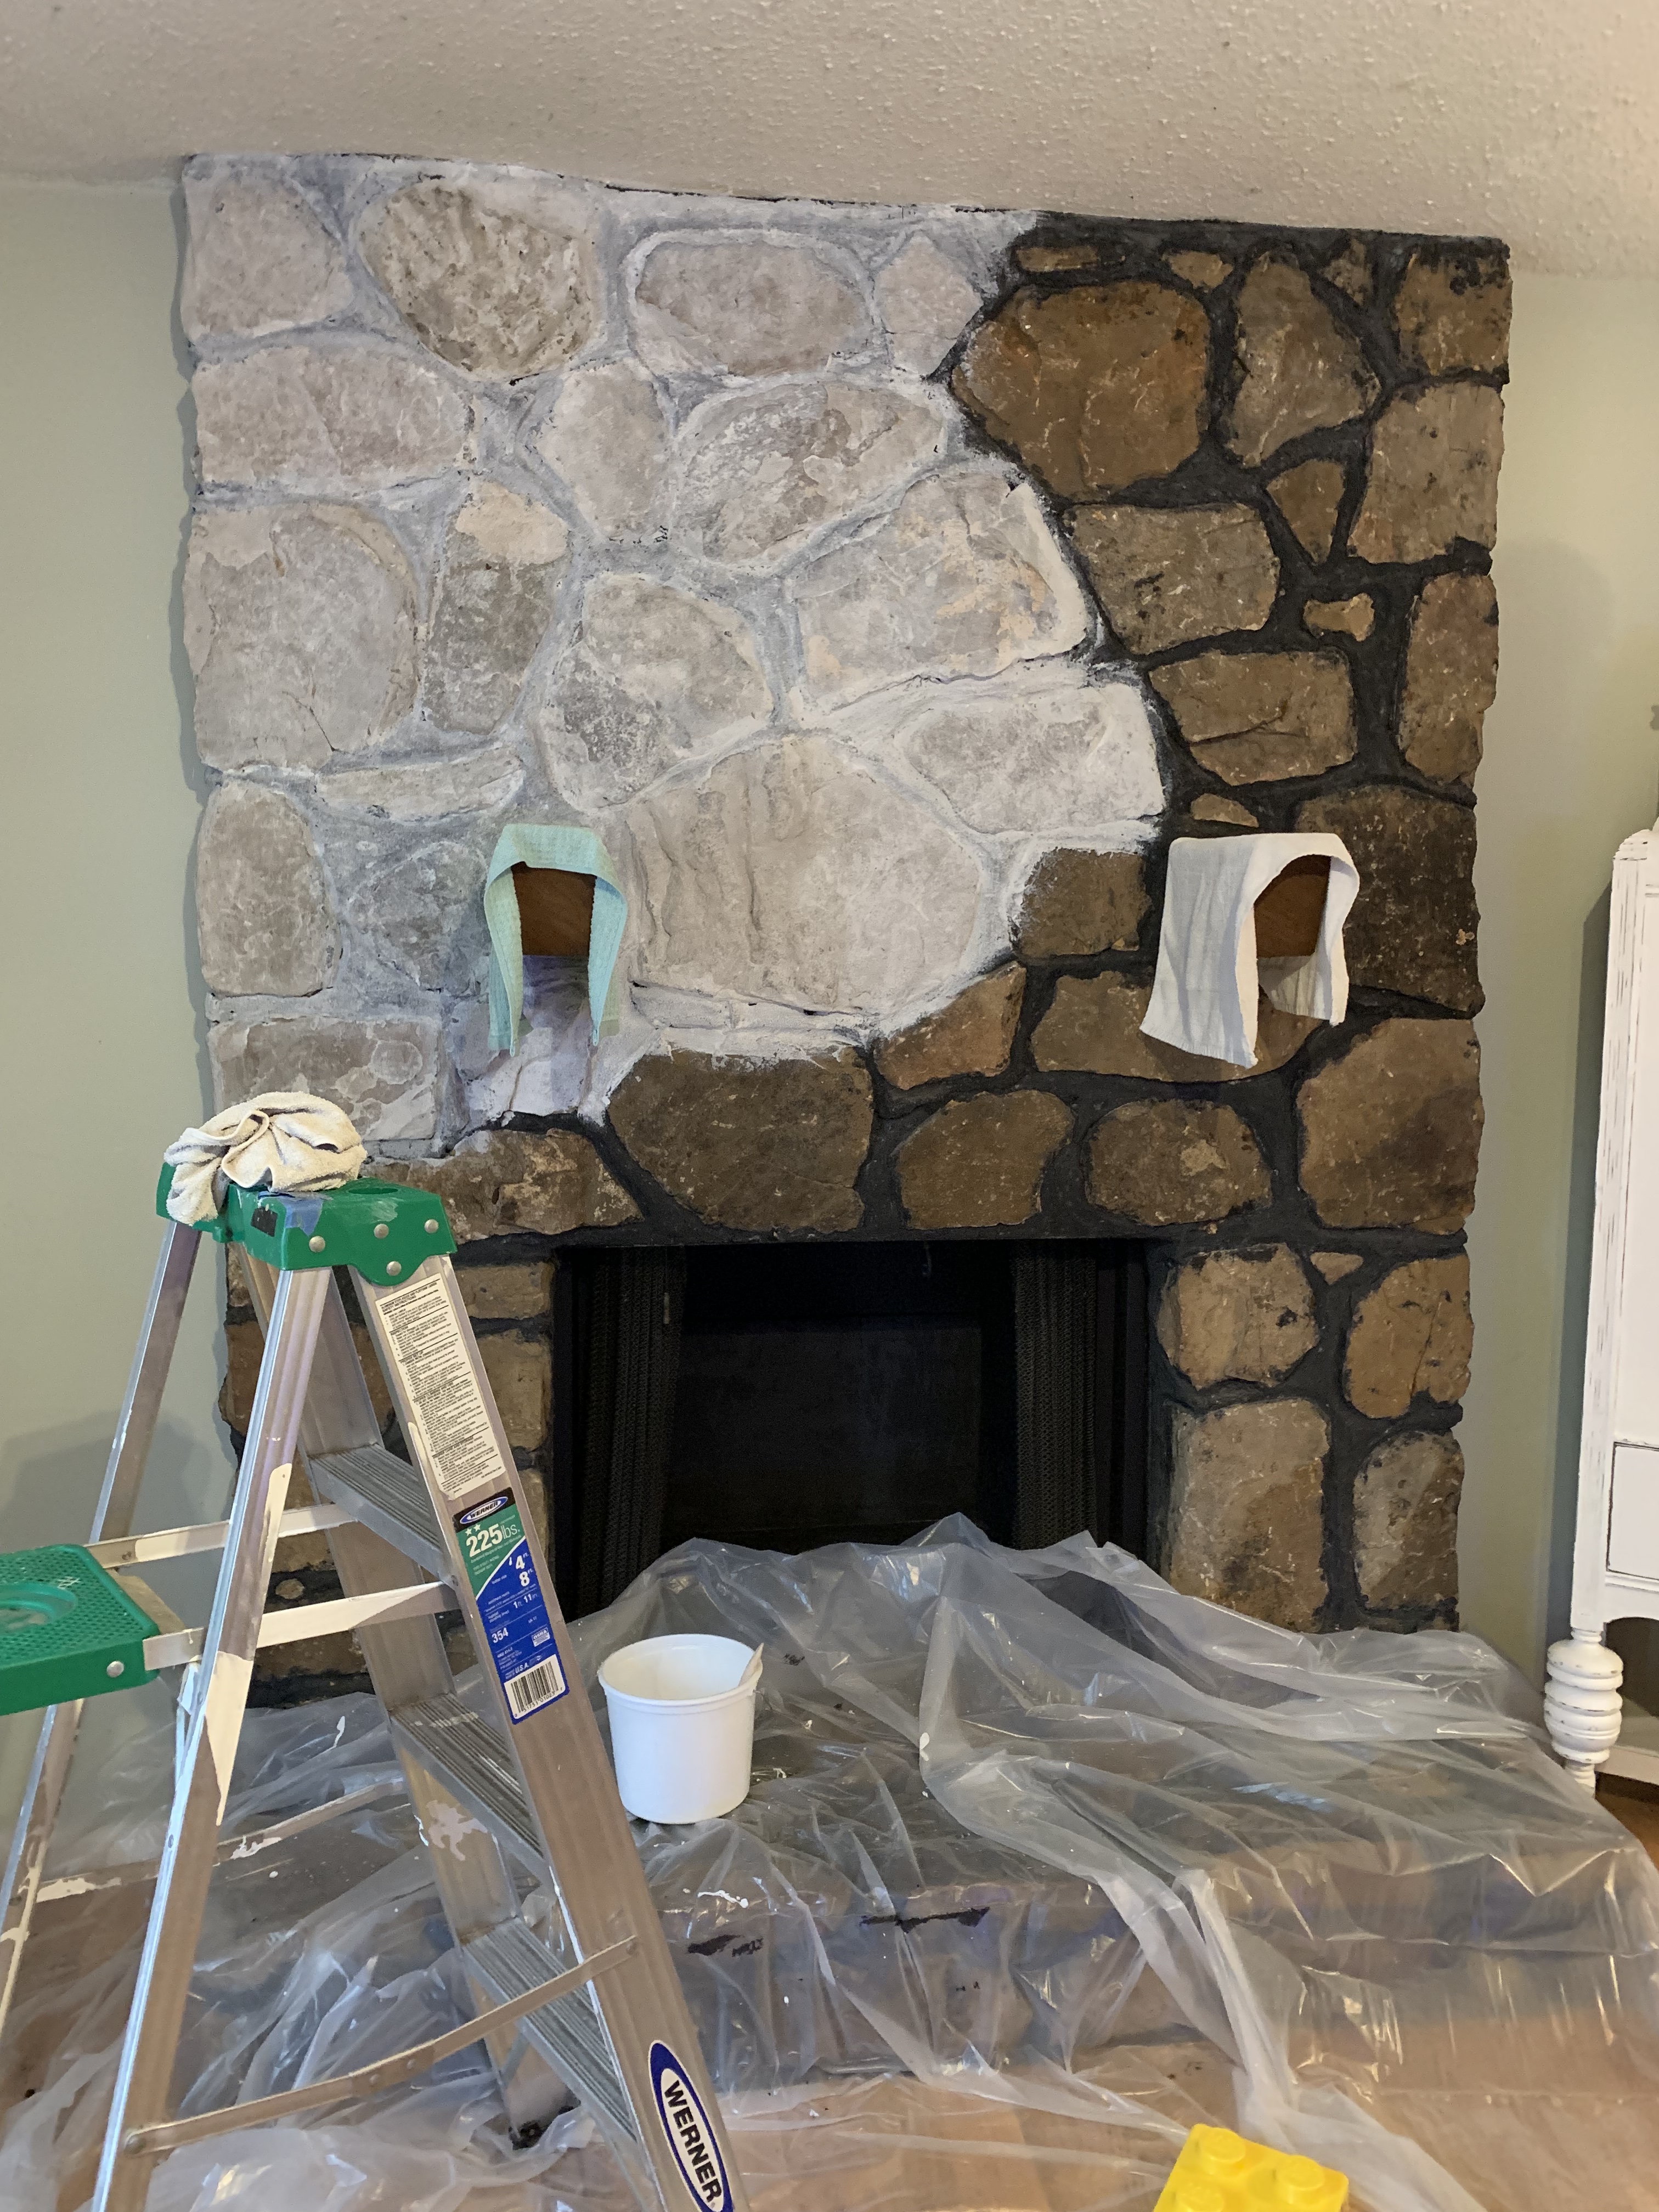
At this point I was getting nervous because it DID NOT have the look I was hoping for!!

First coat is complete!! At this point I decided I didn’t want it quite this flat. So I went to the basement to my paint stash and found some white semi-gloss wall paint. I had about 1/4 of my chalk paint mixture left and poured the semi-gloss wall paint in with it. Then I added water to get it back to the consistency I needed. (Basically like the consistency of heavy whipping cream) And here goes nothing, I was going in for a second coat!! The entire time I was thinking, my husband is going to hate it as soon as he walks in!!
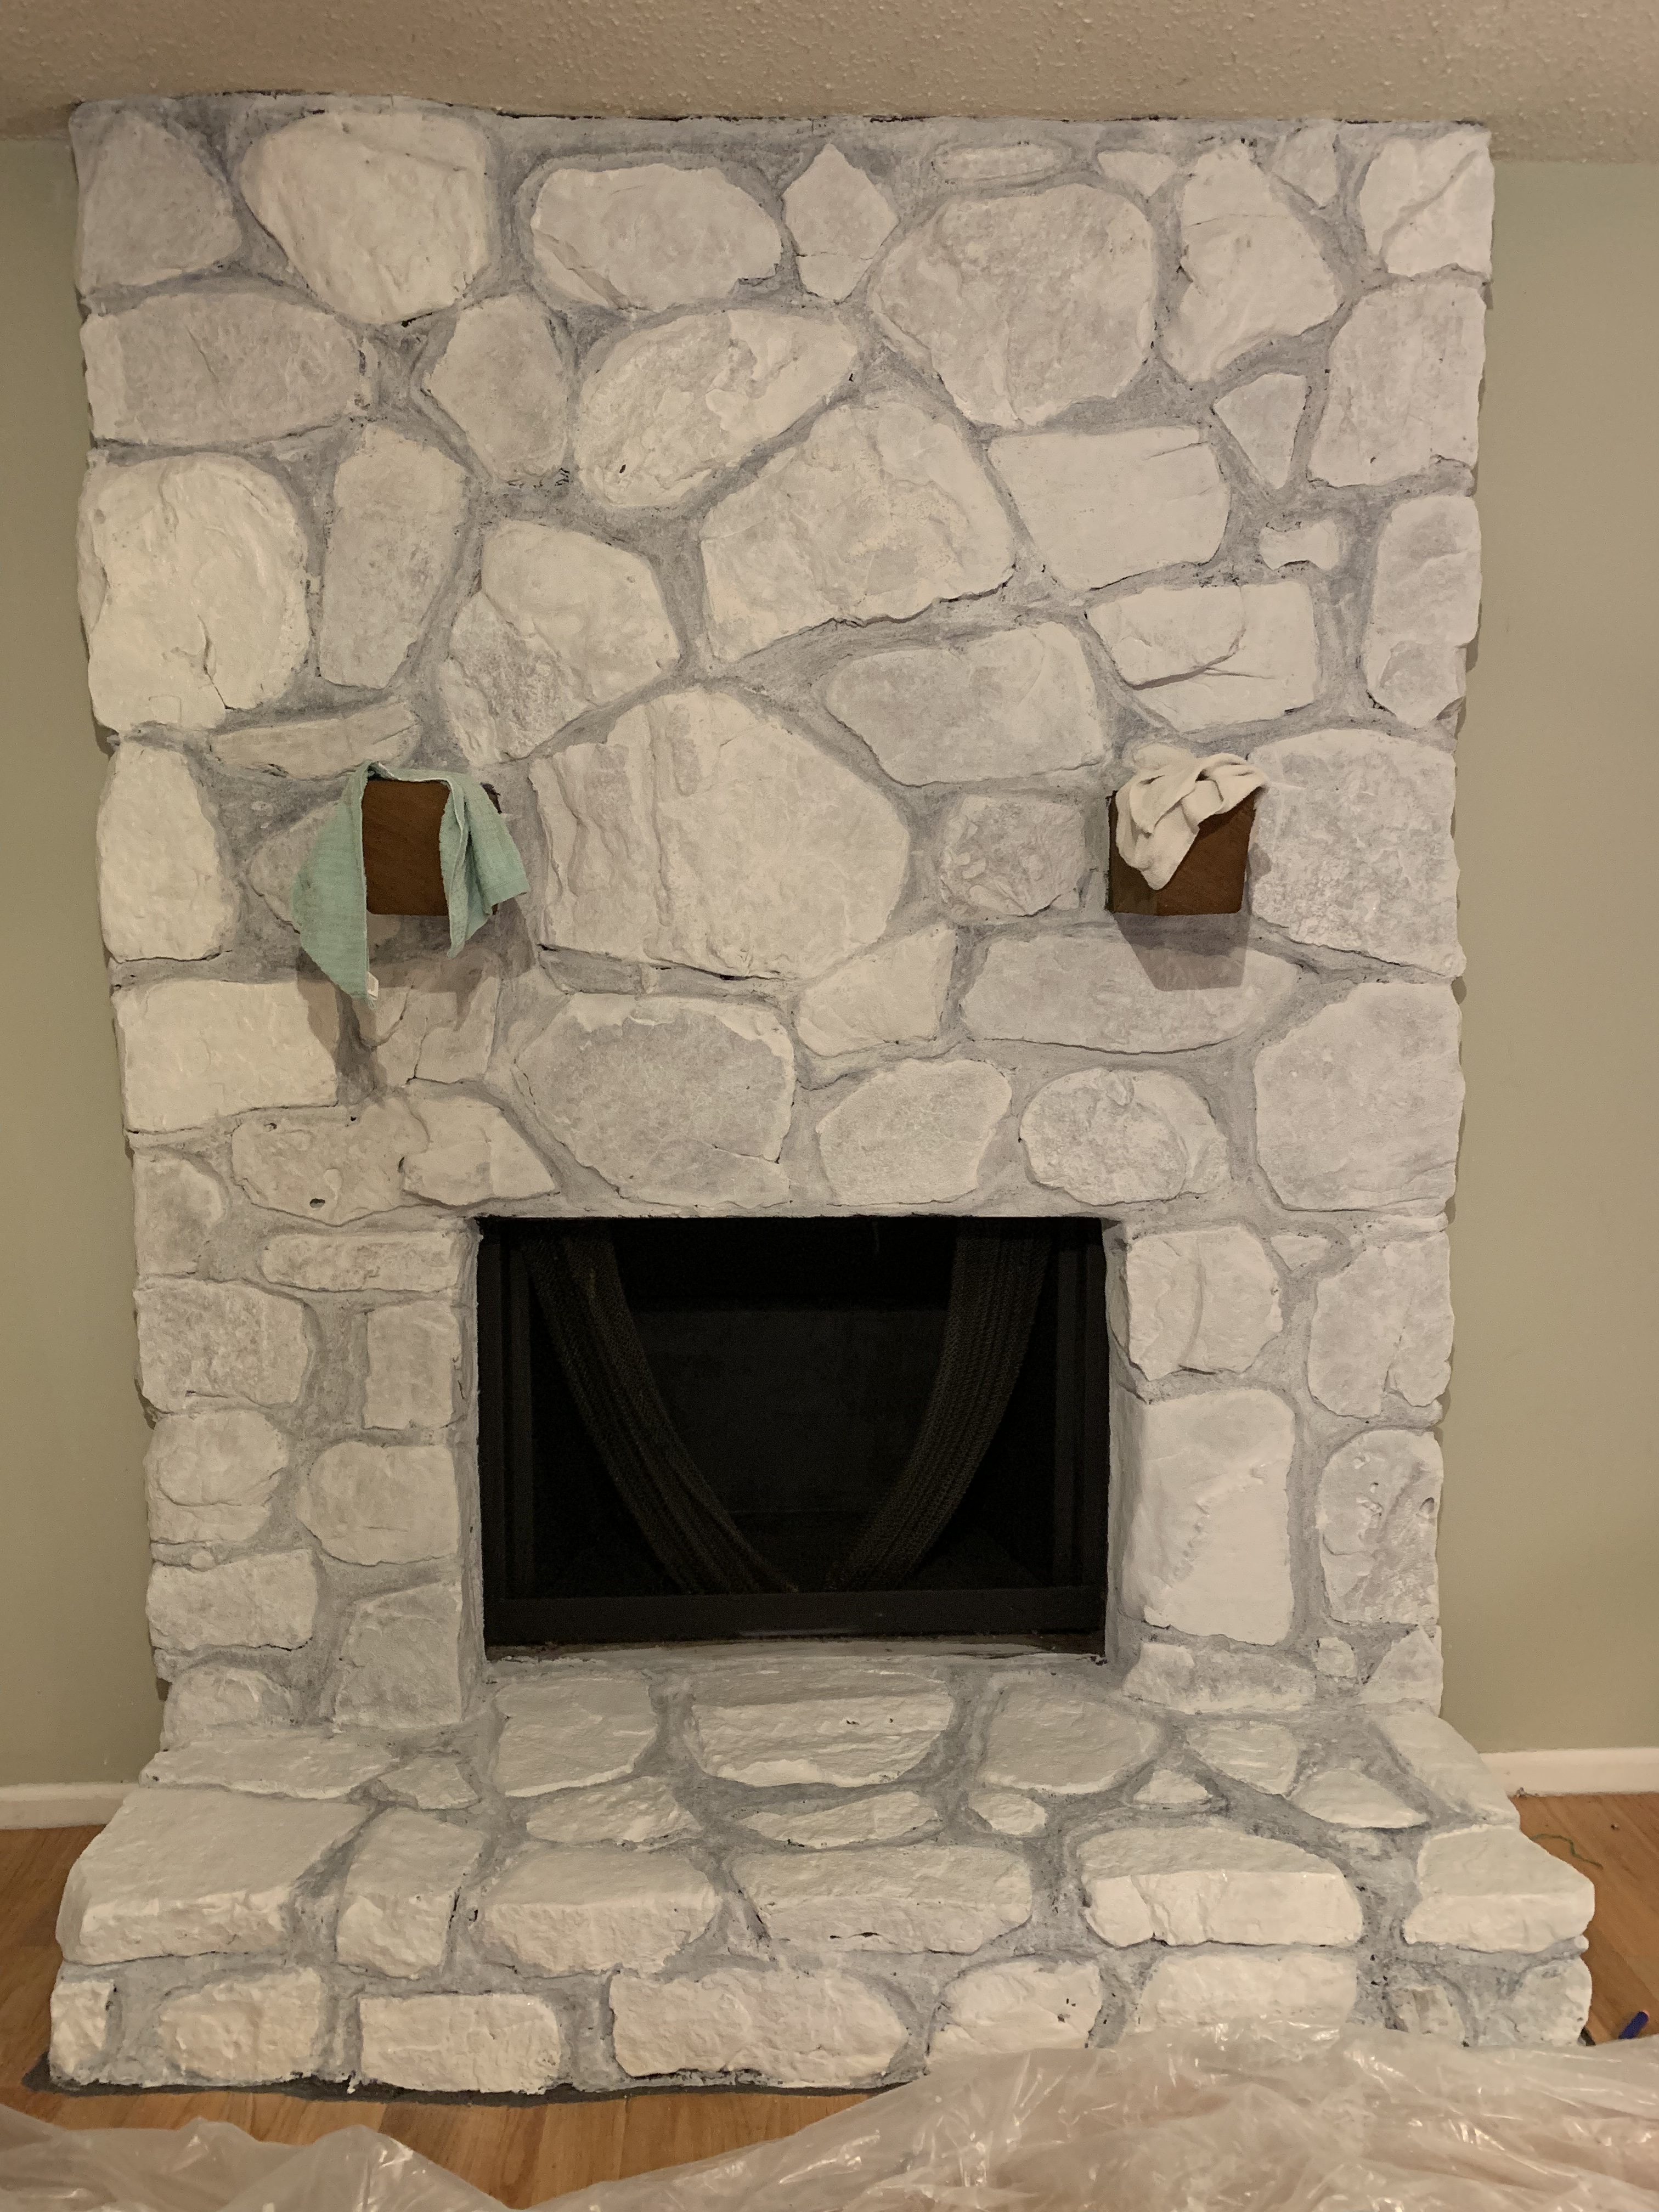
I started going over the stones and decided not to dab off the excess on the second coat and I liked it so much better!! The chalk paint mixed with semi-gloss gave it the perfect look! Not too flat, not too shiny!! Also, I did not do a second coat on the grout. I wanted it to be darker than the stone.
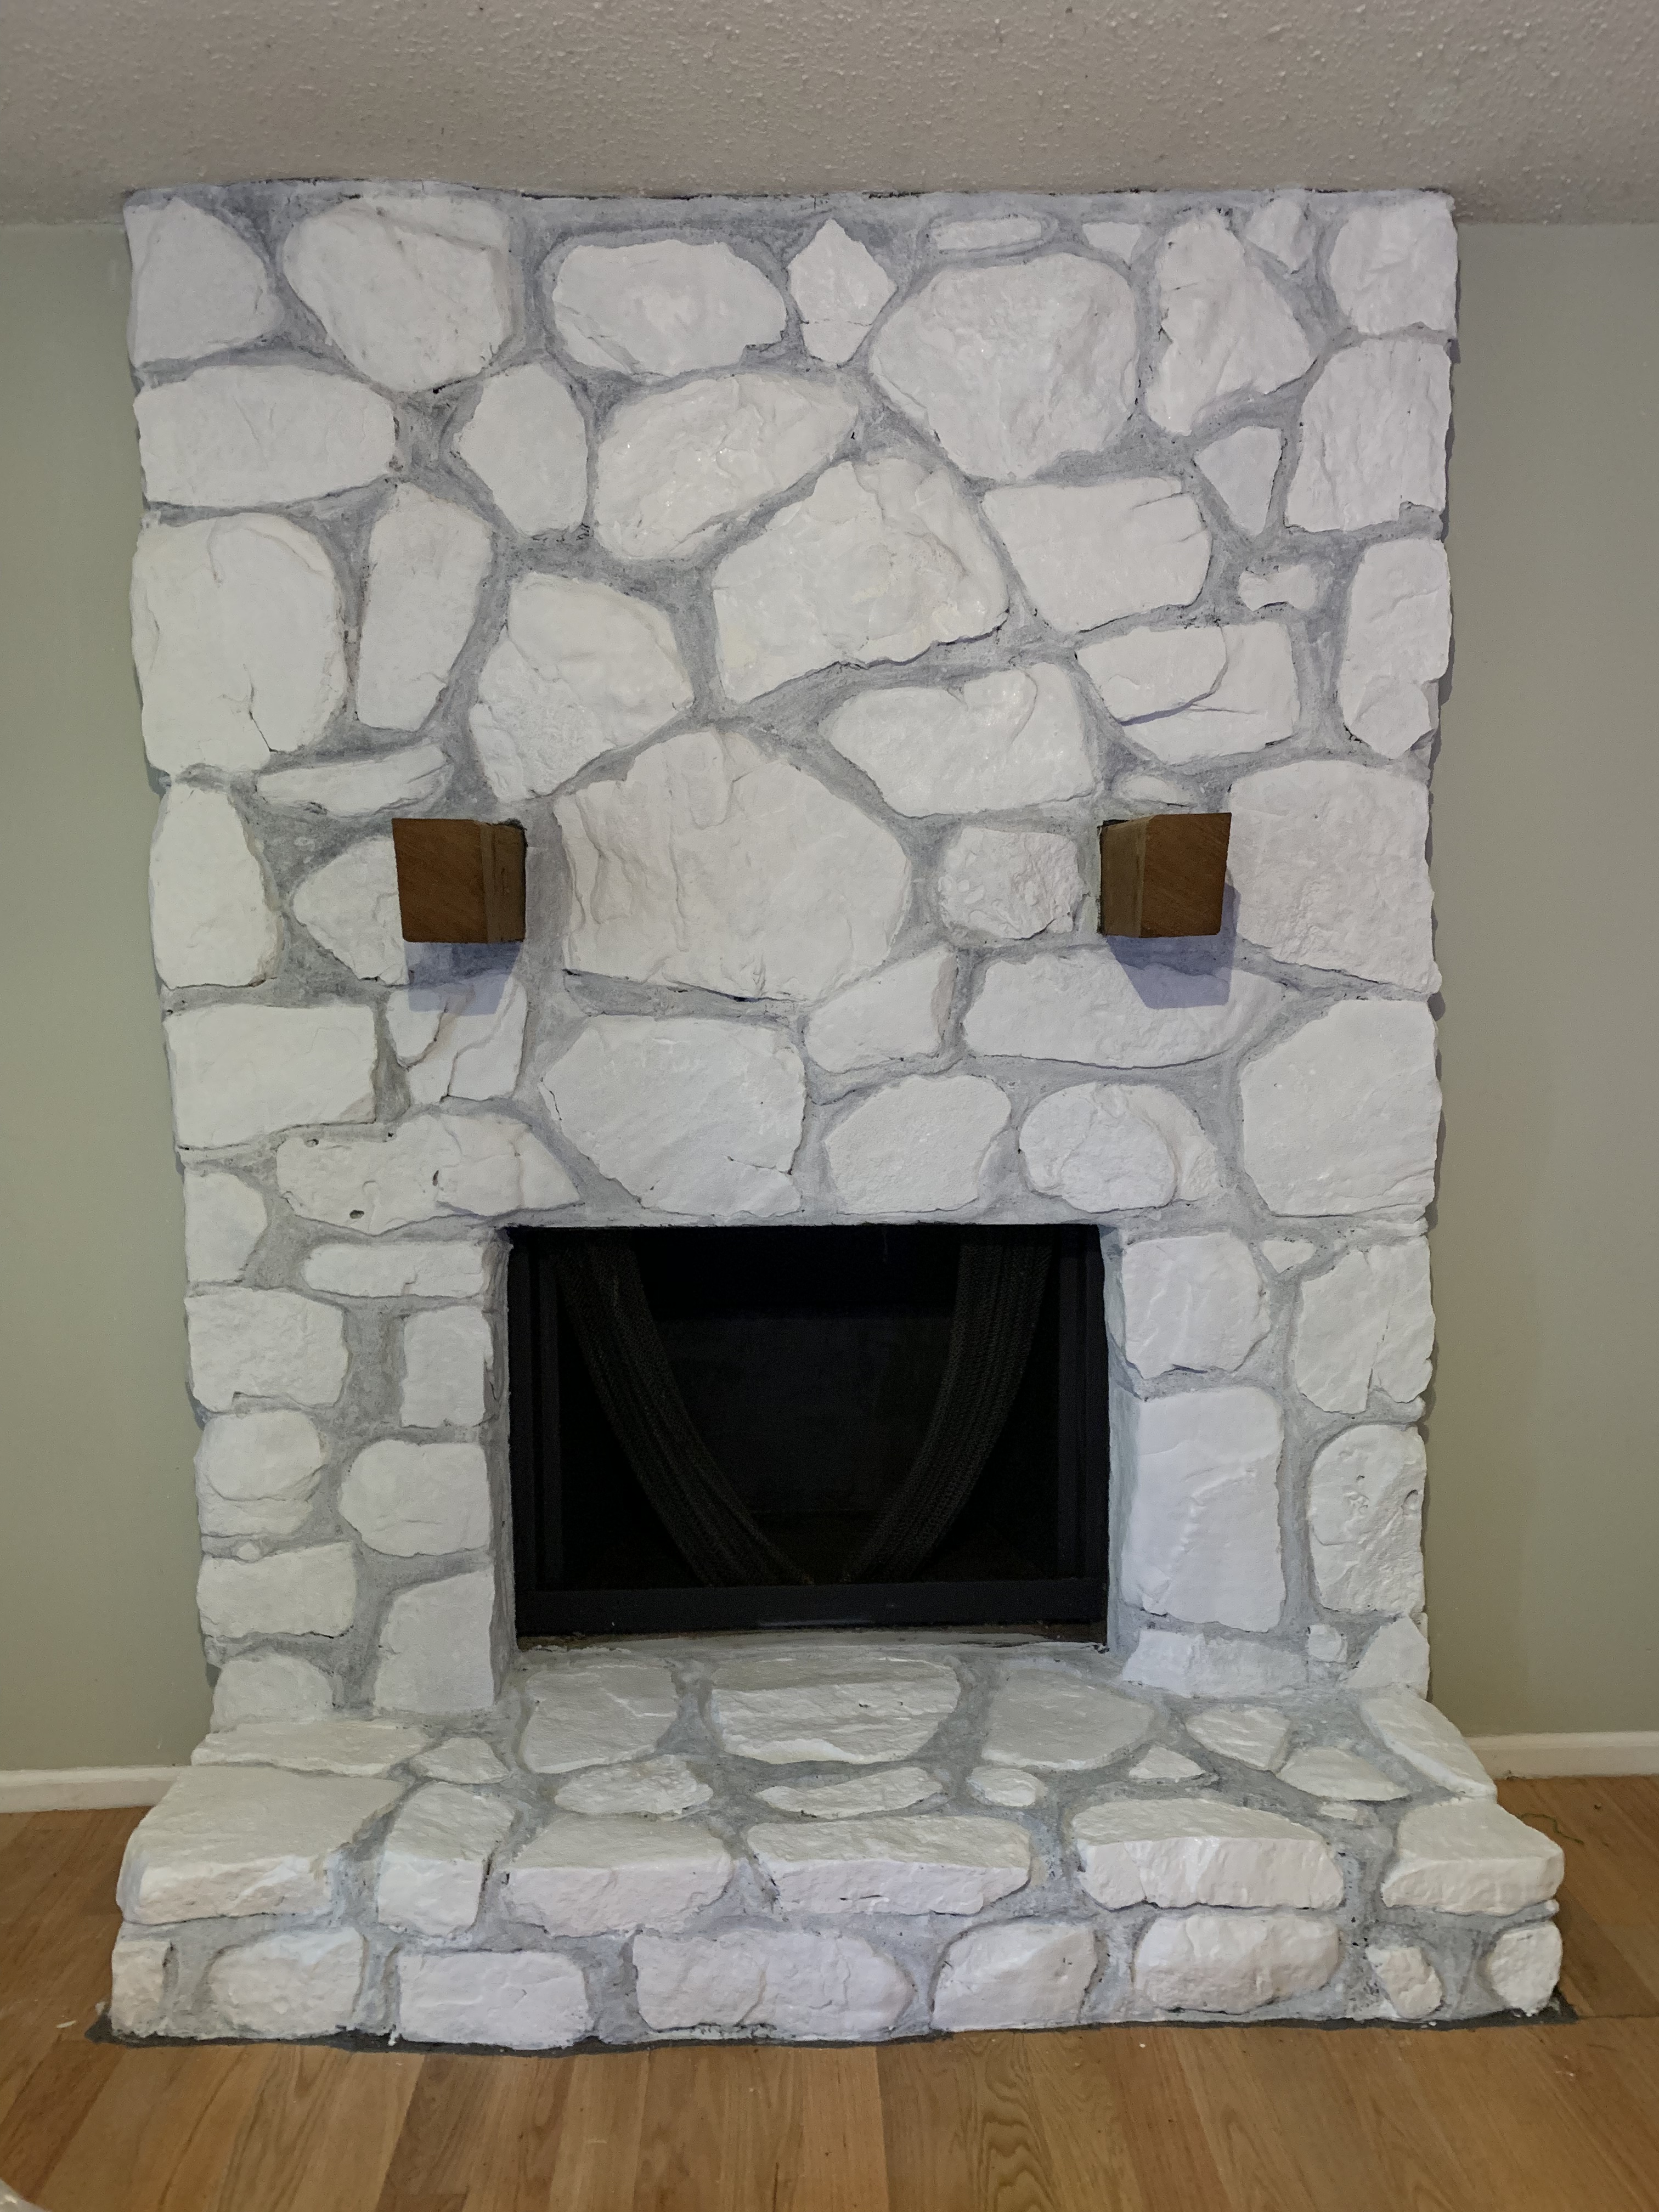
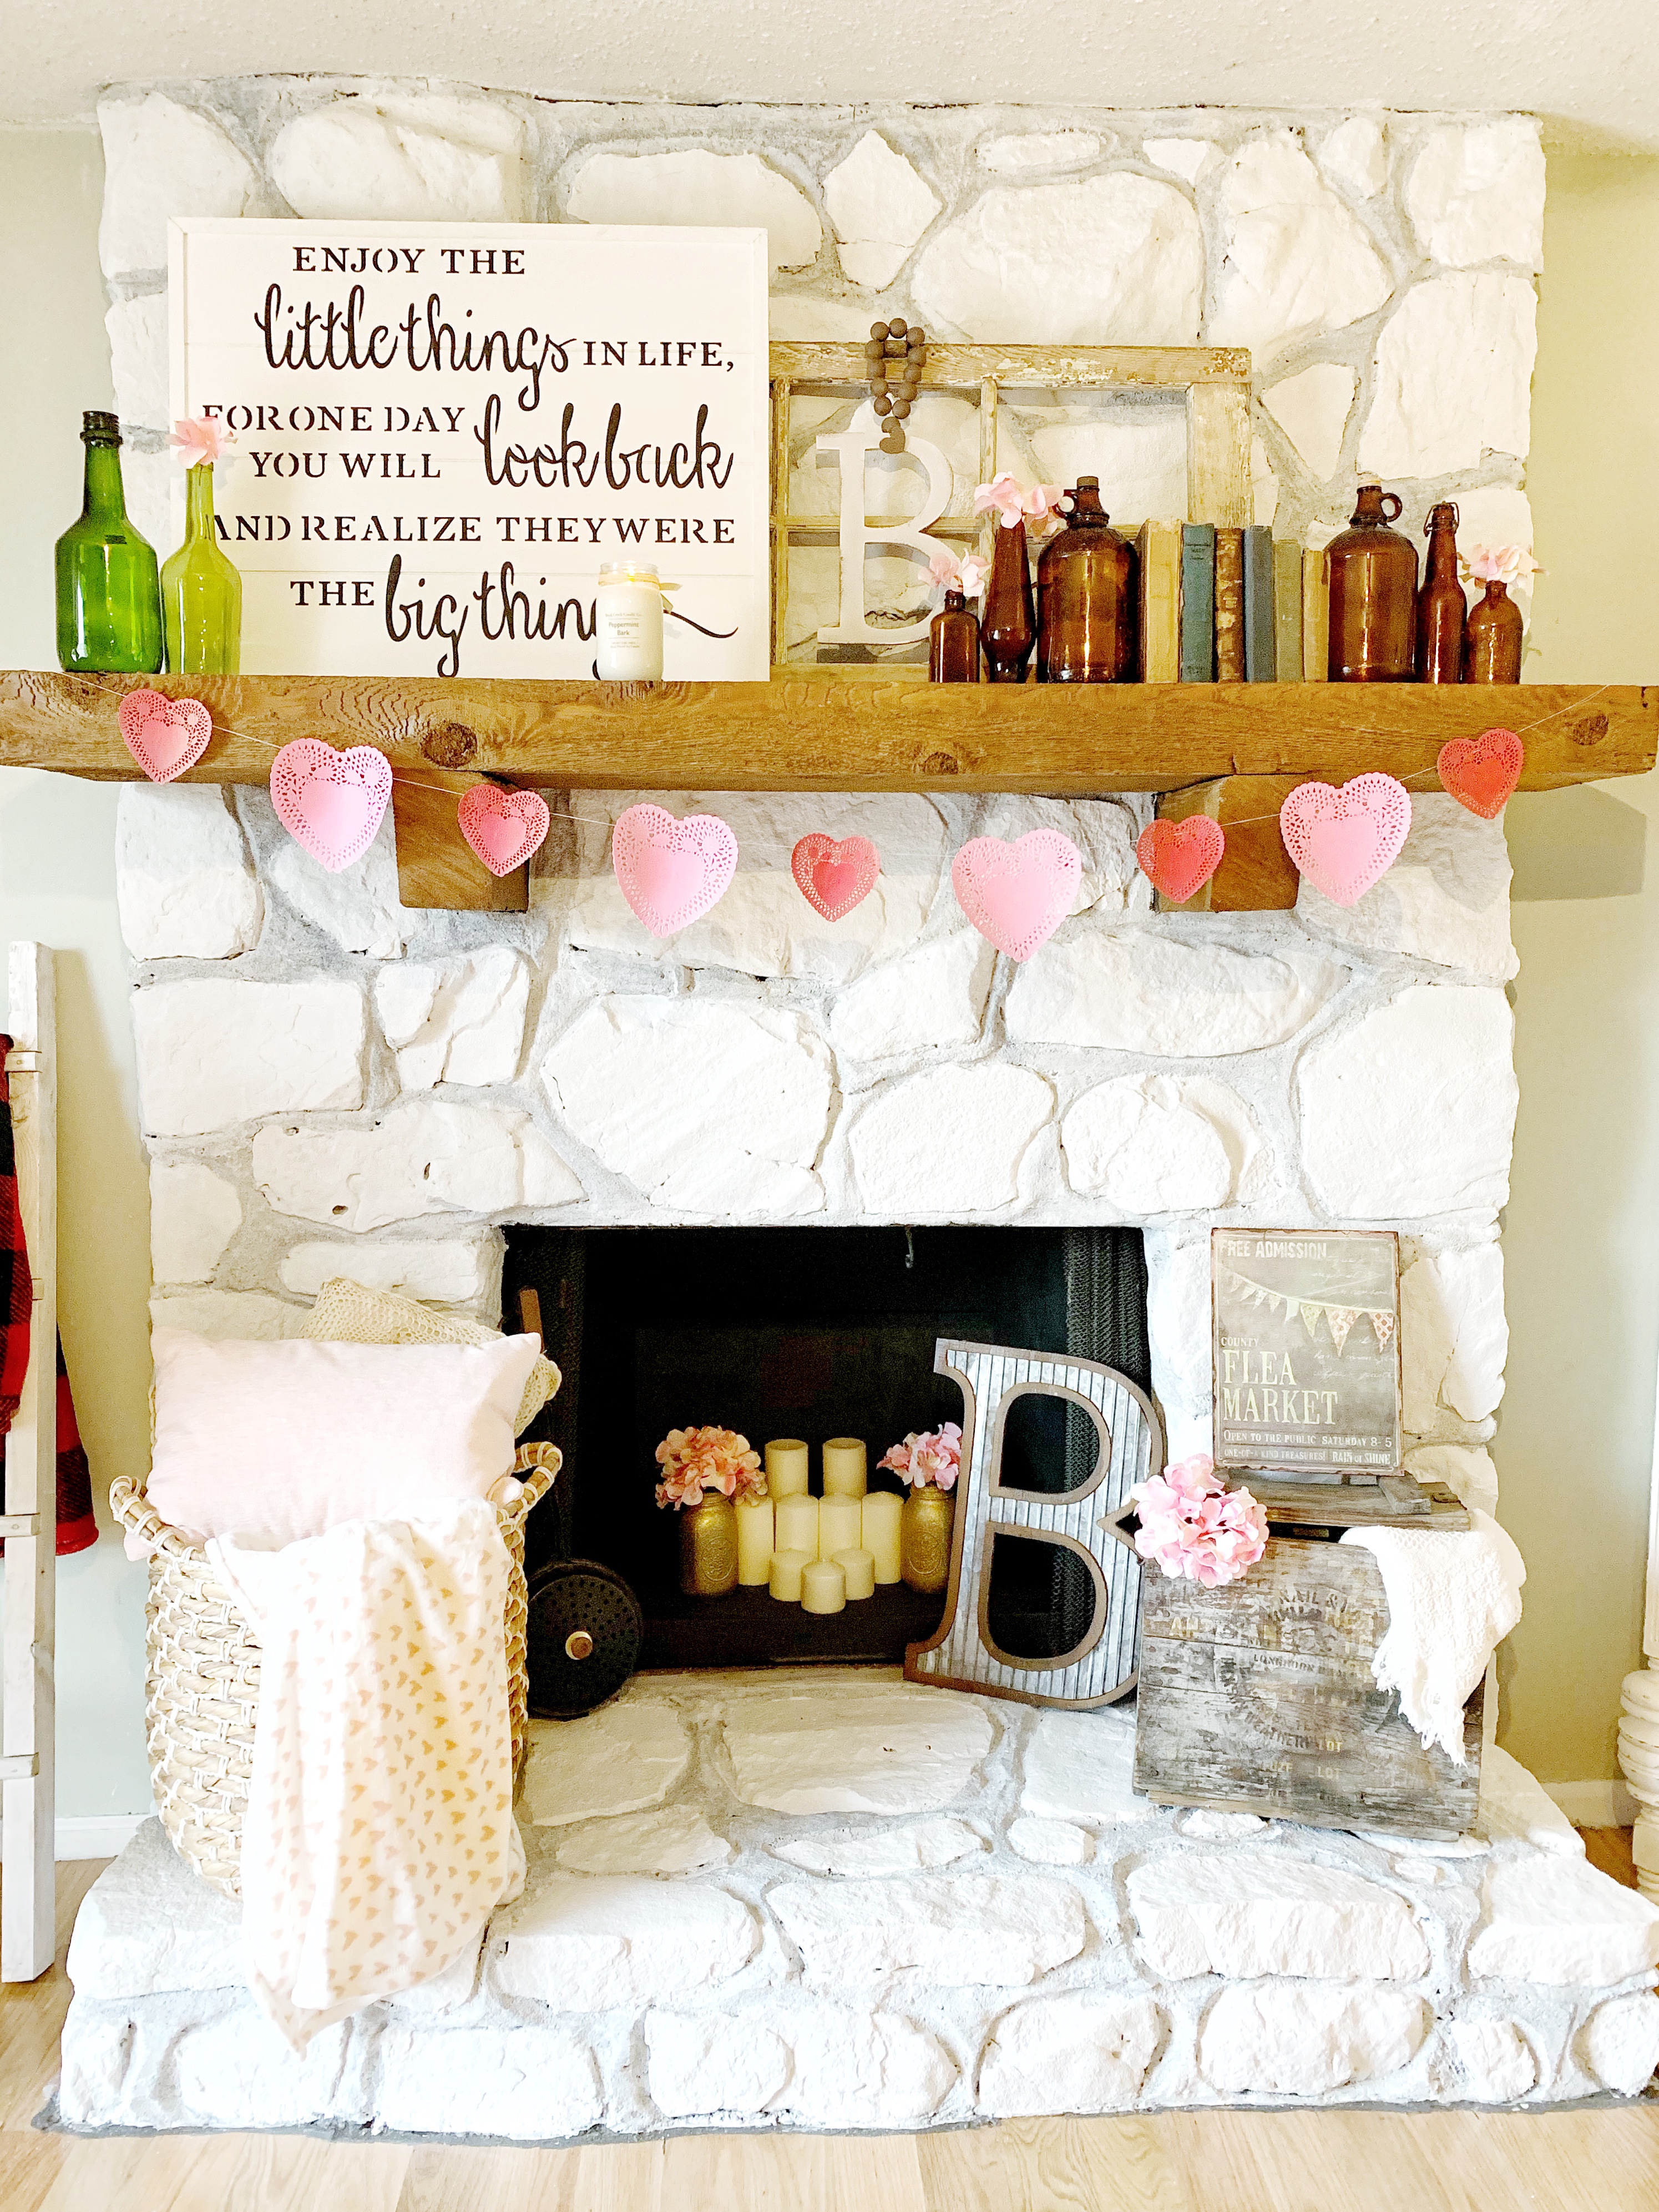
ALL DONE!! And it turned out exactly how I pictured it in my mind!!!
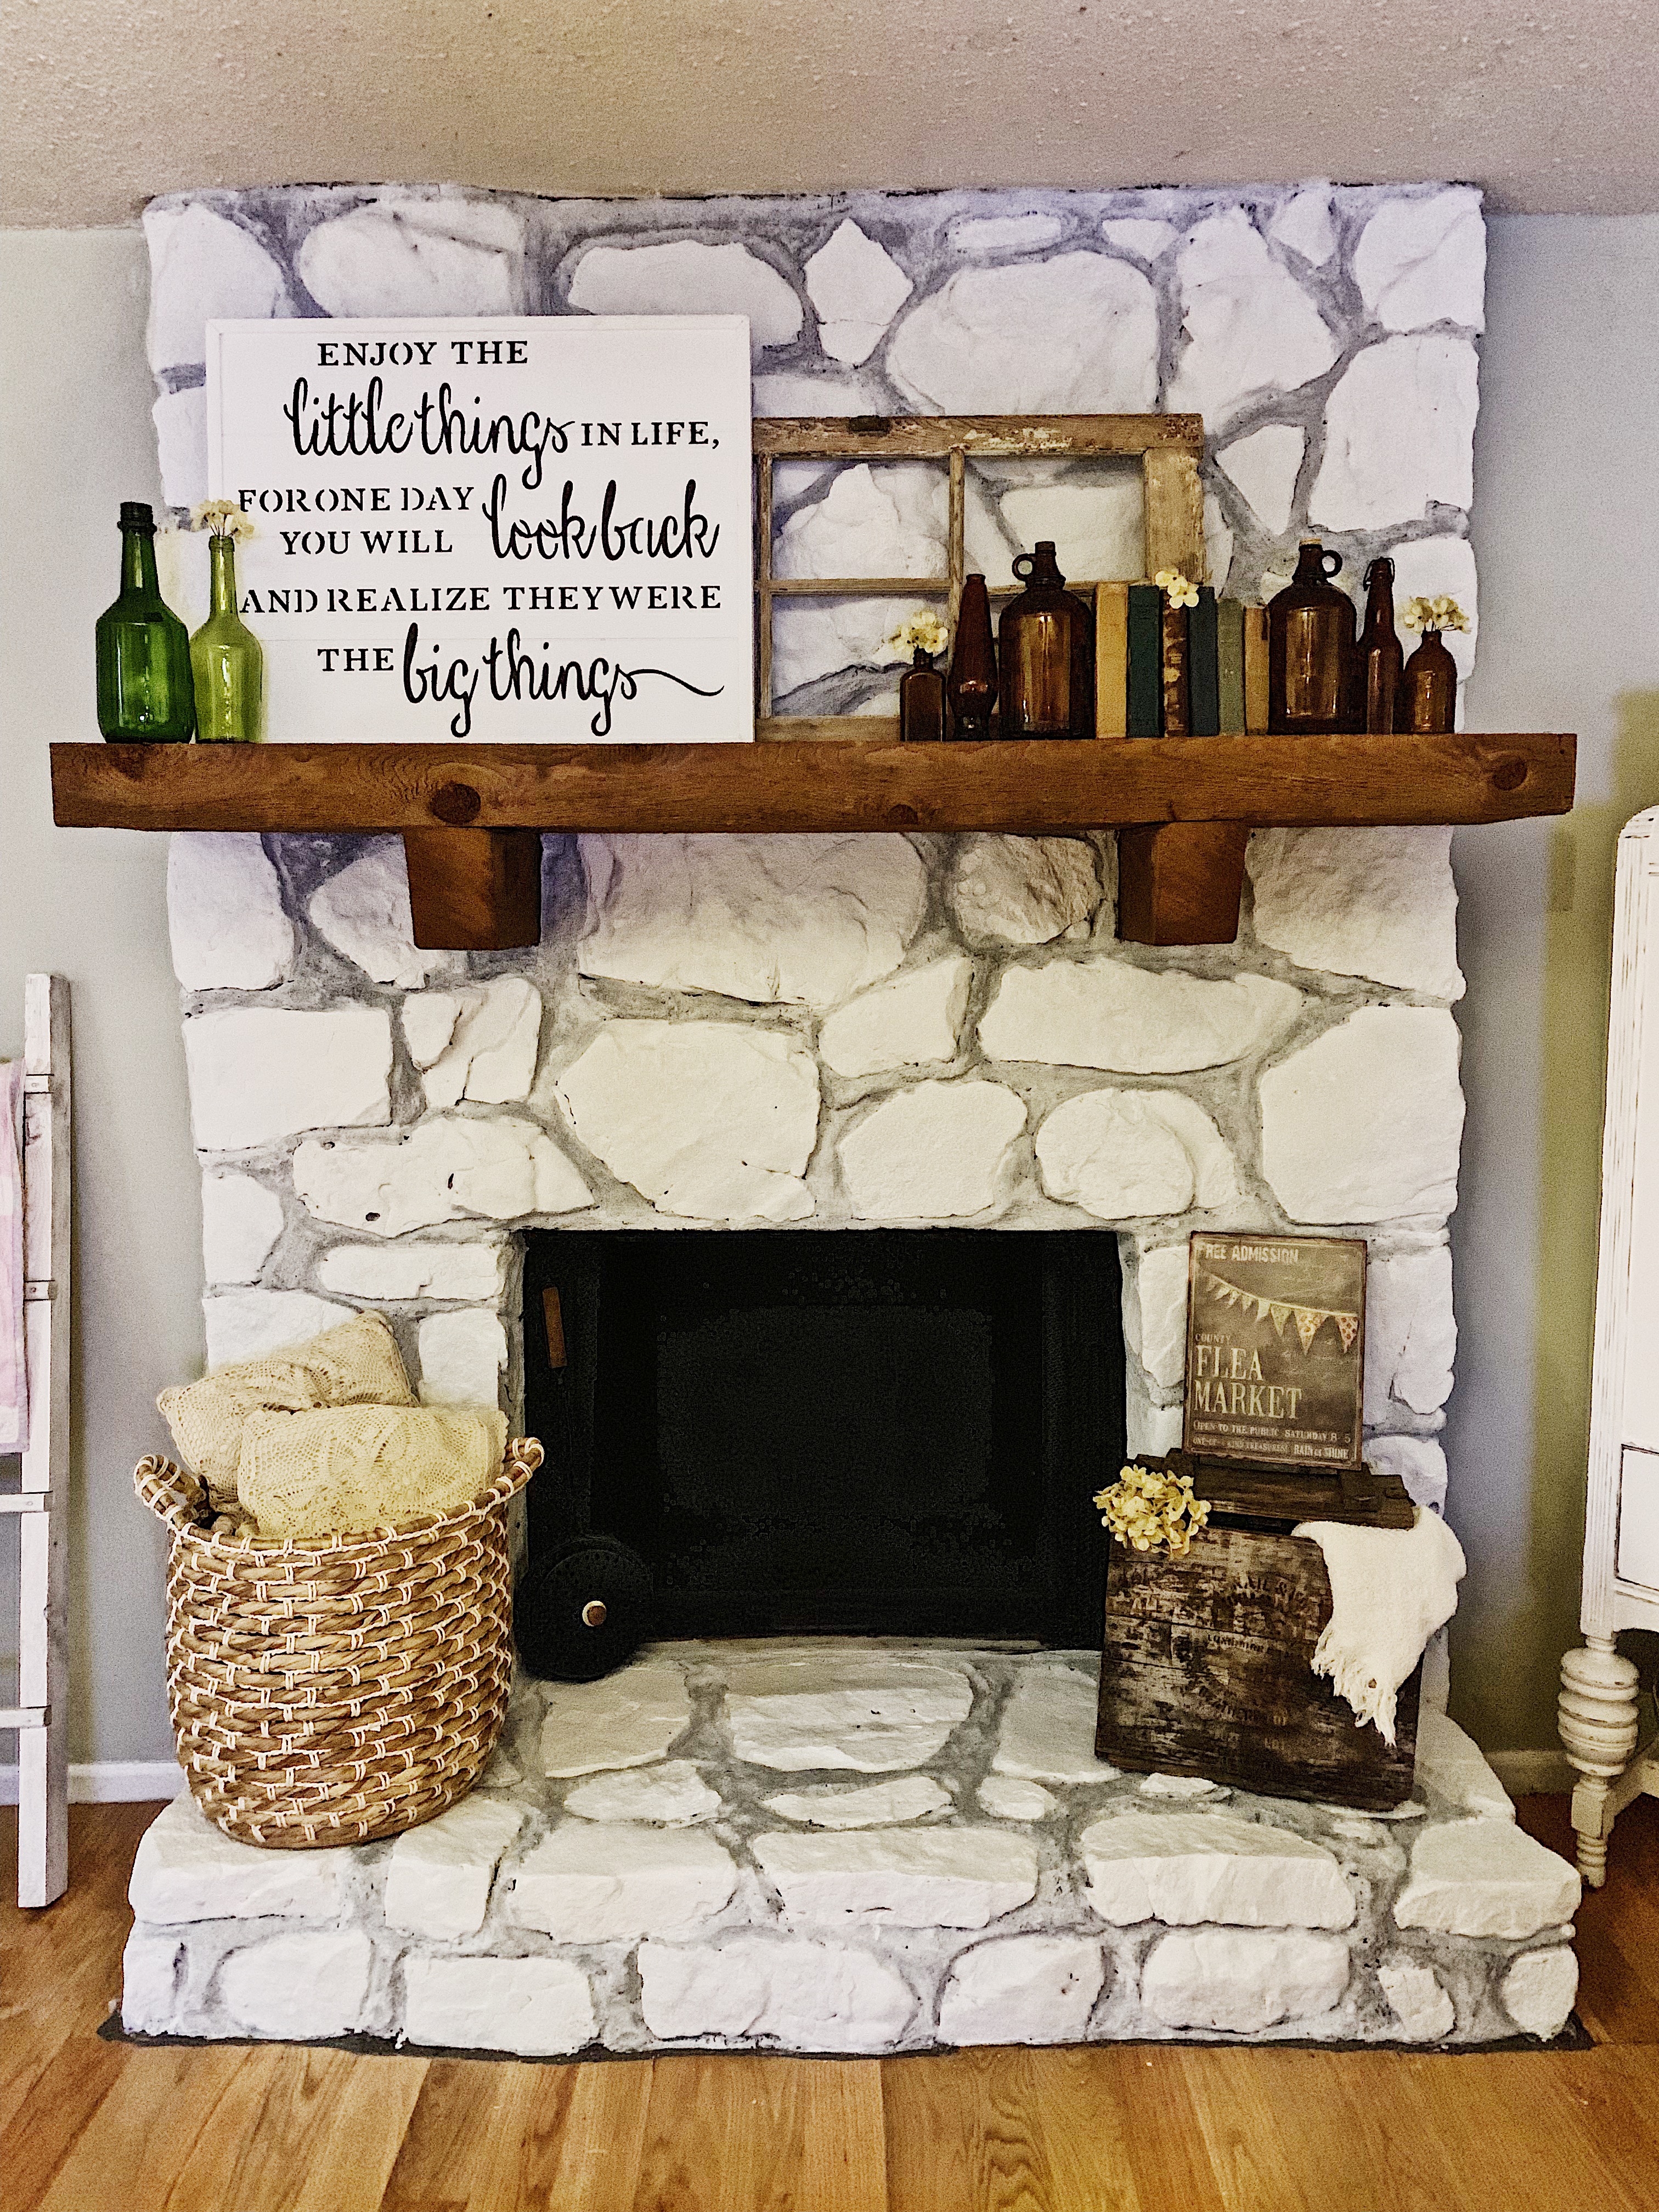
I am so beyond happy with the way it turned out!!! It brightens up the room so much and I am just in love!!!
My biggest tip for you, if this is the look your going for, is to mix white chalk paint with white semi-gloss wall paint. And don’t waste your time dabbing off the excess! It was way prettier without doing that step.
If you have any questions that I didn’t answer feel free to send me a message on here or on IG!
~Becca
@rebeccaannehome
