Wanna know how we created window flower boxes for around $15 each? Well keep reading then!!
Ok that was corny but I’m totally serious! I’ve been pricing flower boxes for my windows and just could not make myself pay those prices for something we were going to fill with dirt! So we bought the material and made them ourselves. Another reason I didn’t want to spend a ton is because I basically kill all the things I attempt to grow! So here is the materials we used to make quick inexpensive window flower boxes:
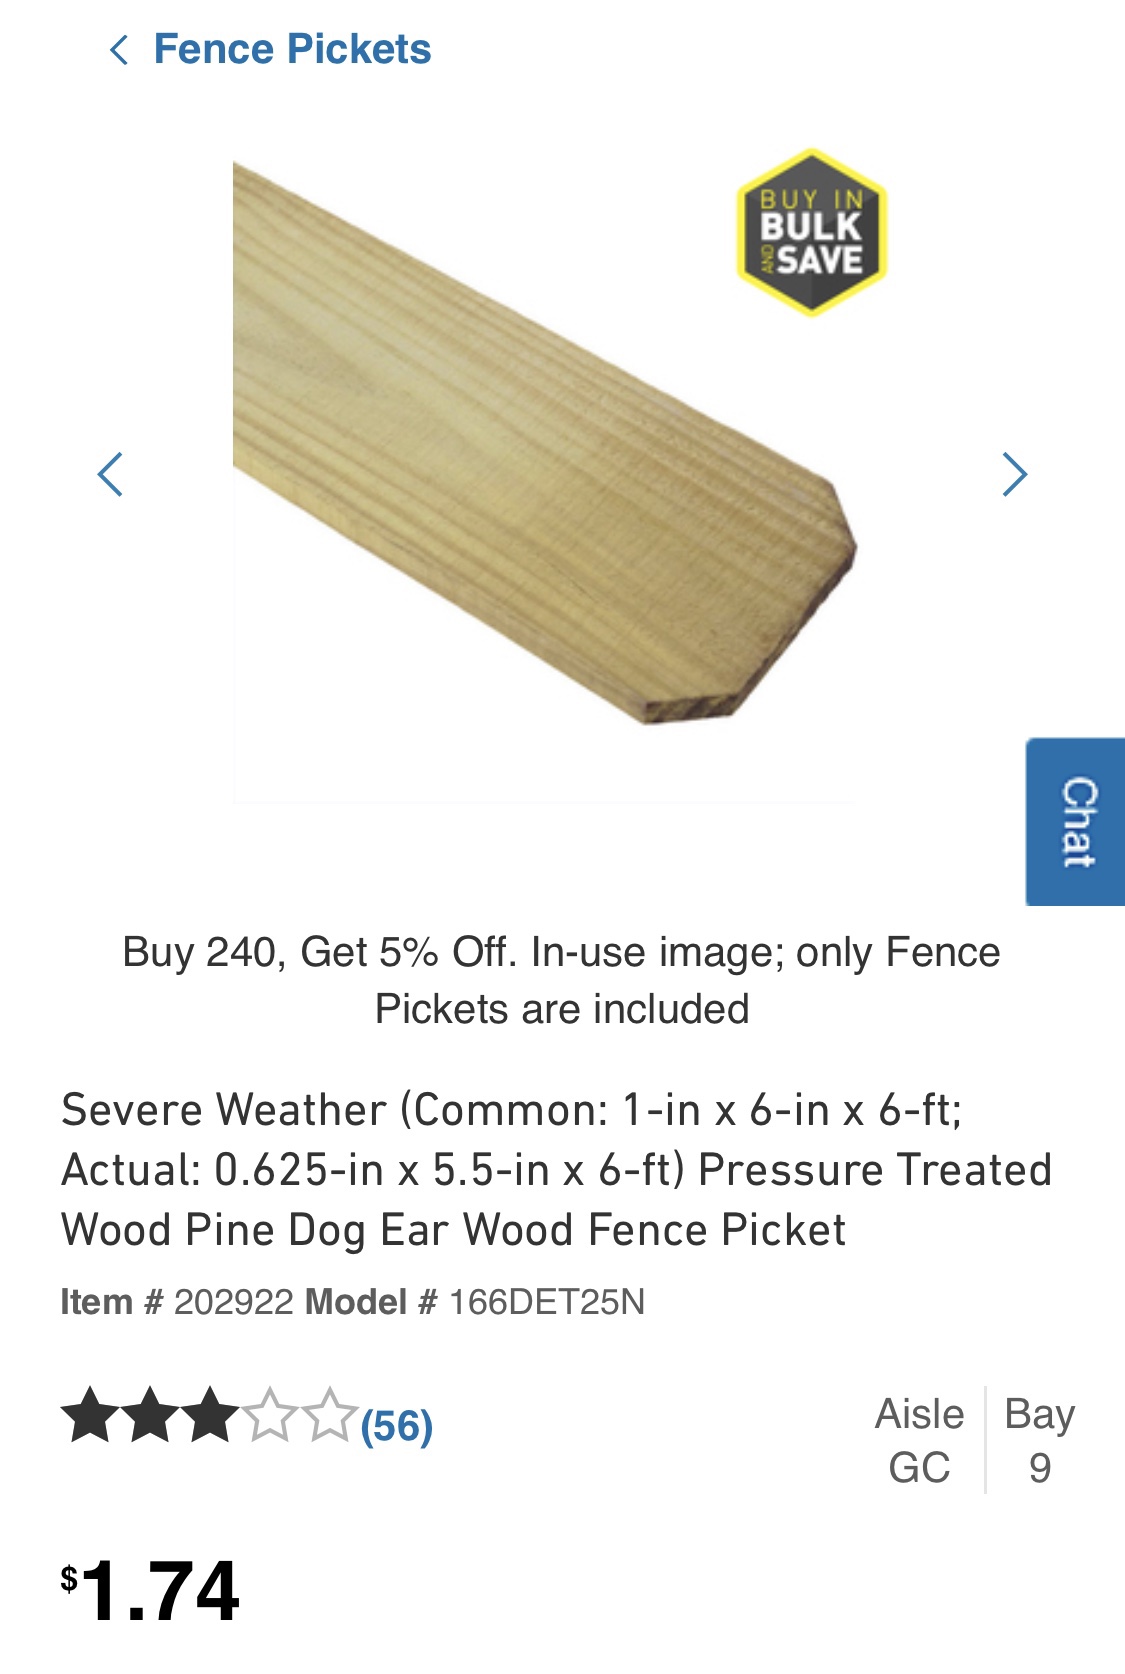
My husband had the genius idea to use dog ears because they come pressure treated and to with stand the weather. And they are cheap! 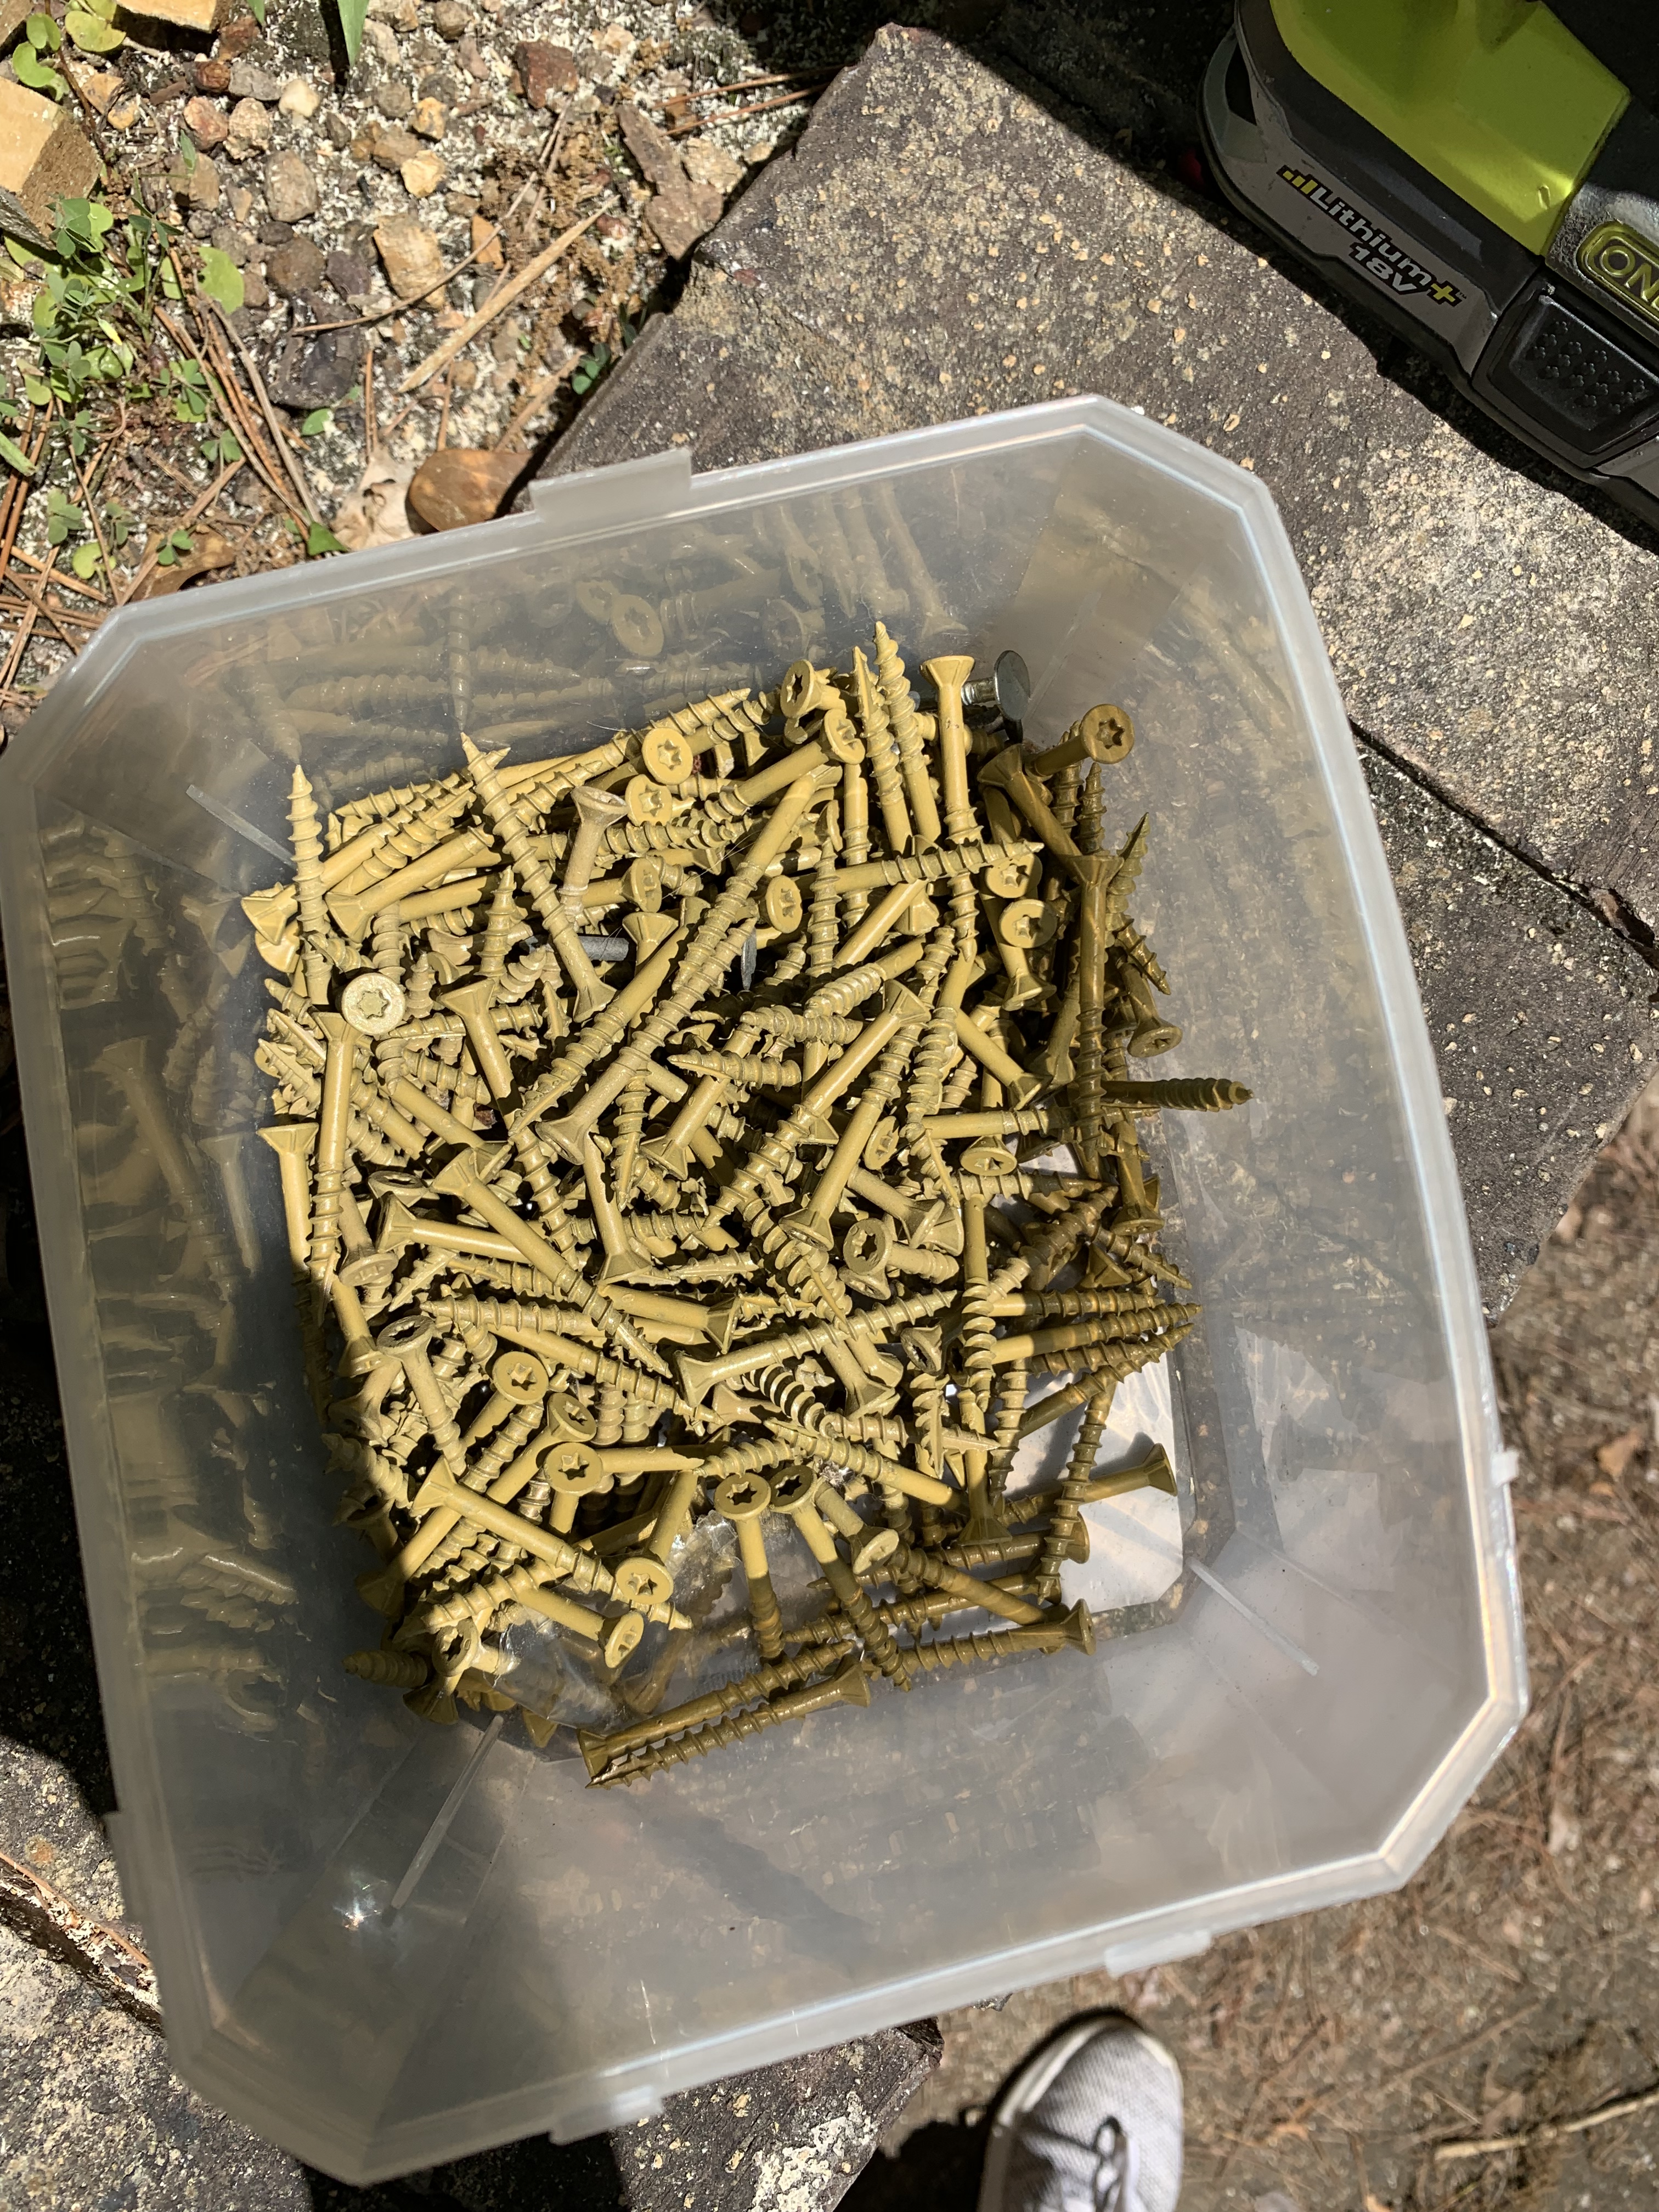
To put the boxes together we used deck screws that we already had on hand.
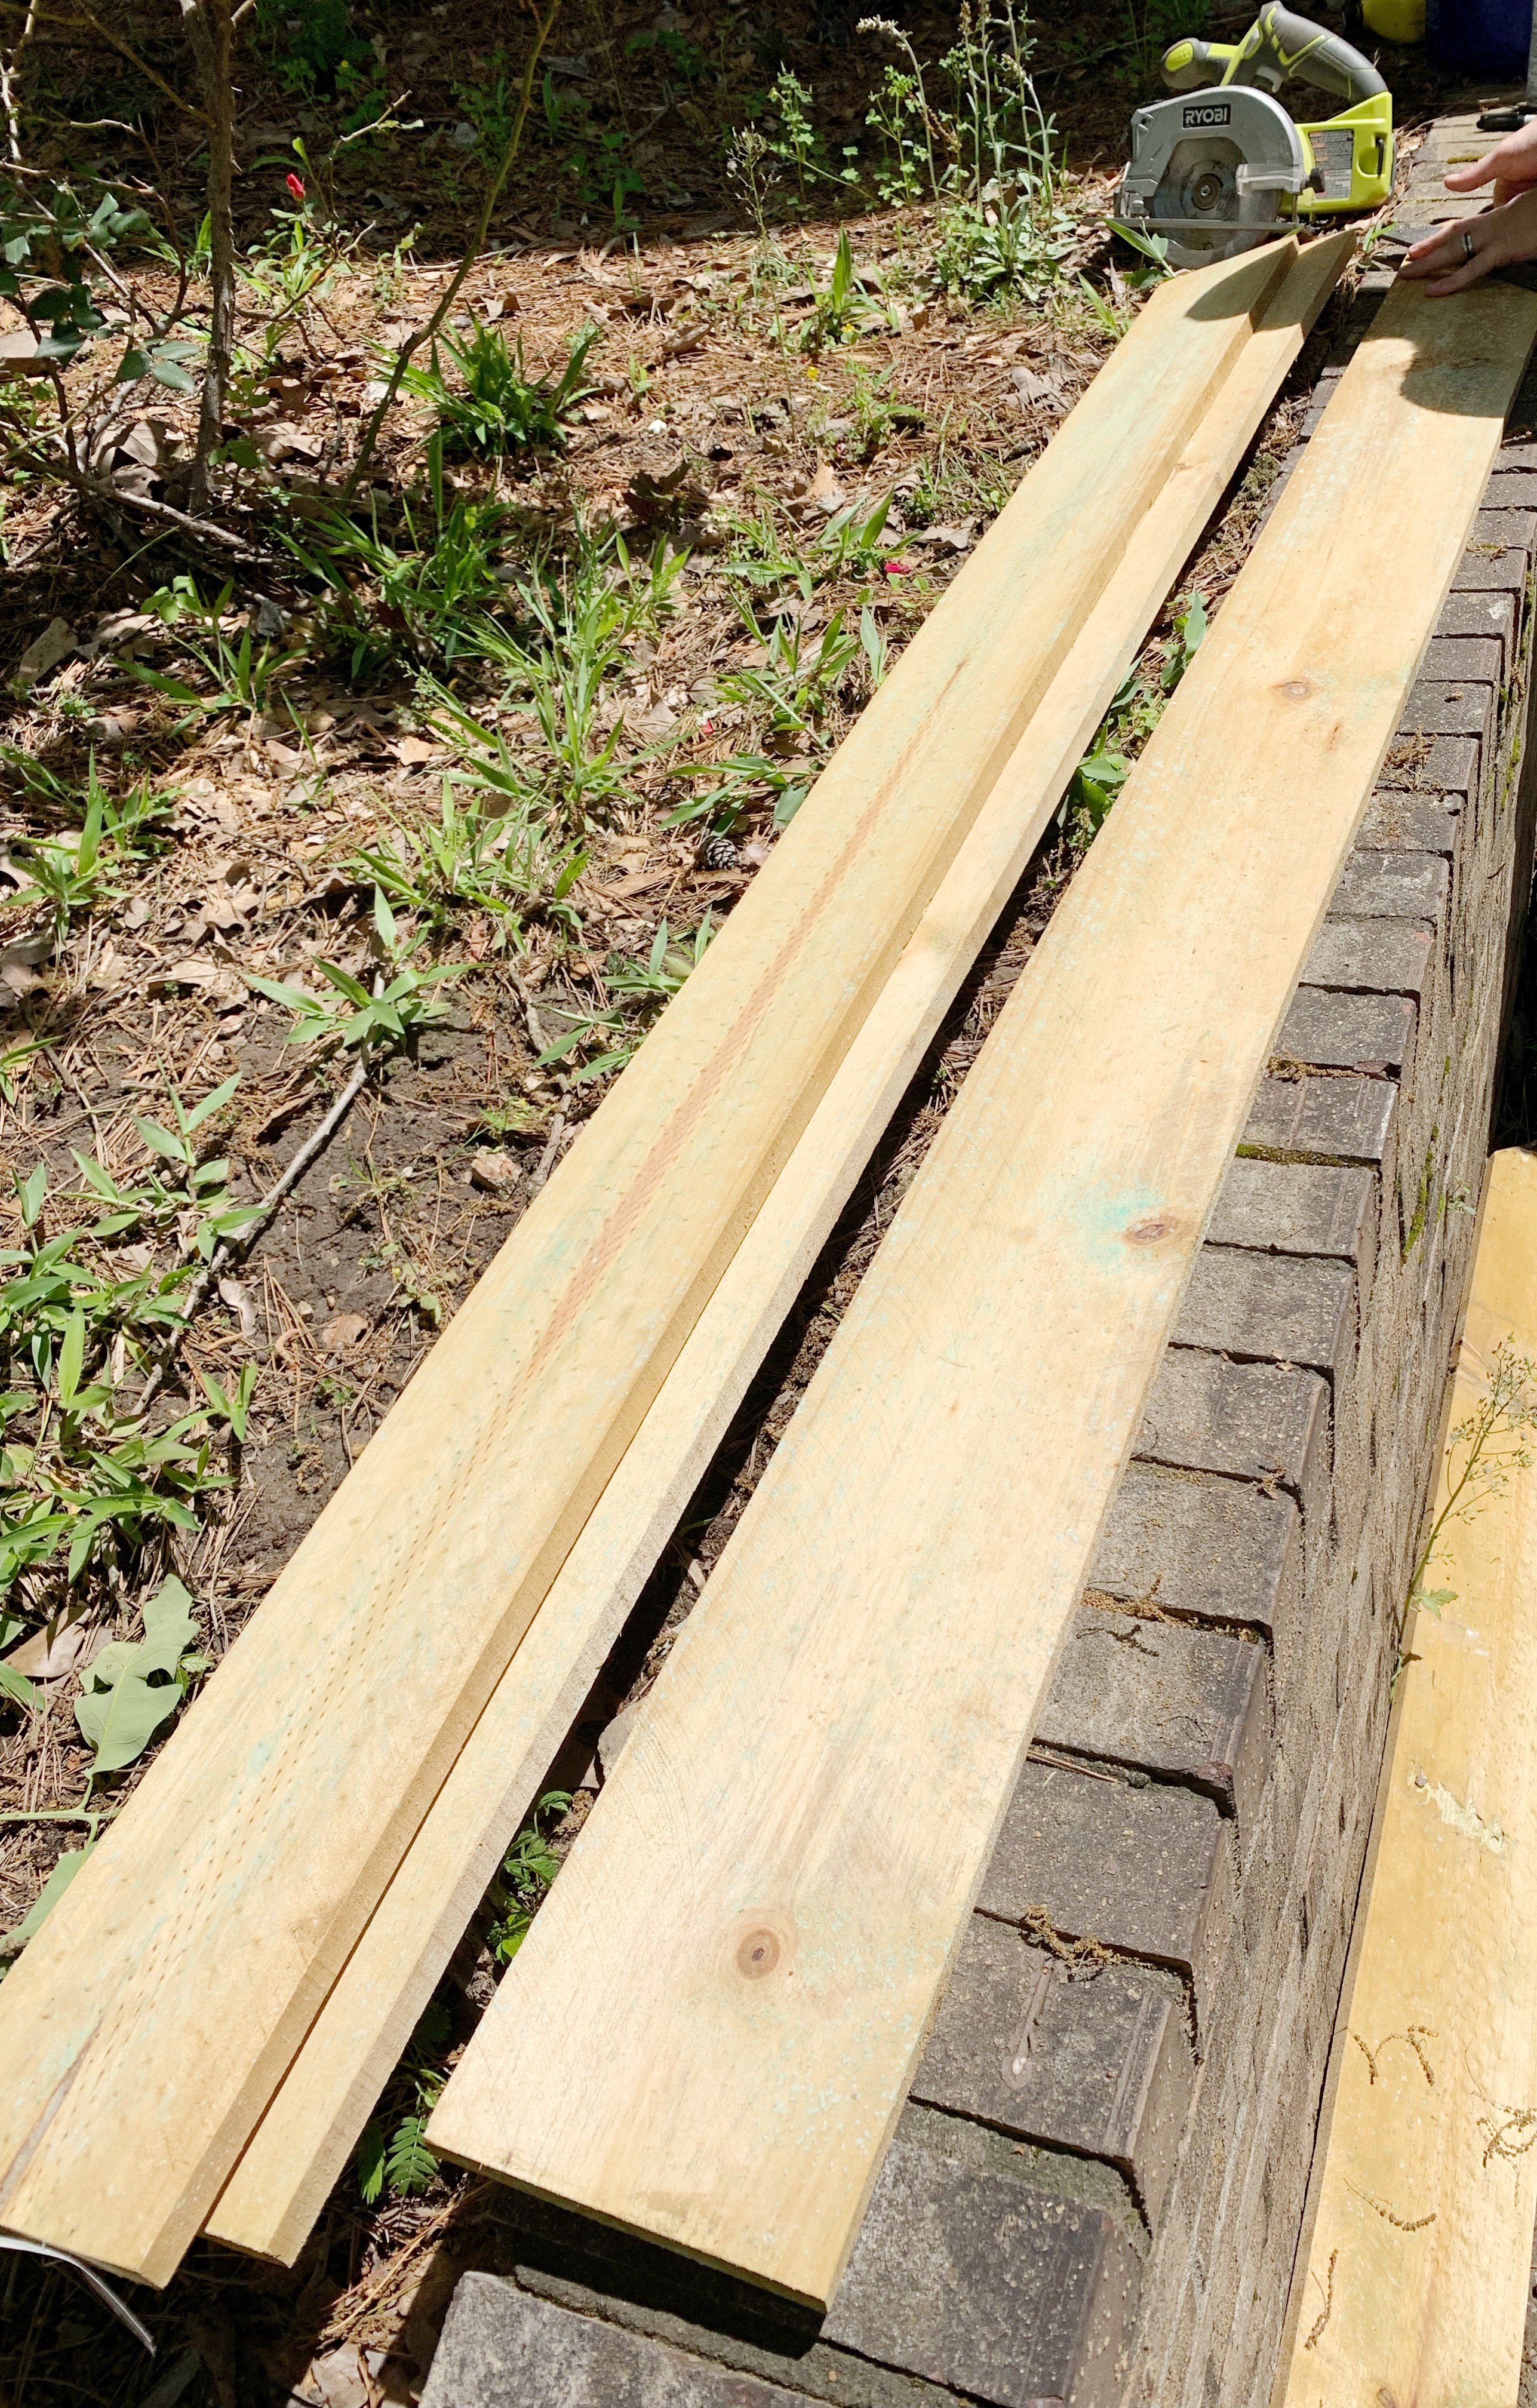
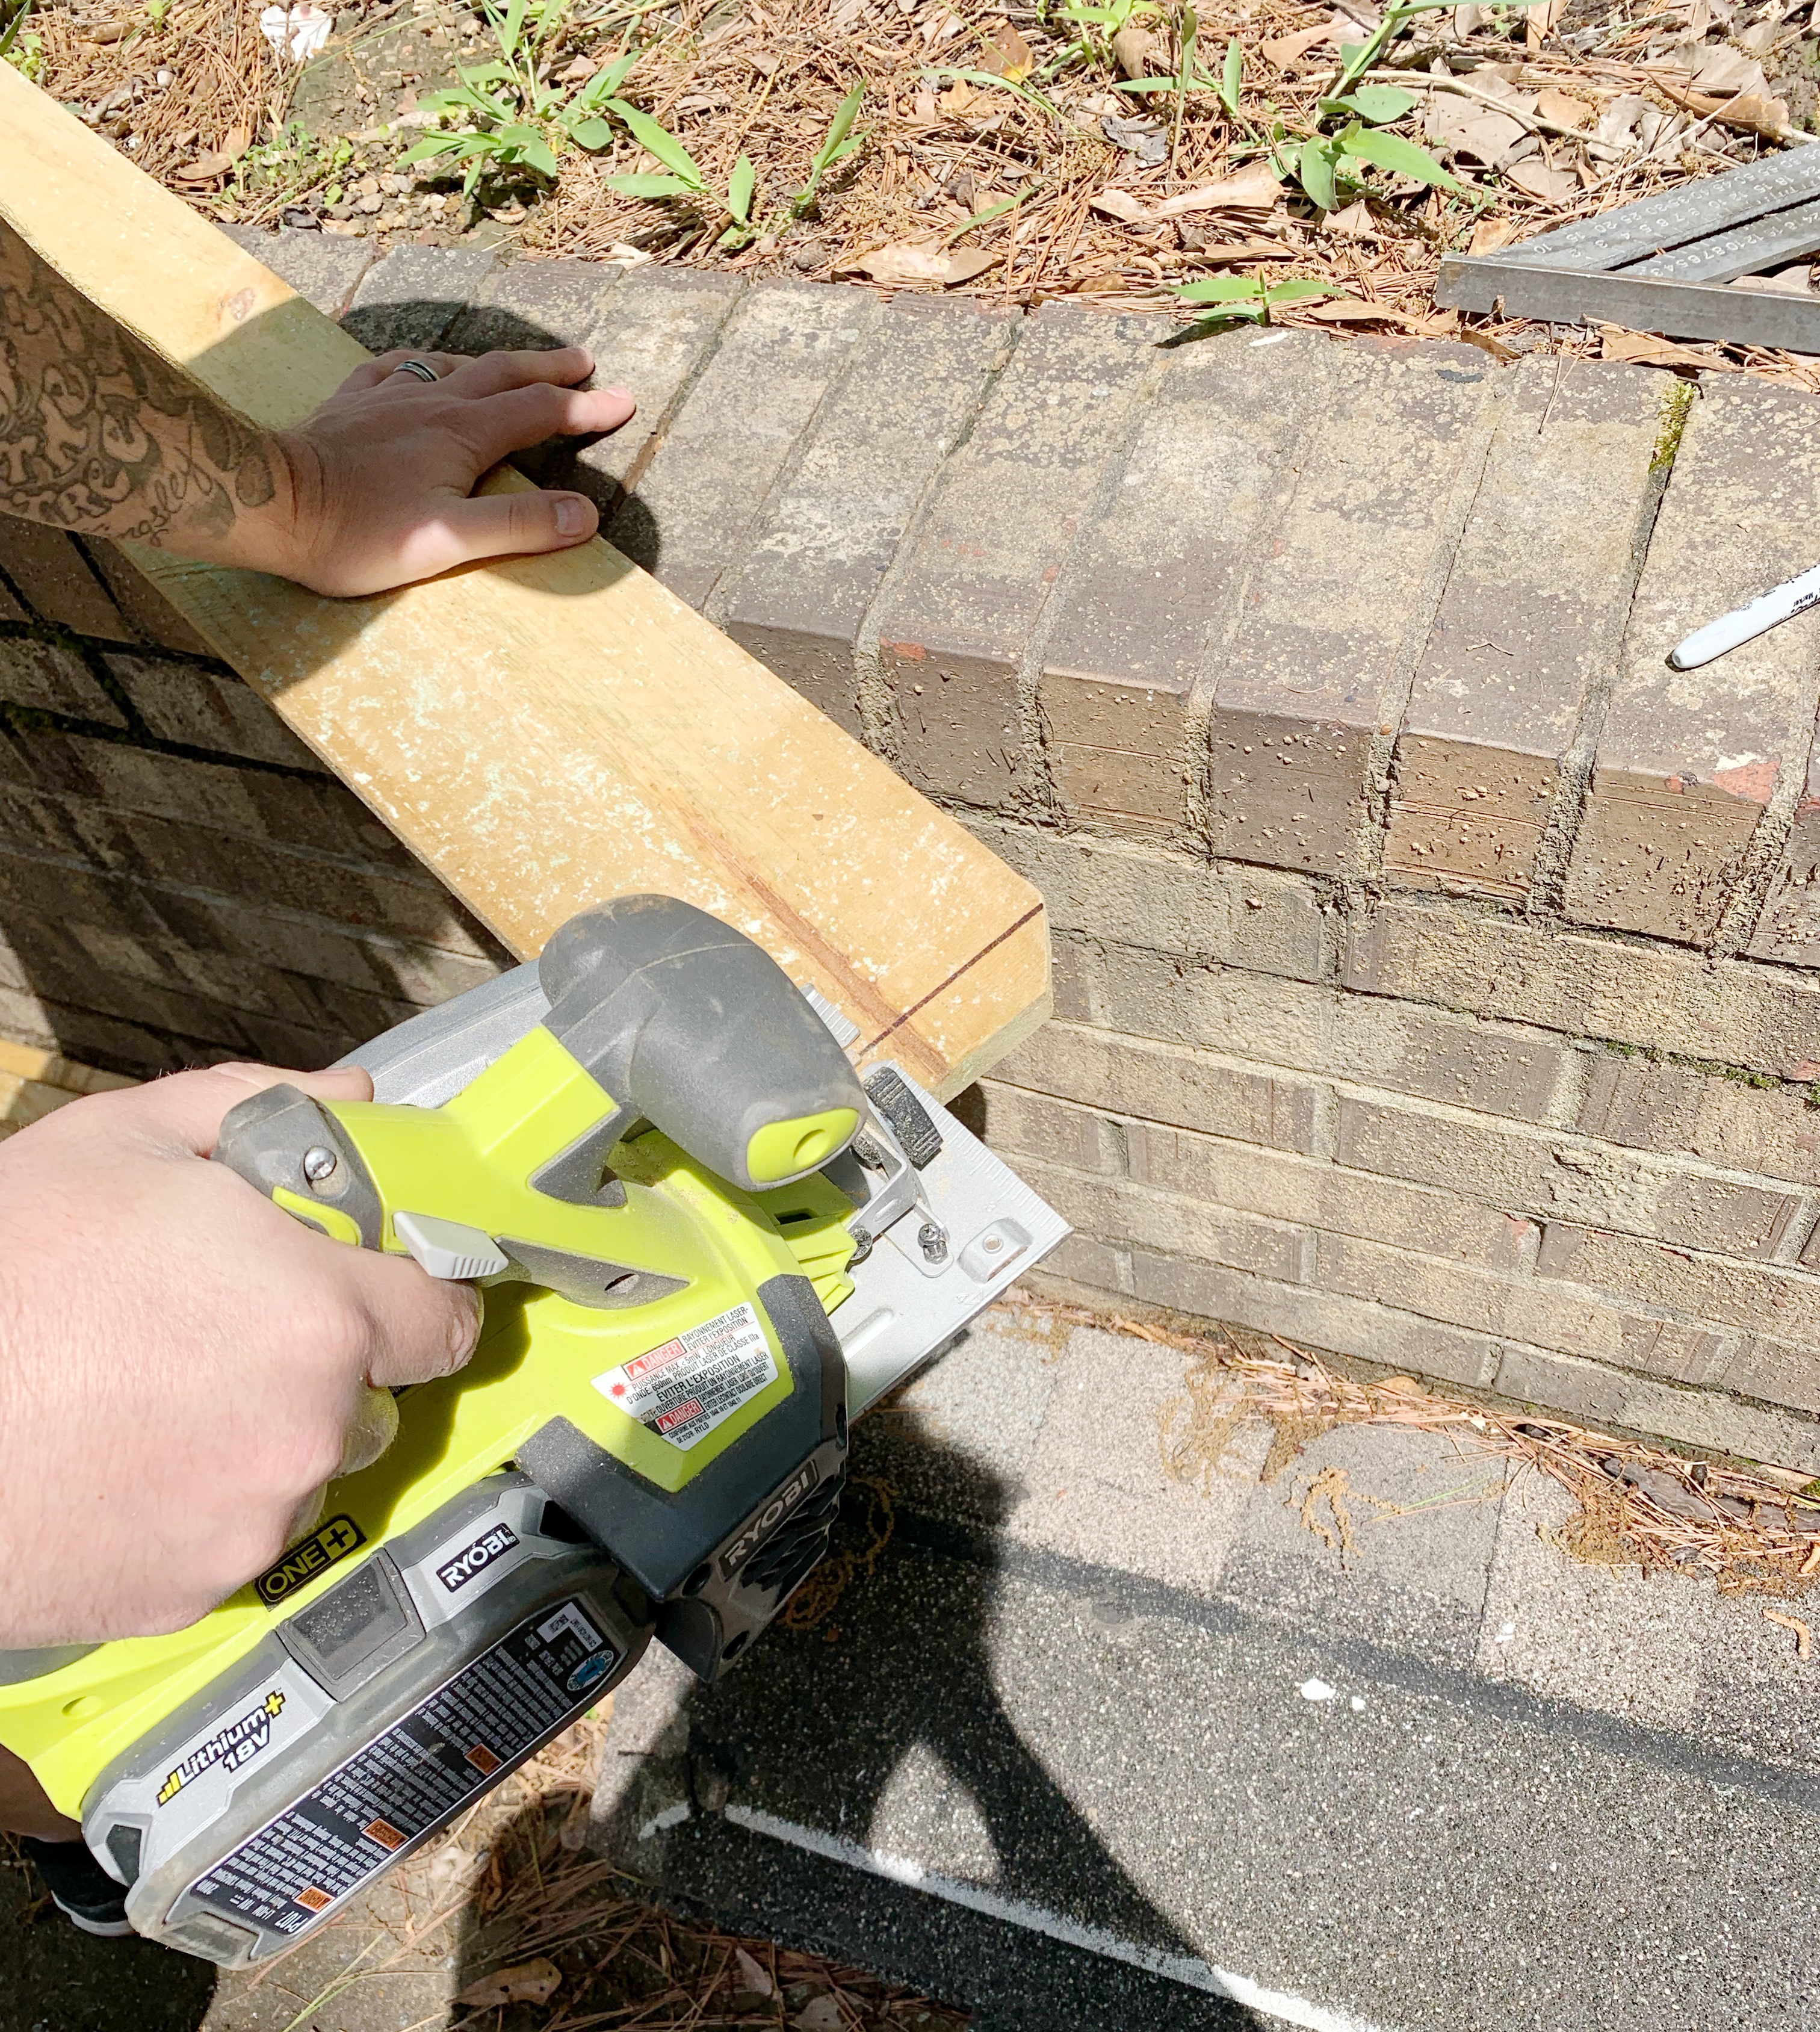
We cut the rounded ends off and sanded down any rough spots. We measured each window and got to cutting!
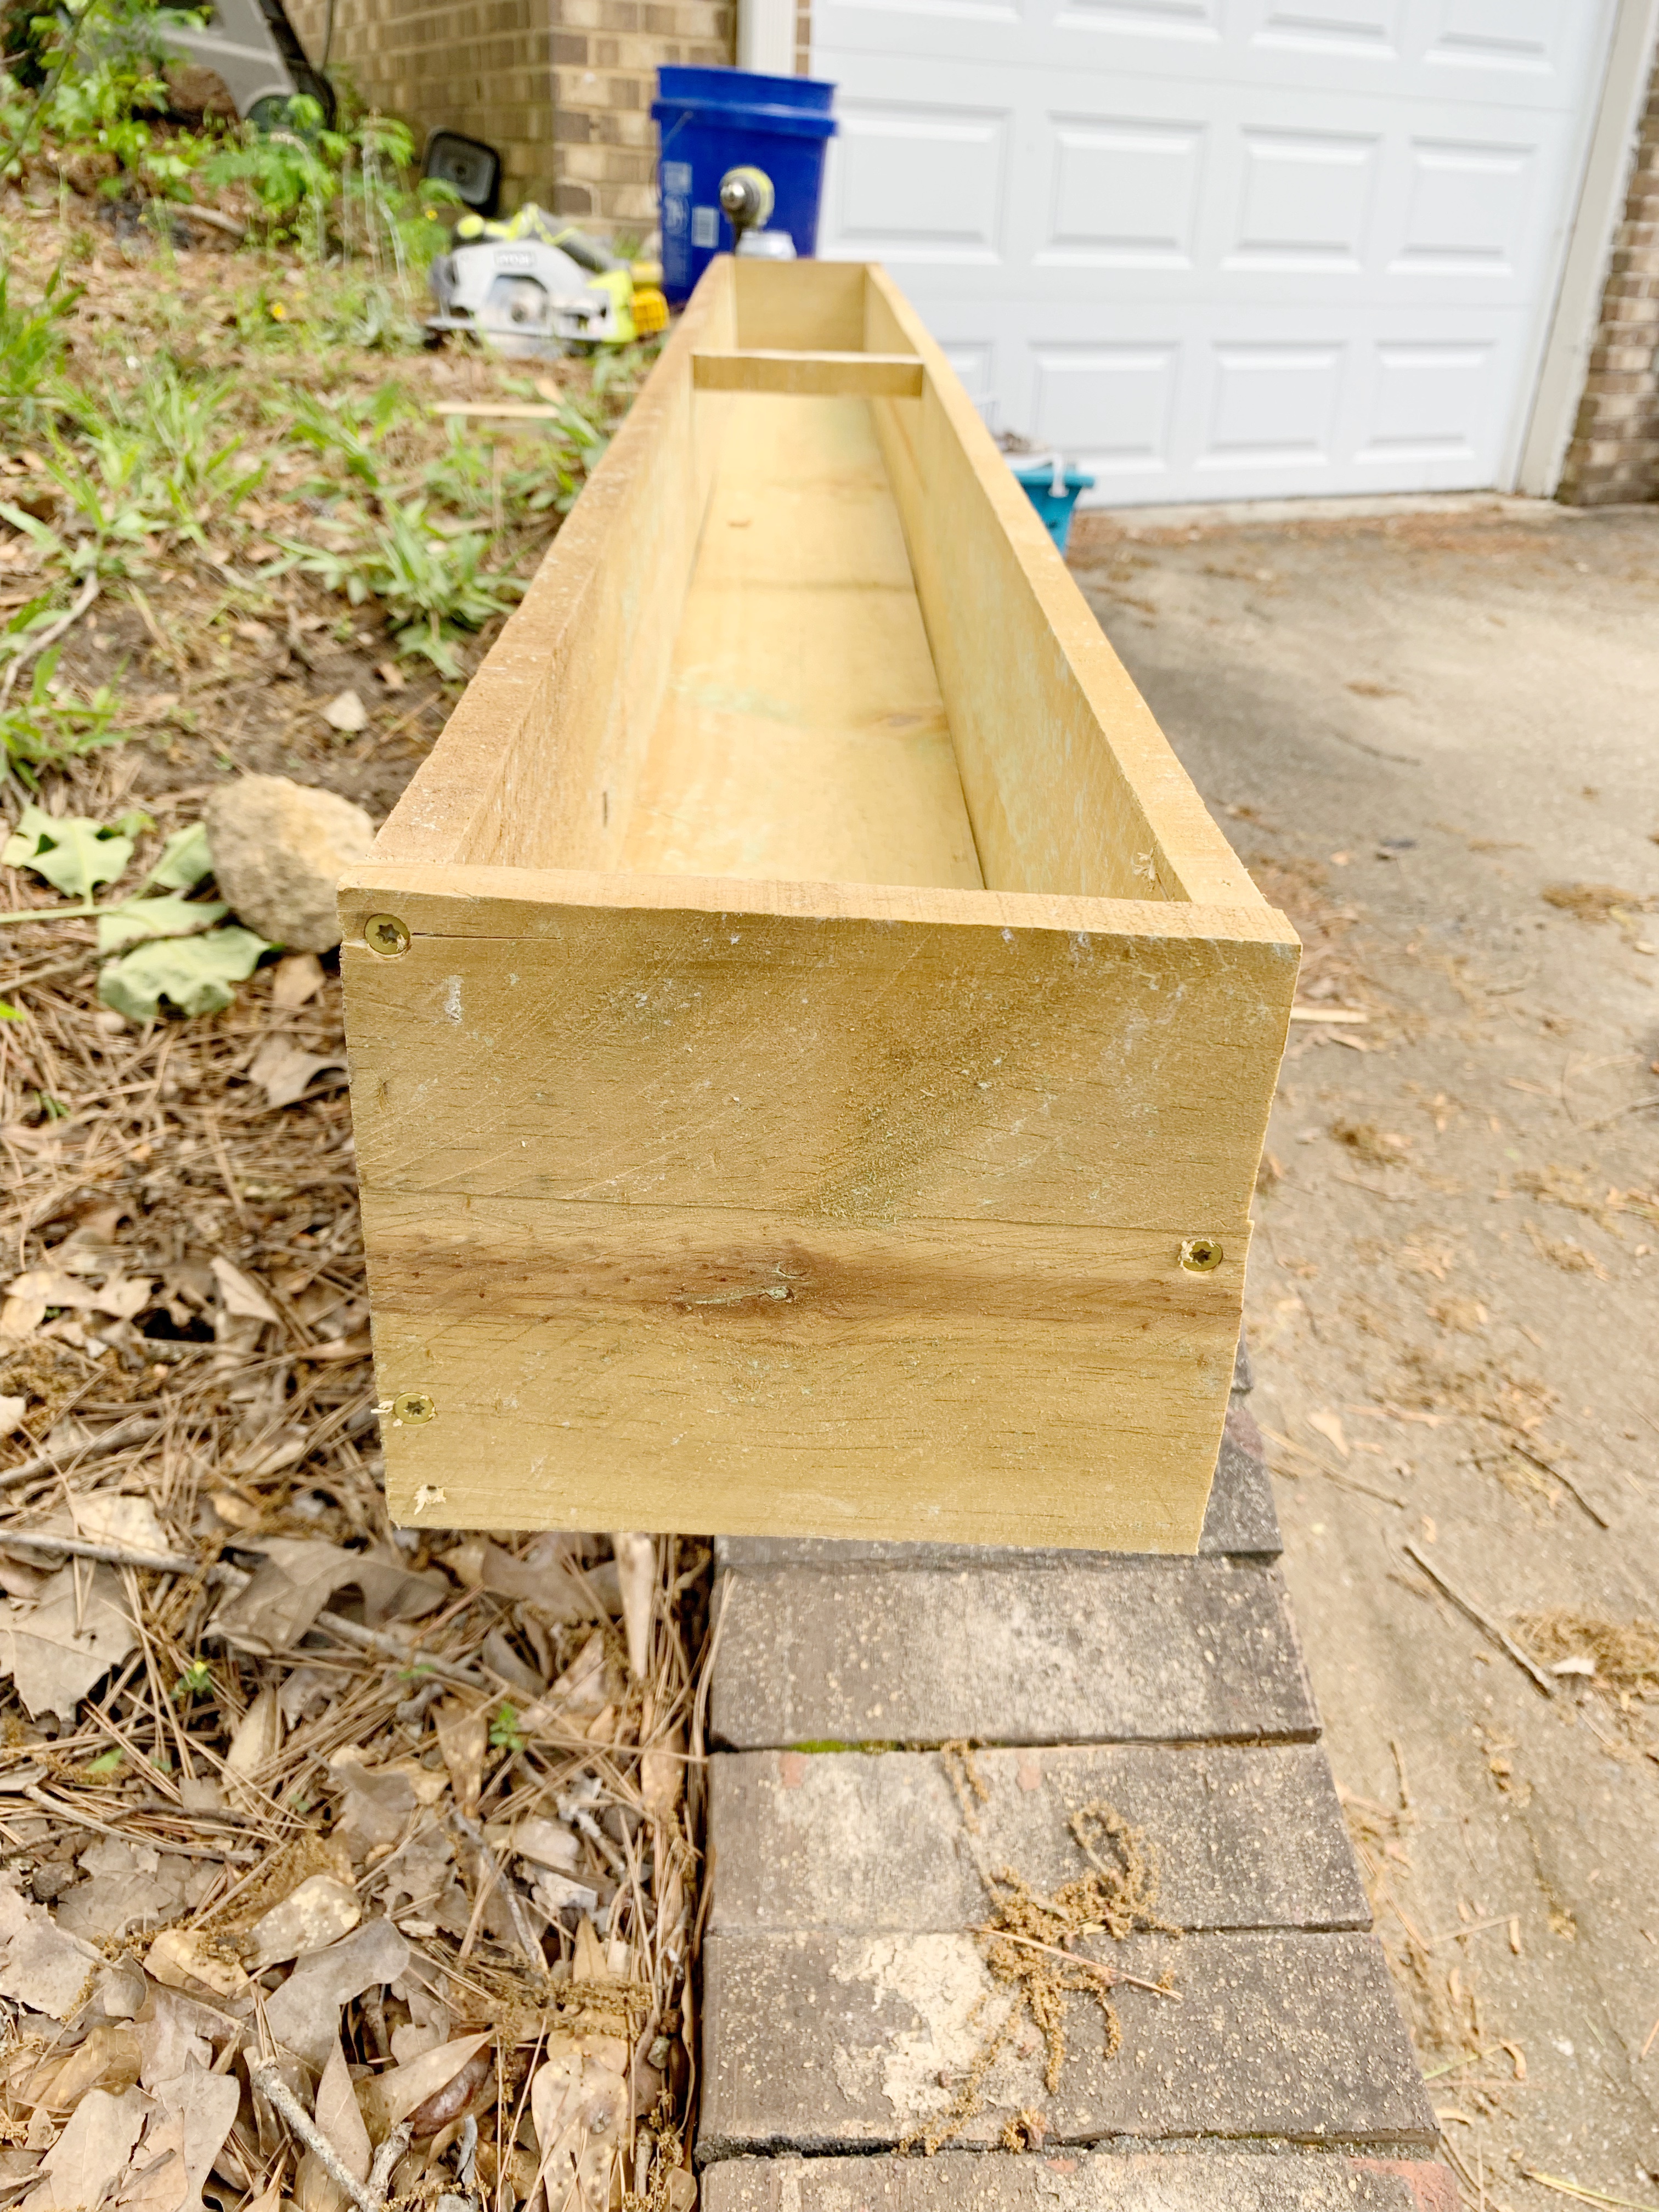
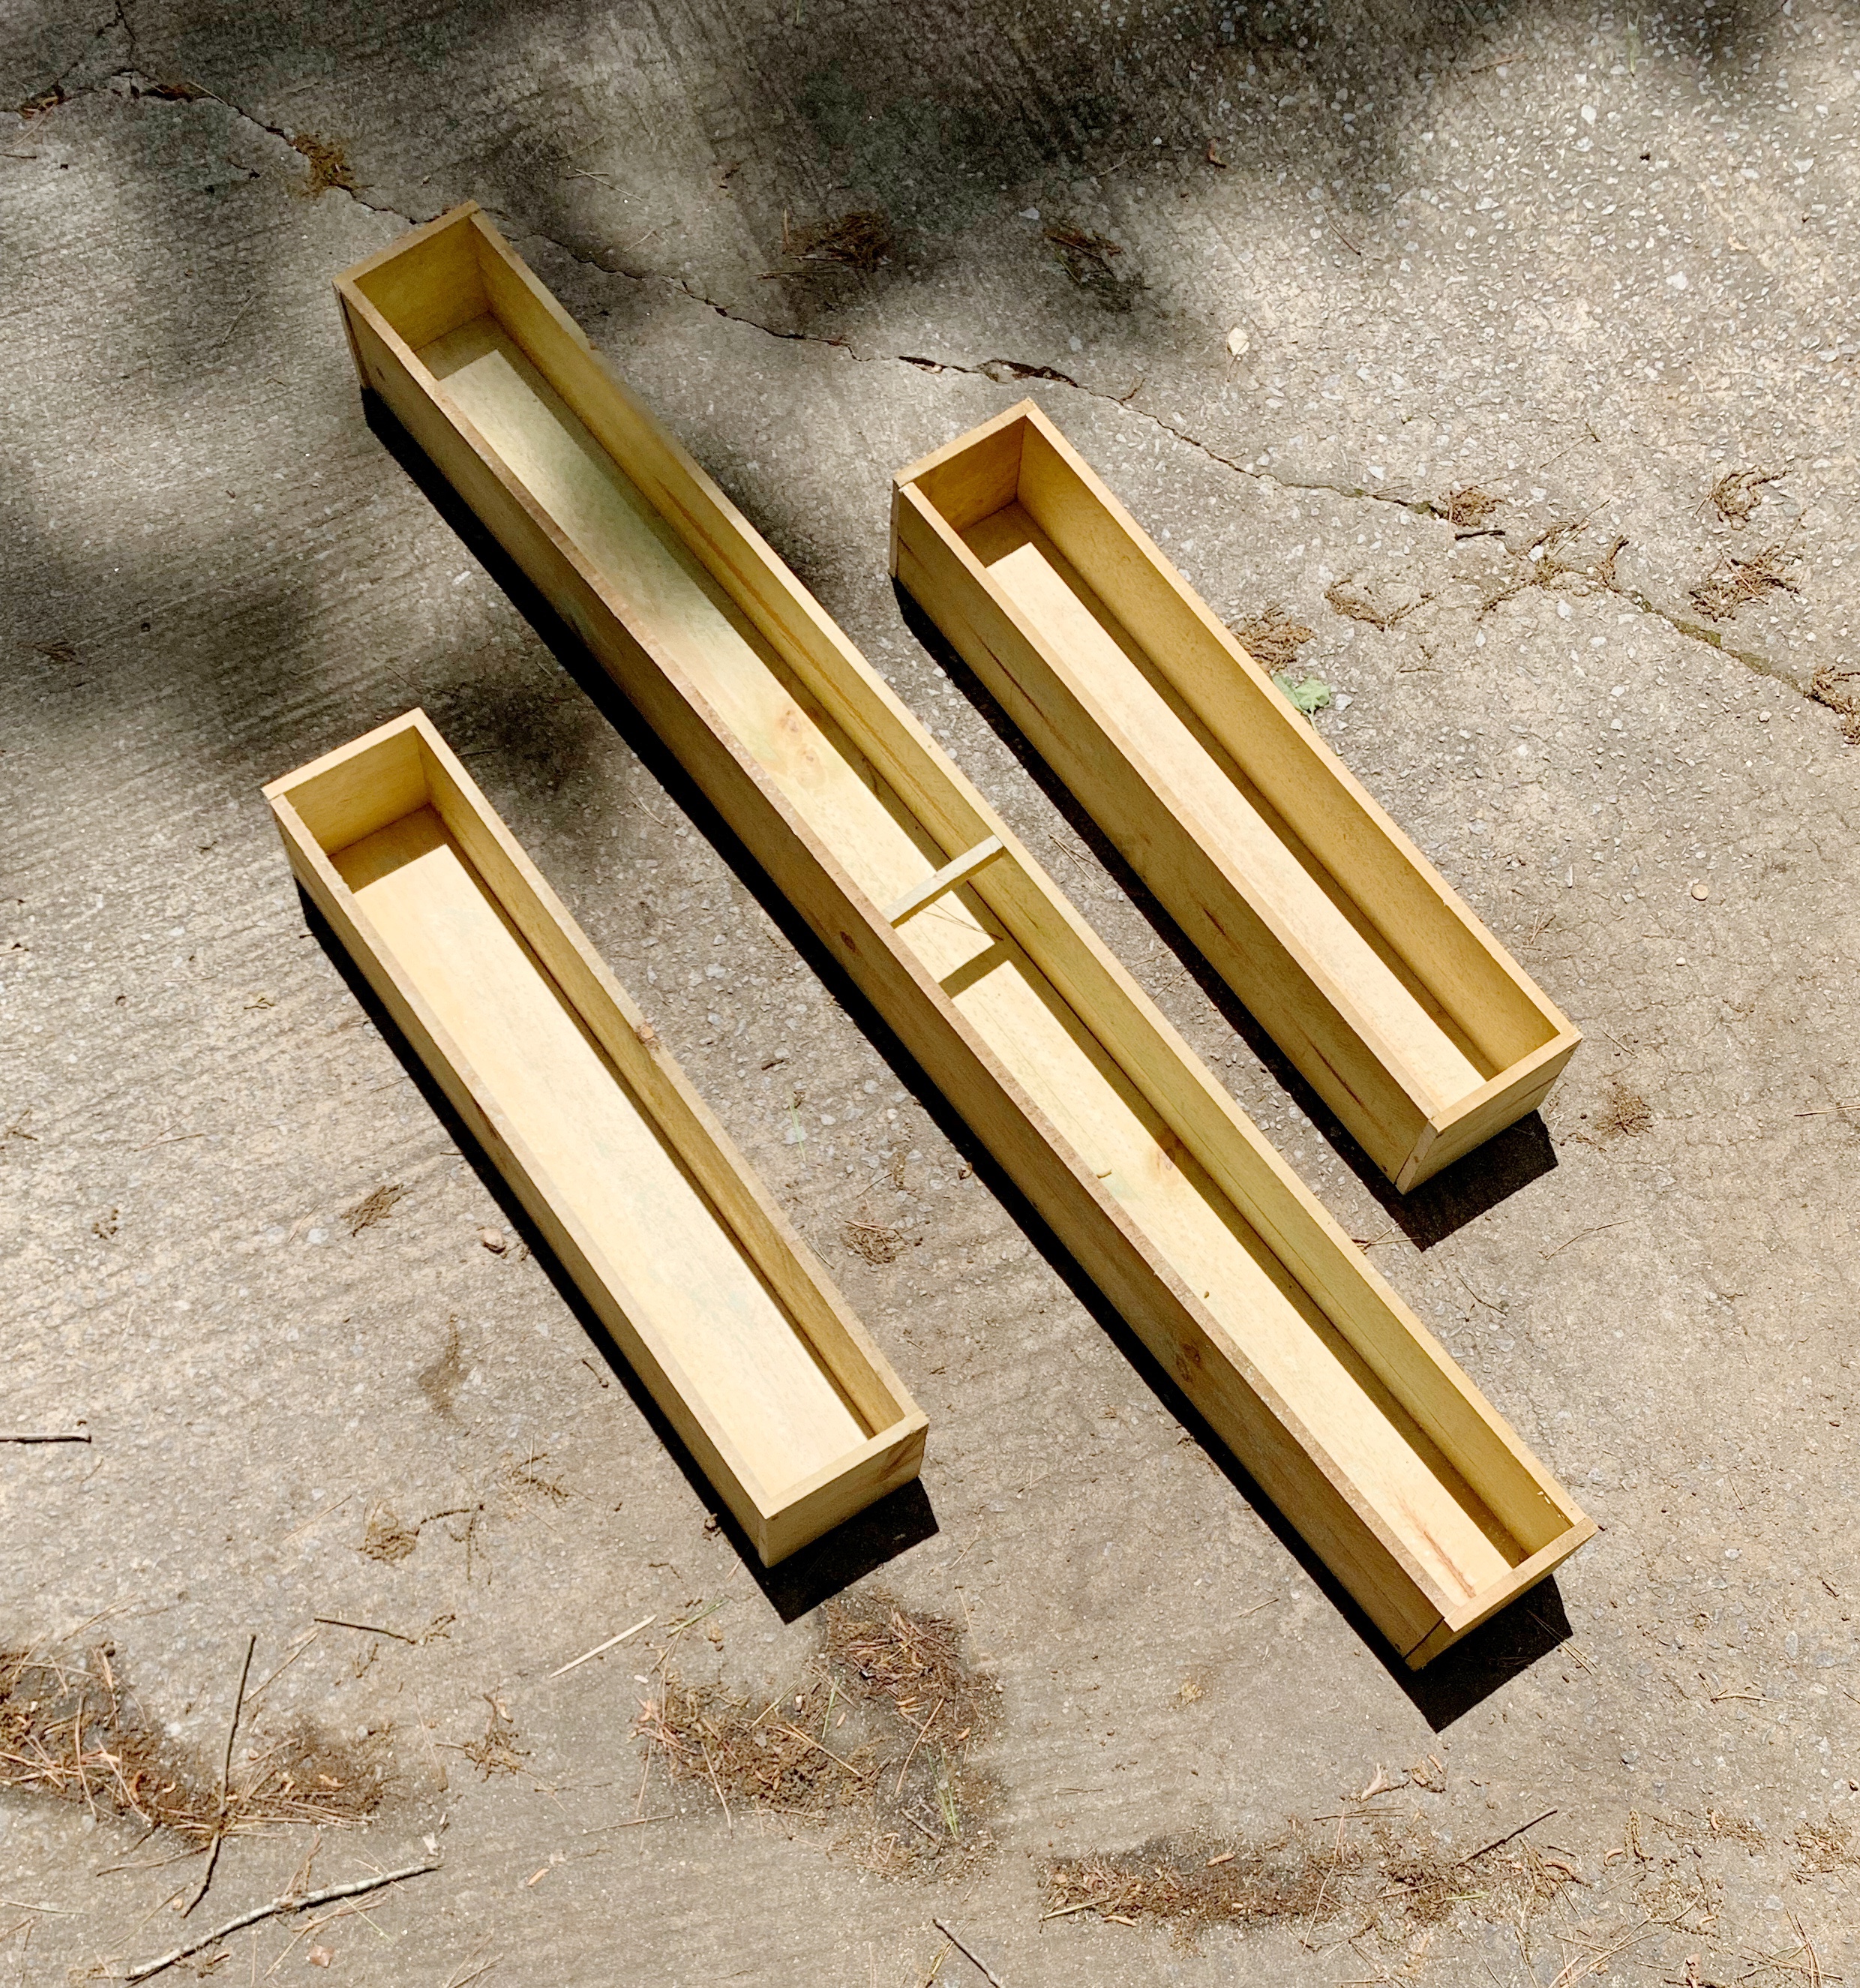
And just like that they were complete! These literally took us less than an hour to build!
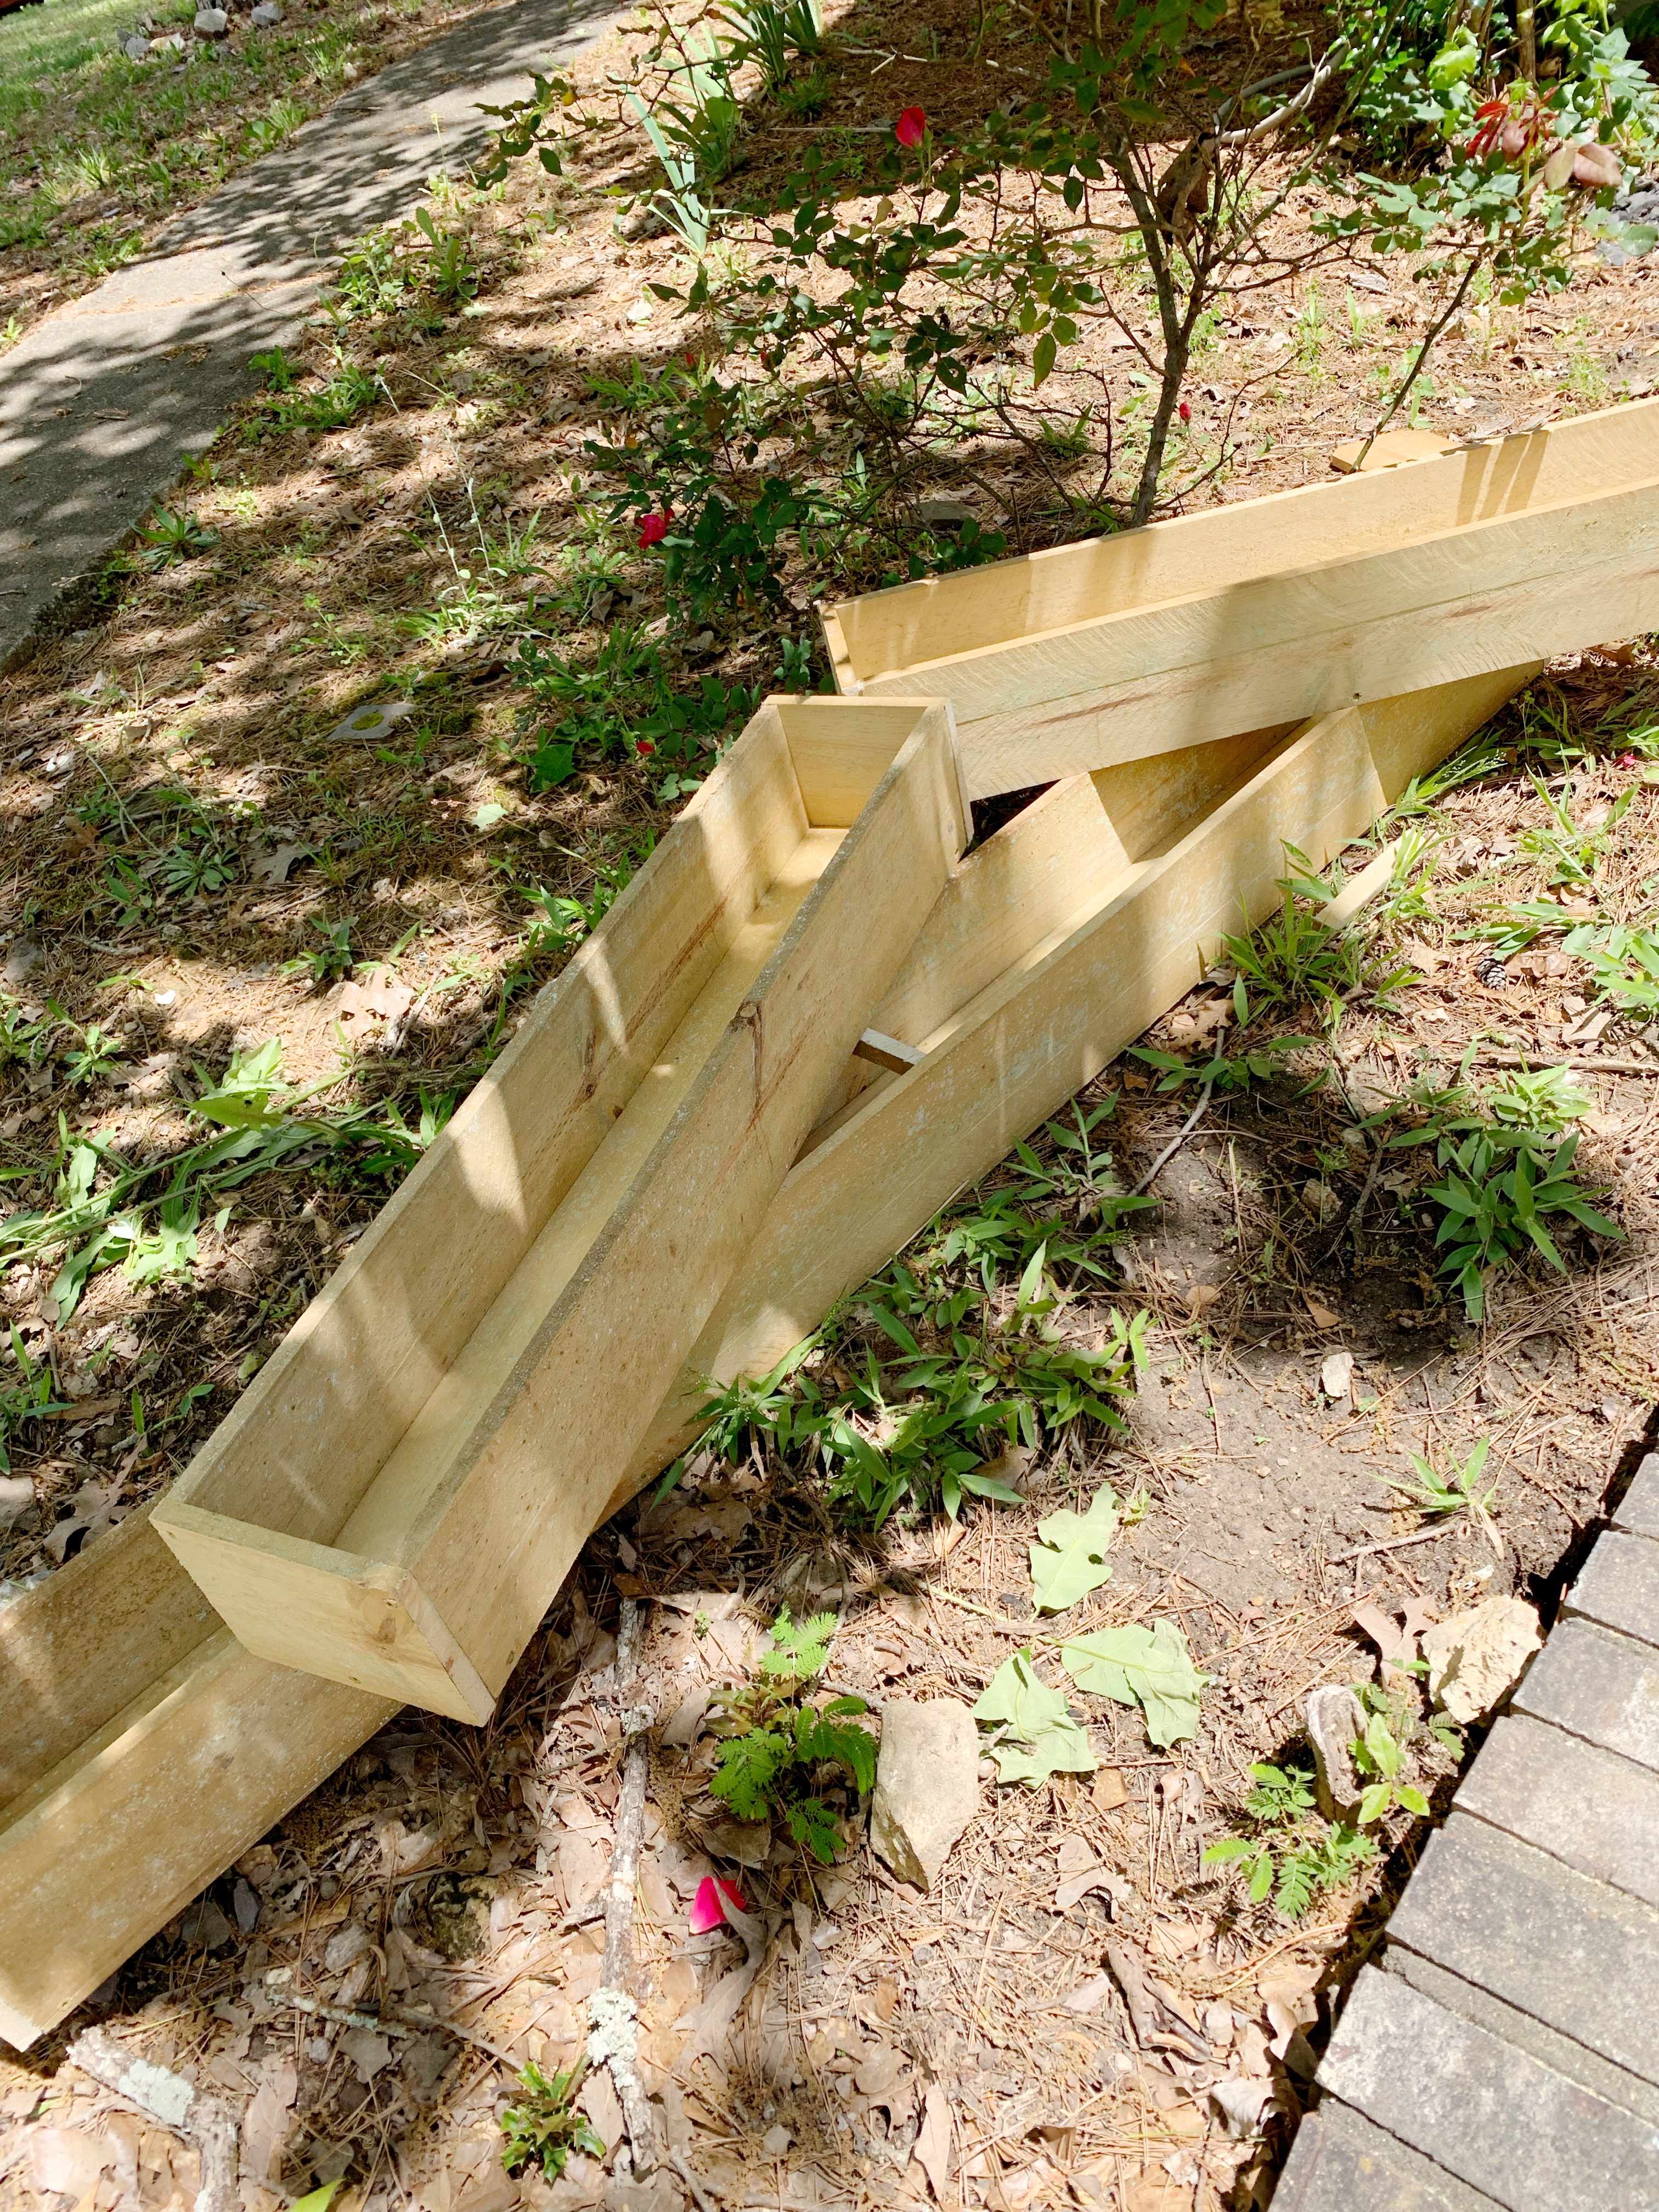
Next was the stain. I knew what I was looking for but had a hard time finding the right color. Finally I turned to Instagram and asked for help and a friend told me to look for a dark walnut stain. It was PERFECT!!
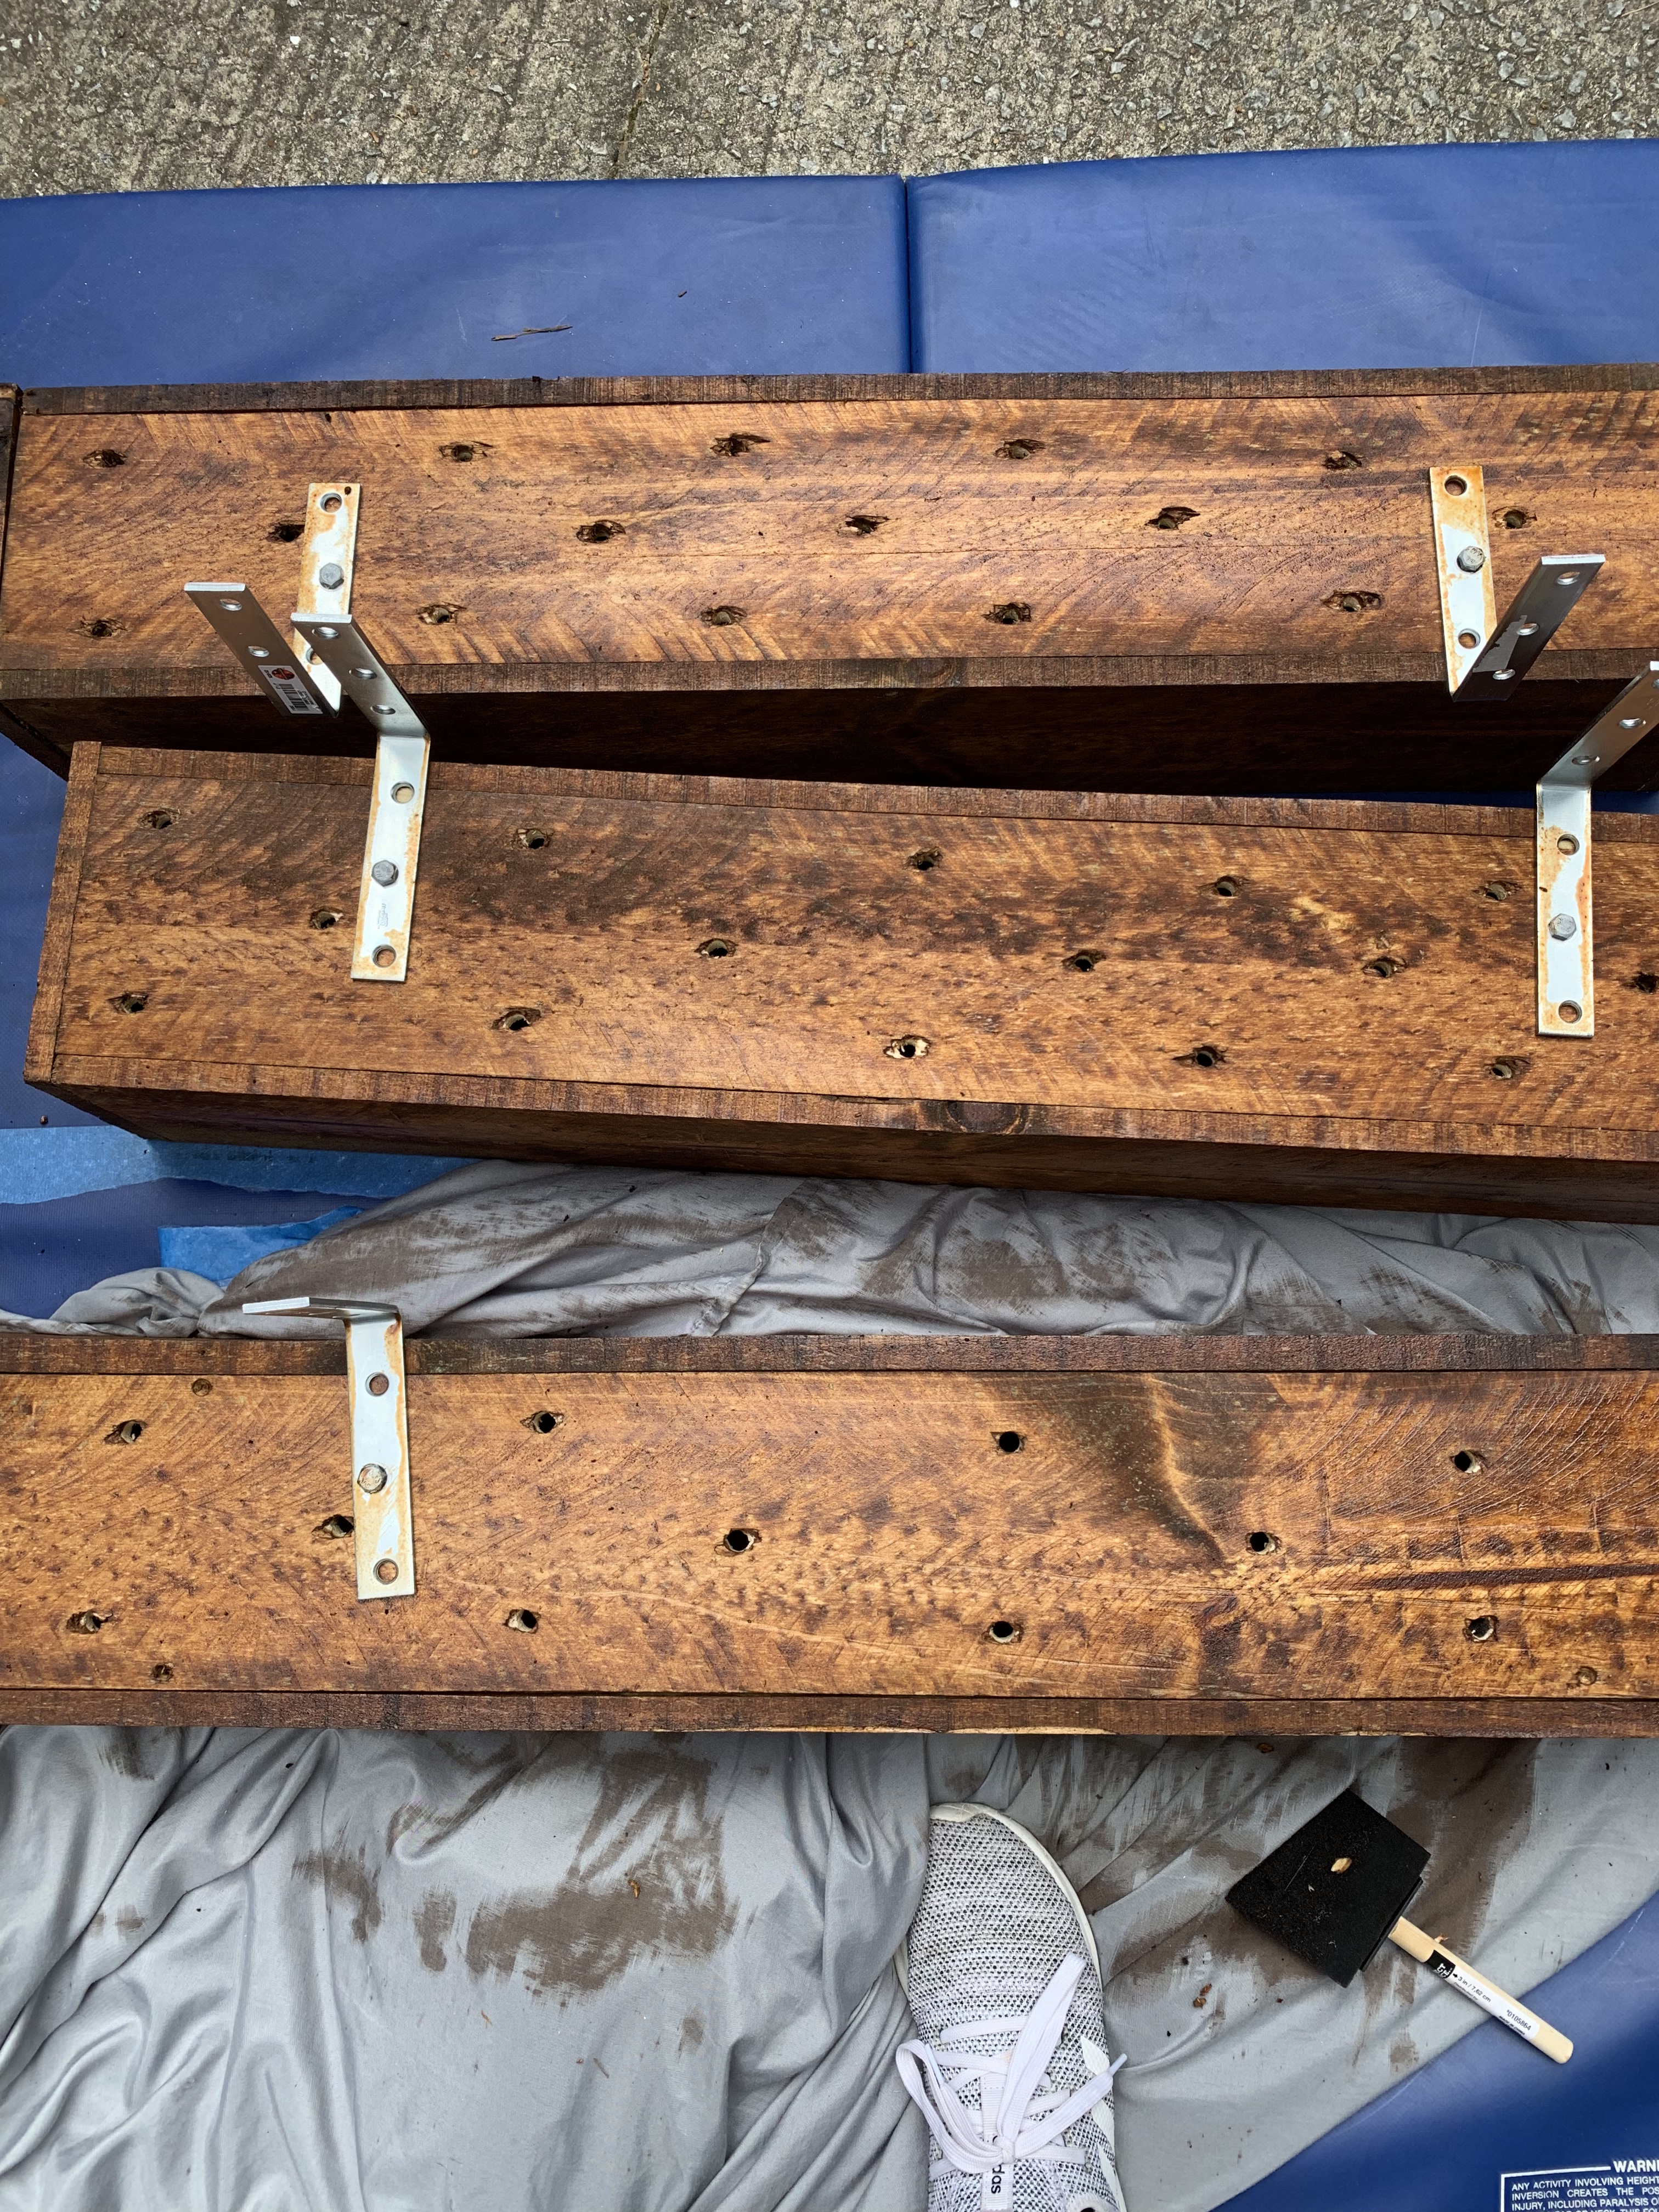
We stained the boxes, drilled holes in the bottom for water to escape and attached the brackets.
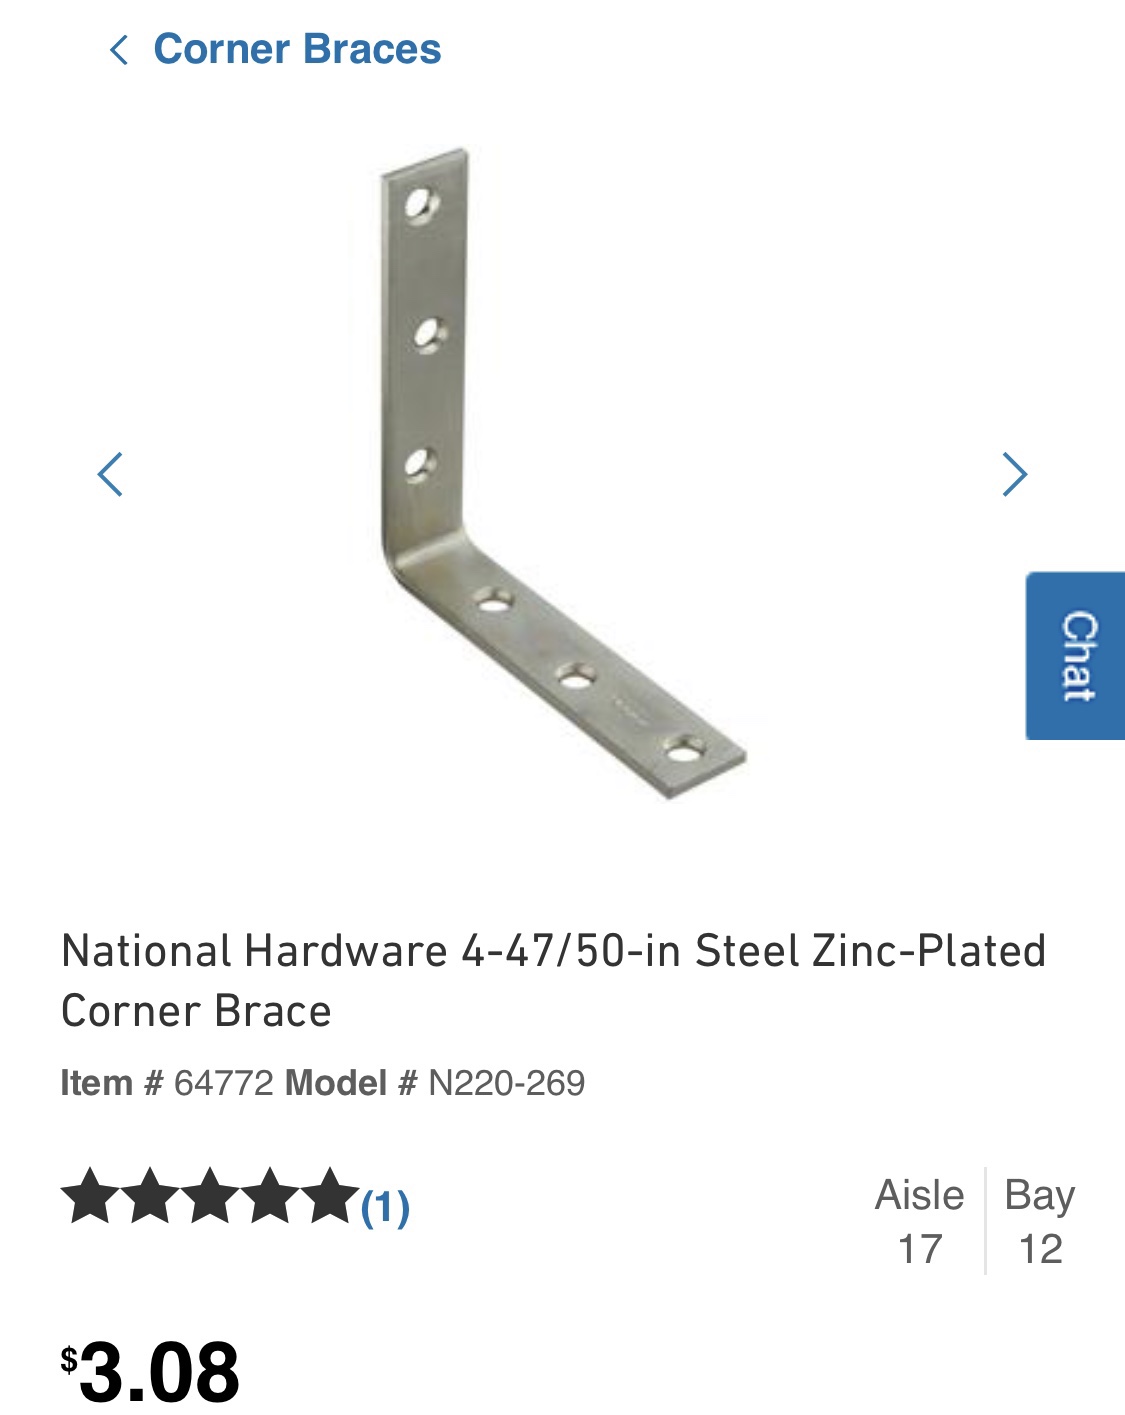
These are the brackets and lag screws we used to attach the boxes to the house:
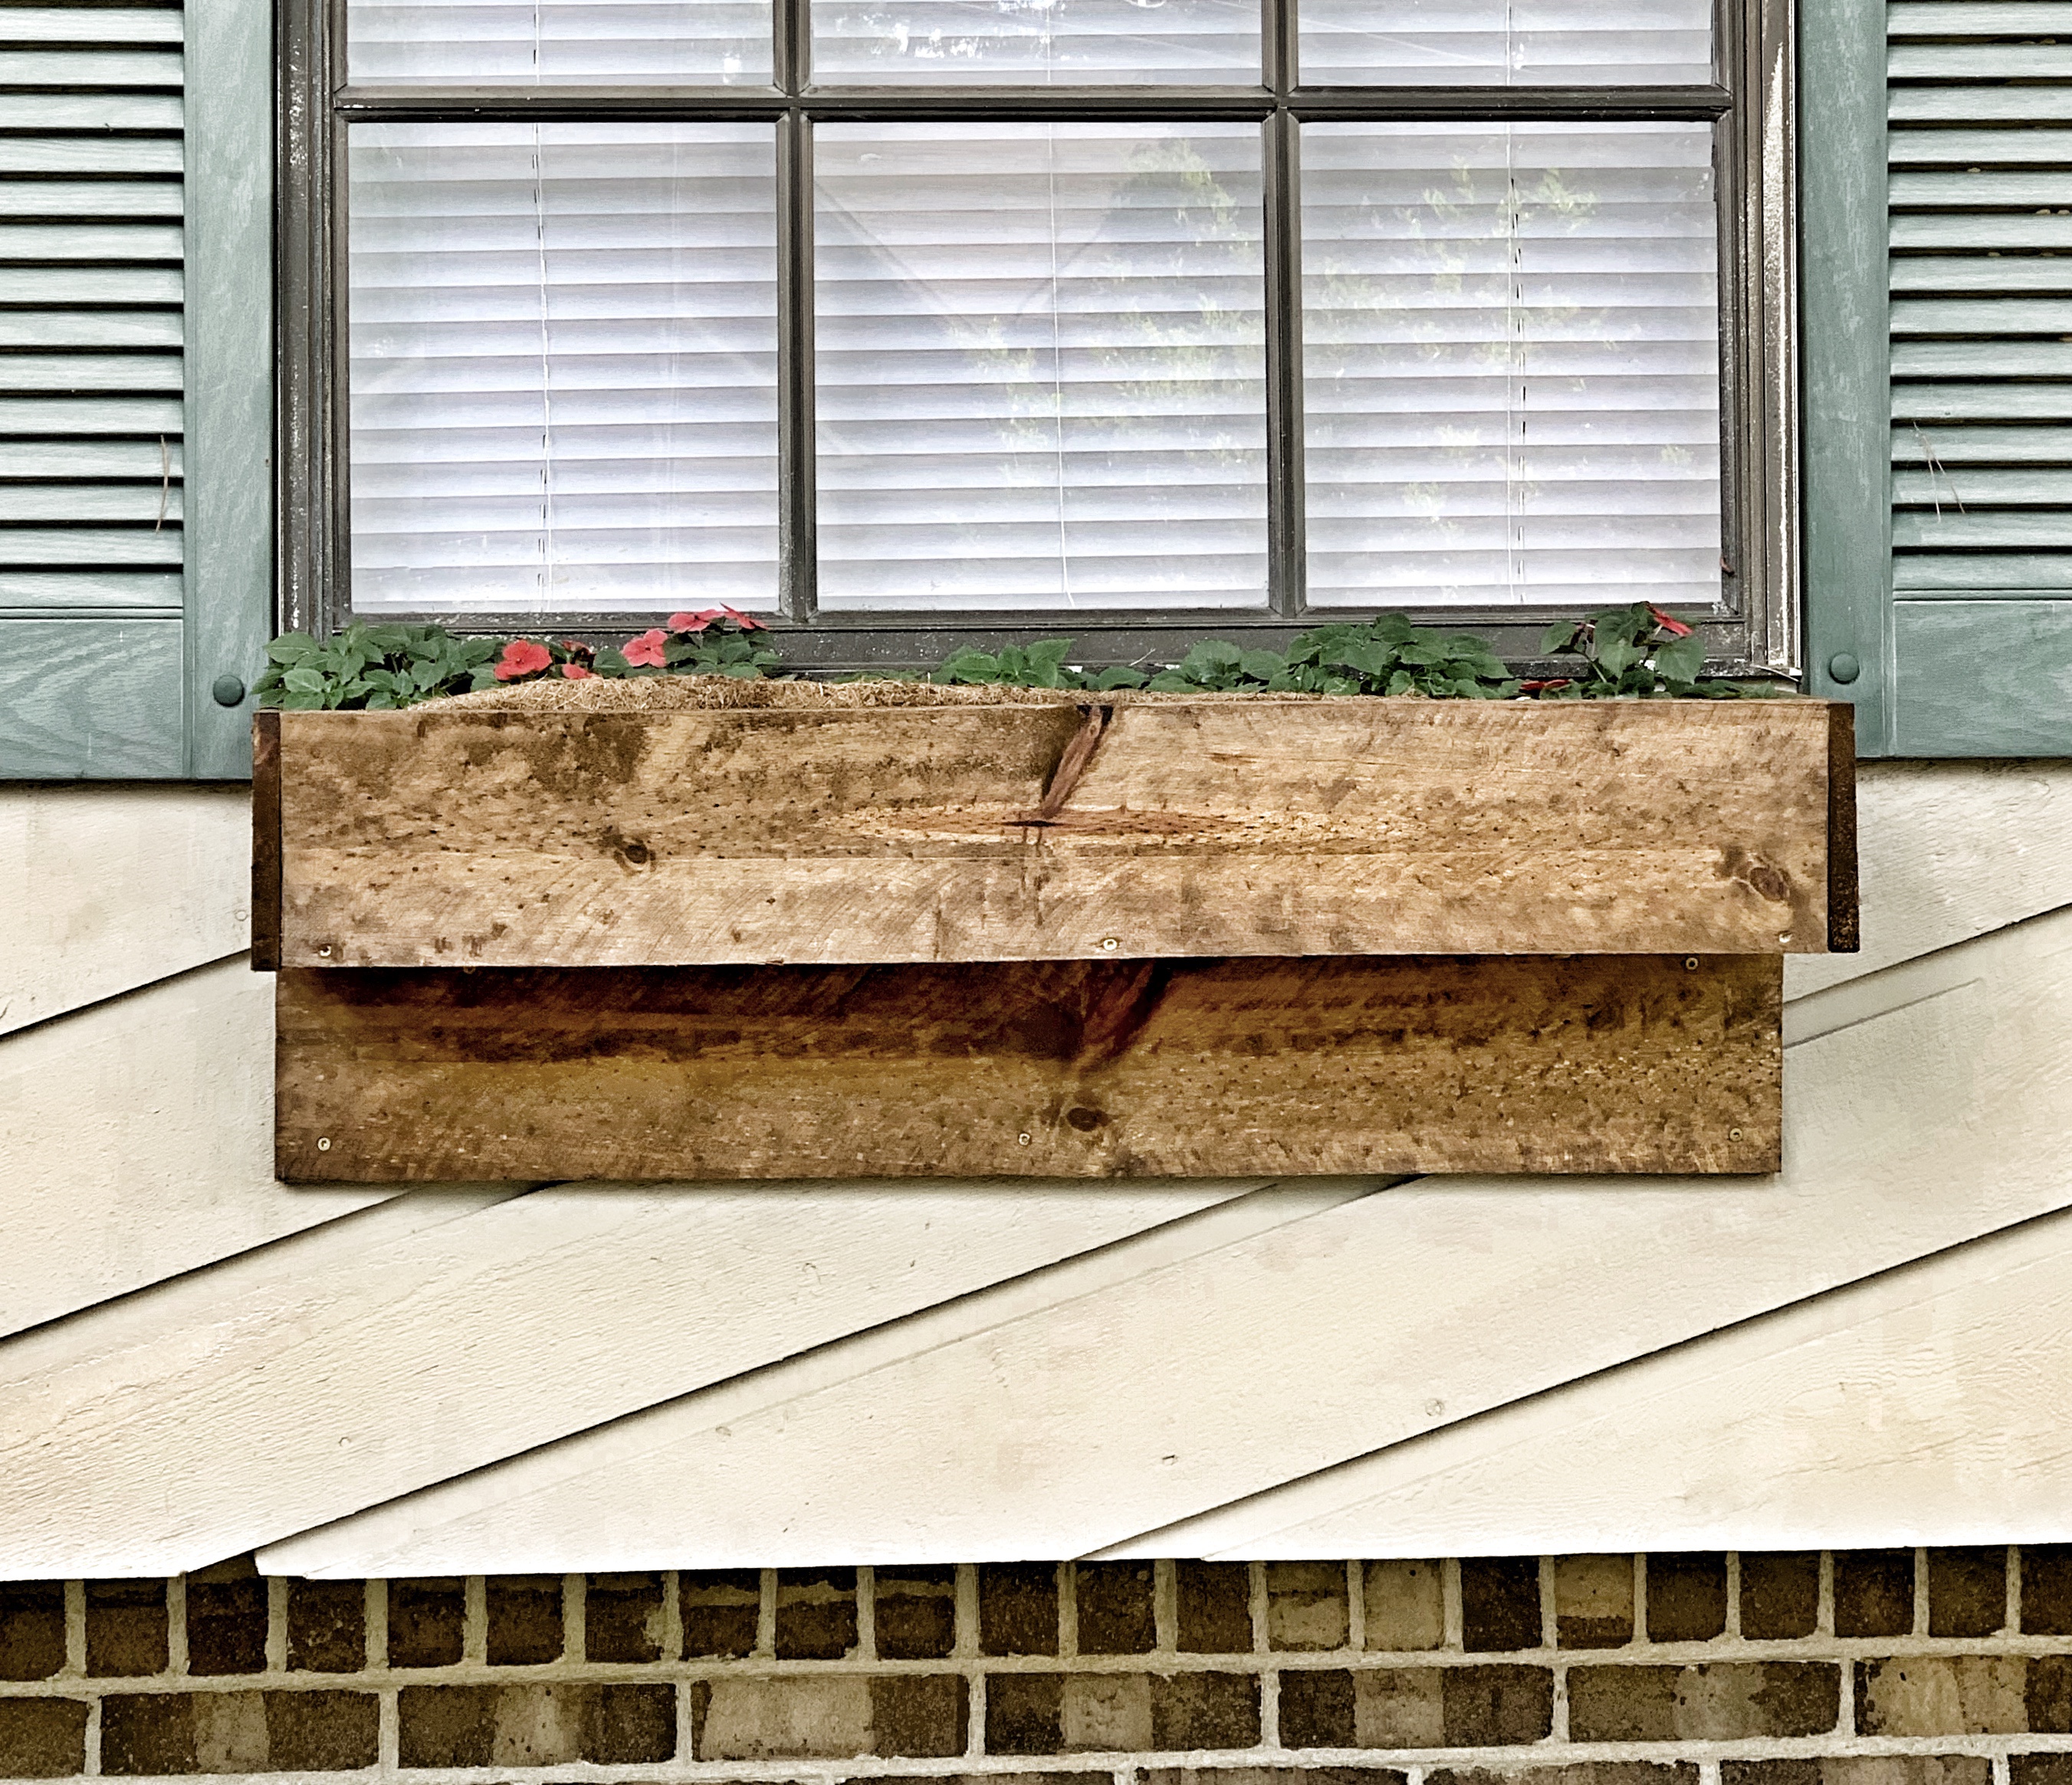
After we got them attached to the house I didn’t like how you could see the brackets so we added an extra board to cover the brackets and help support the boxes.
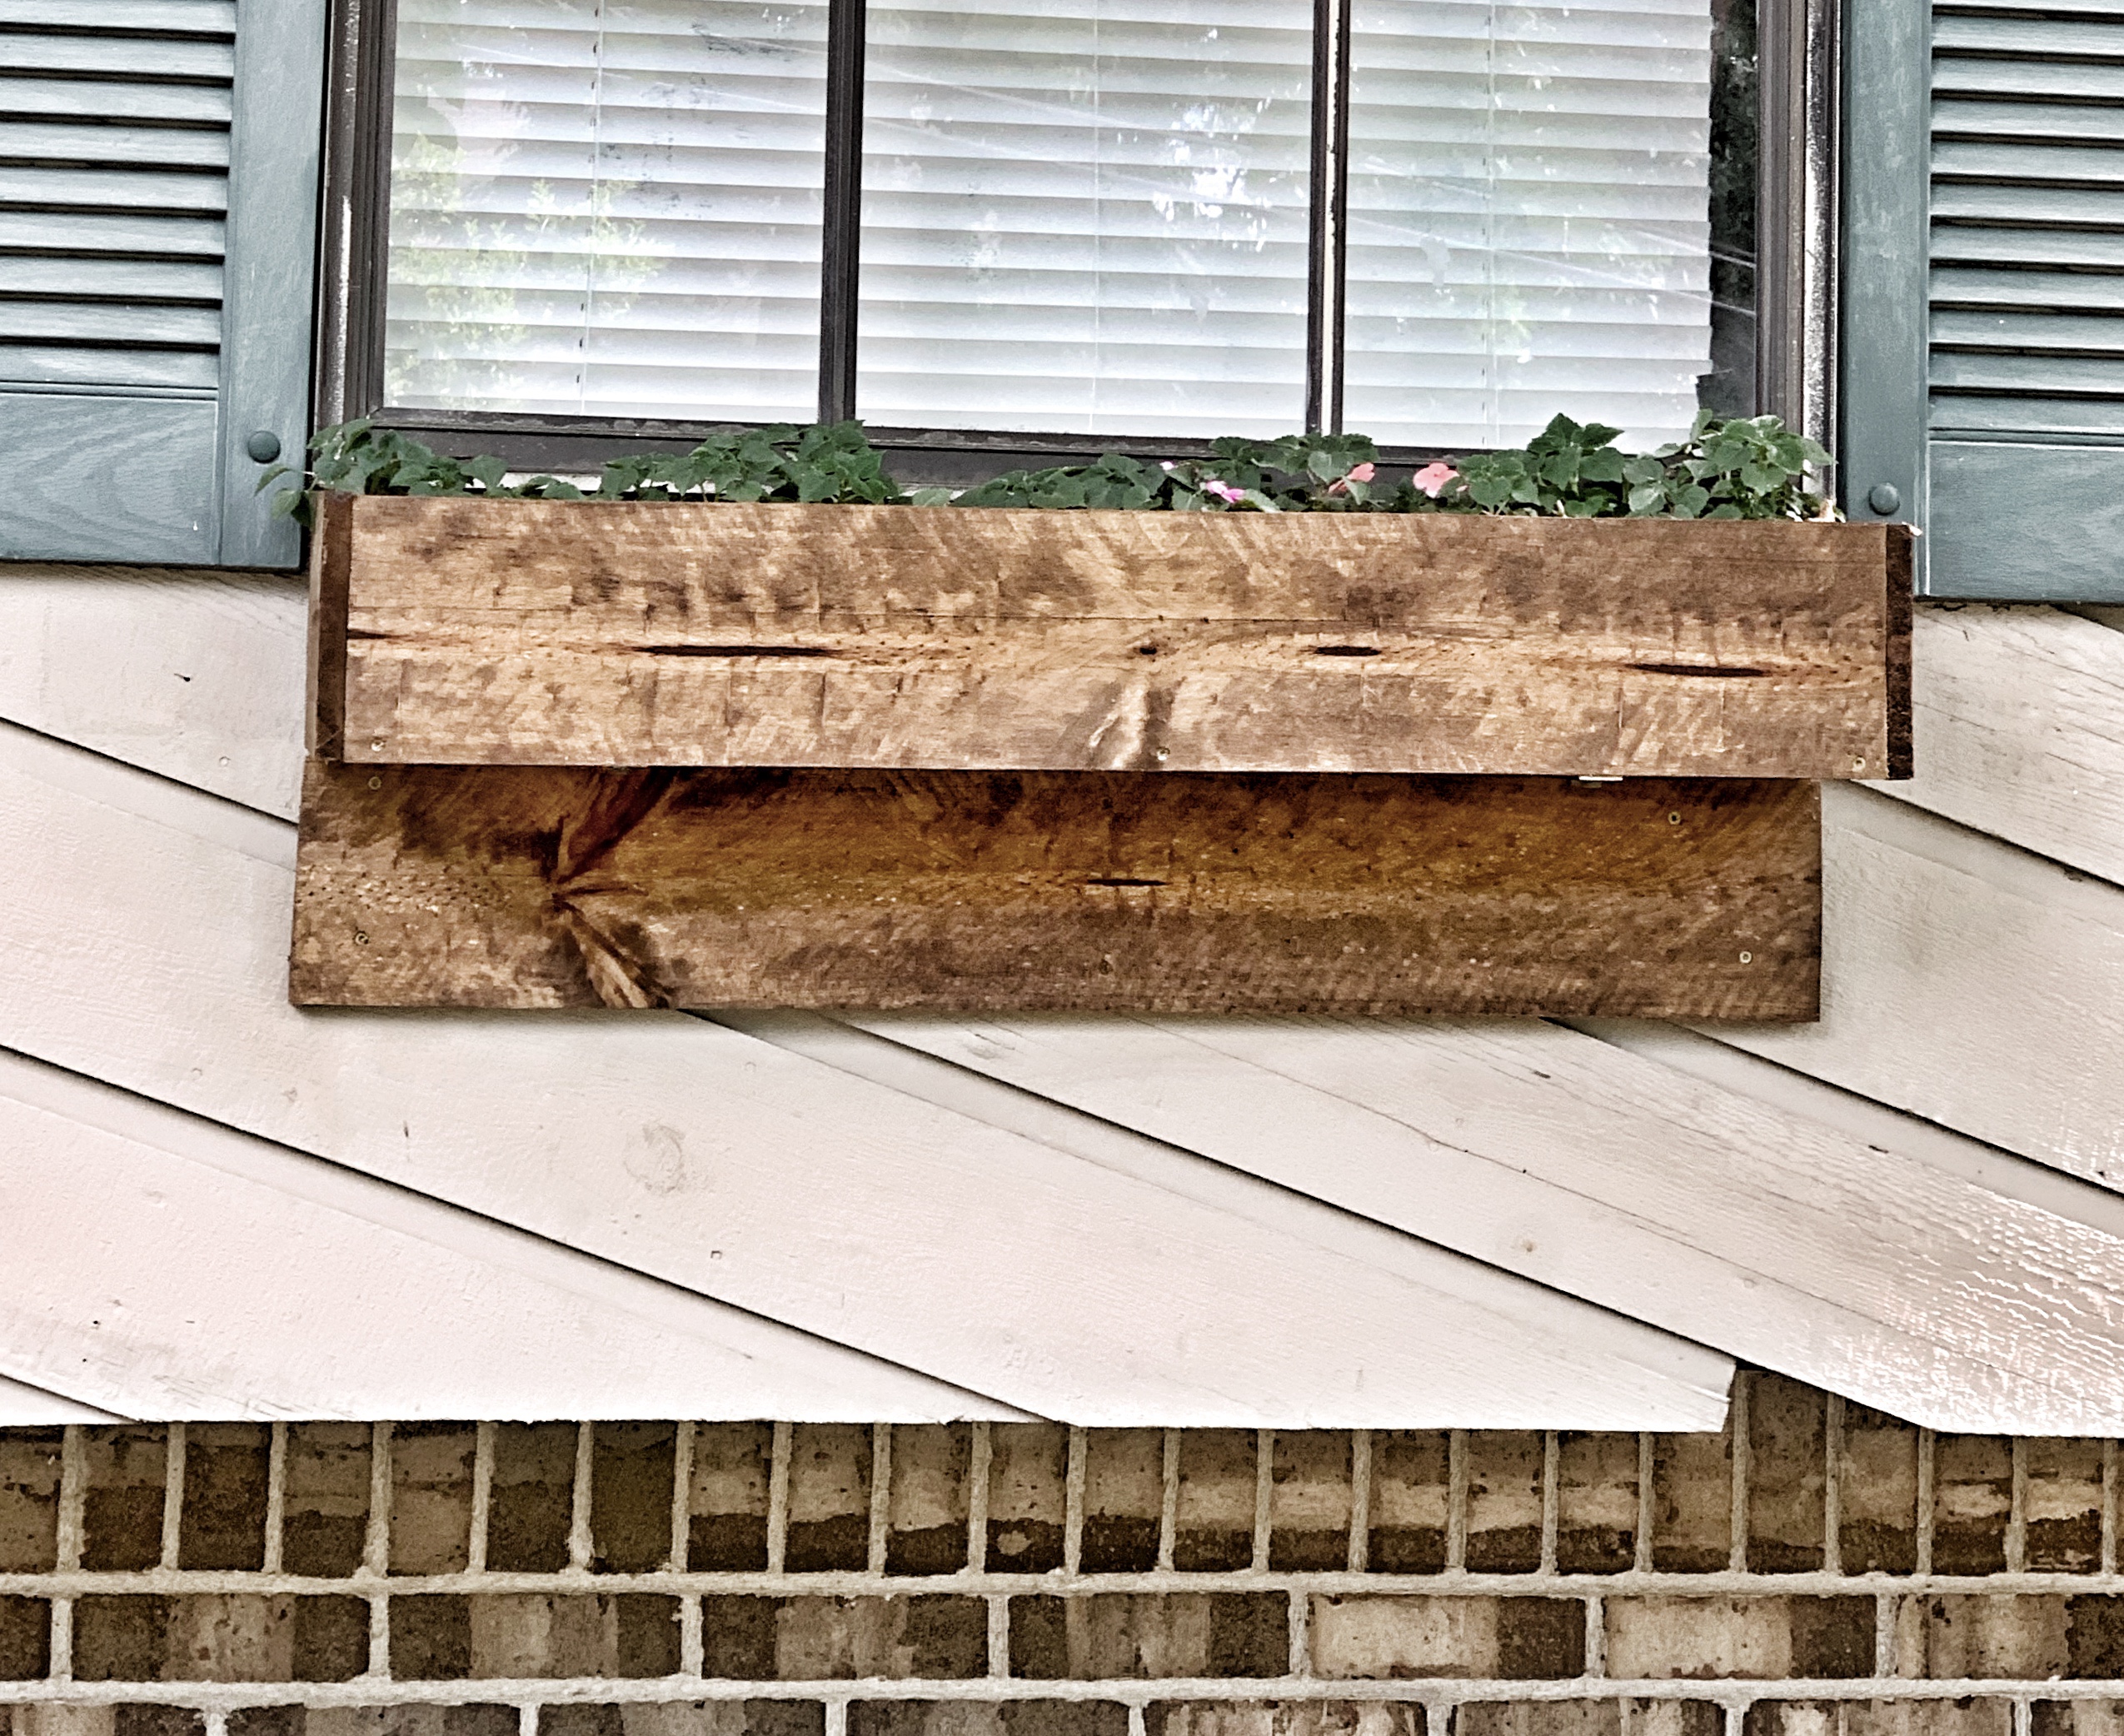
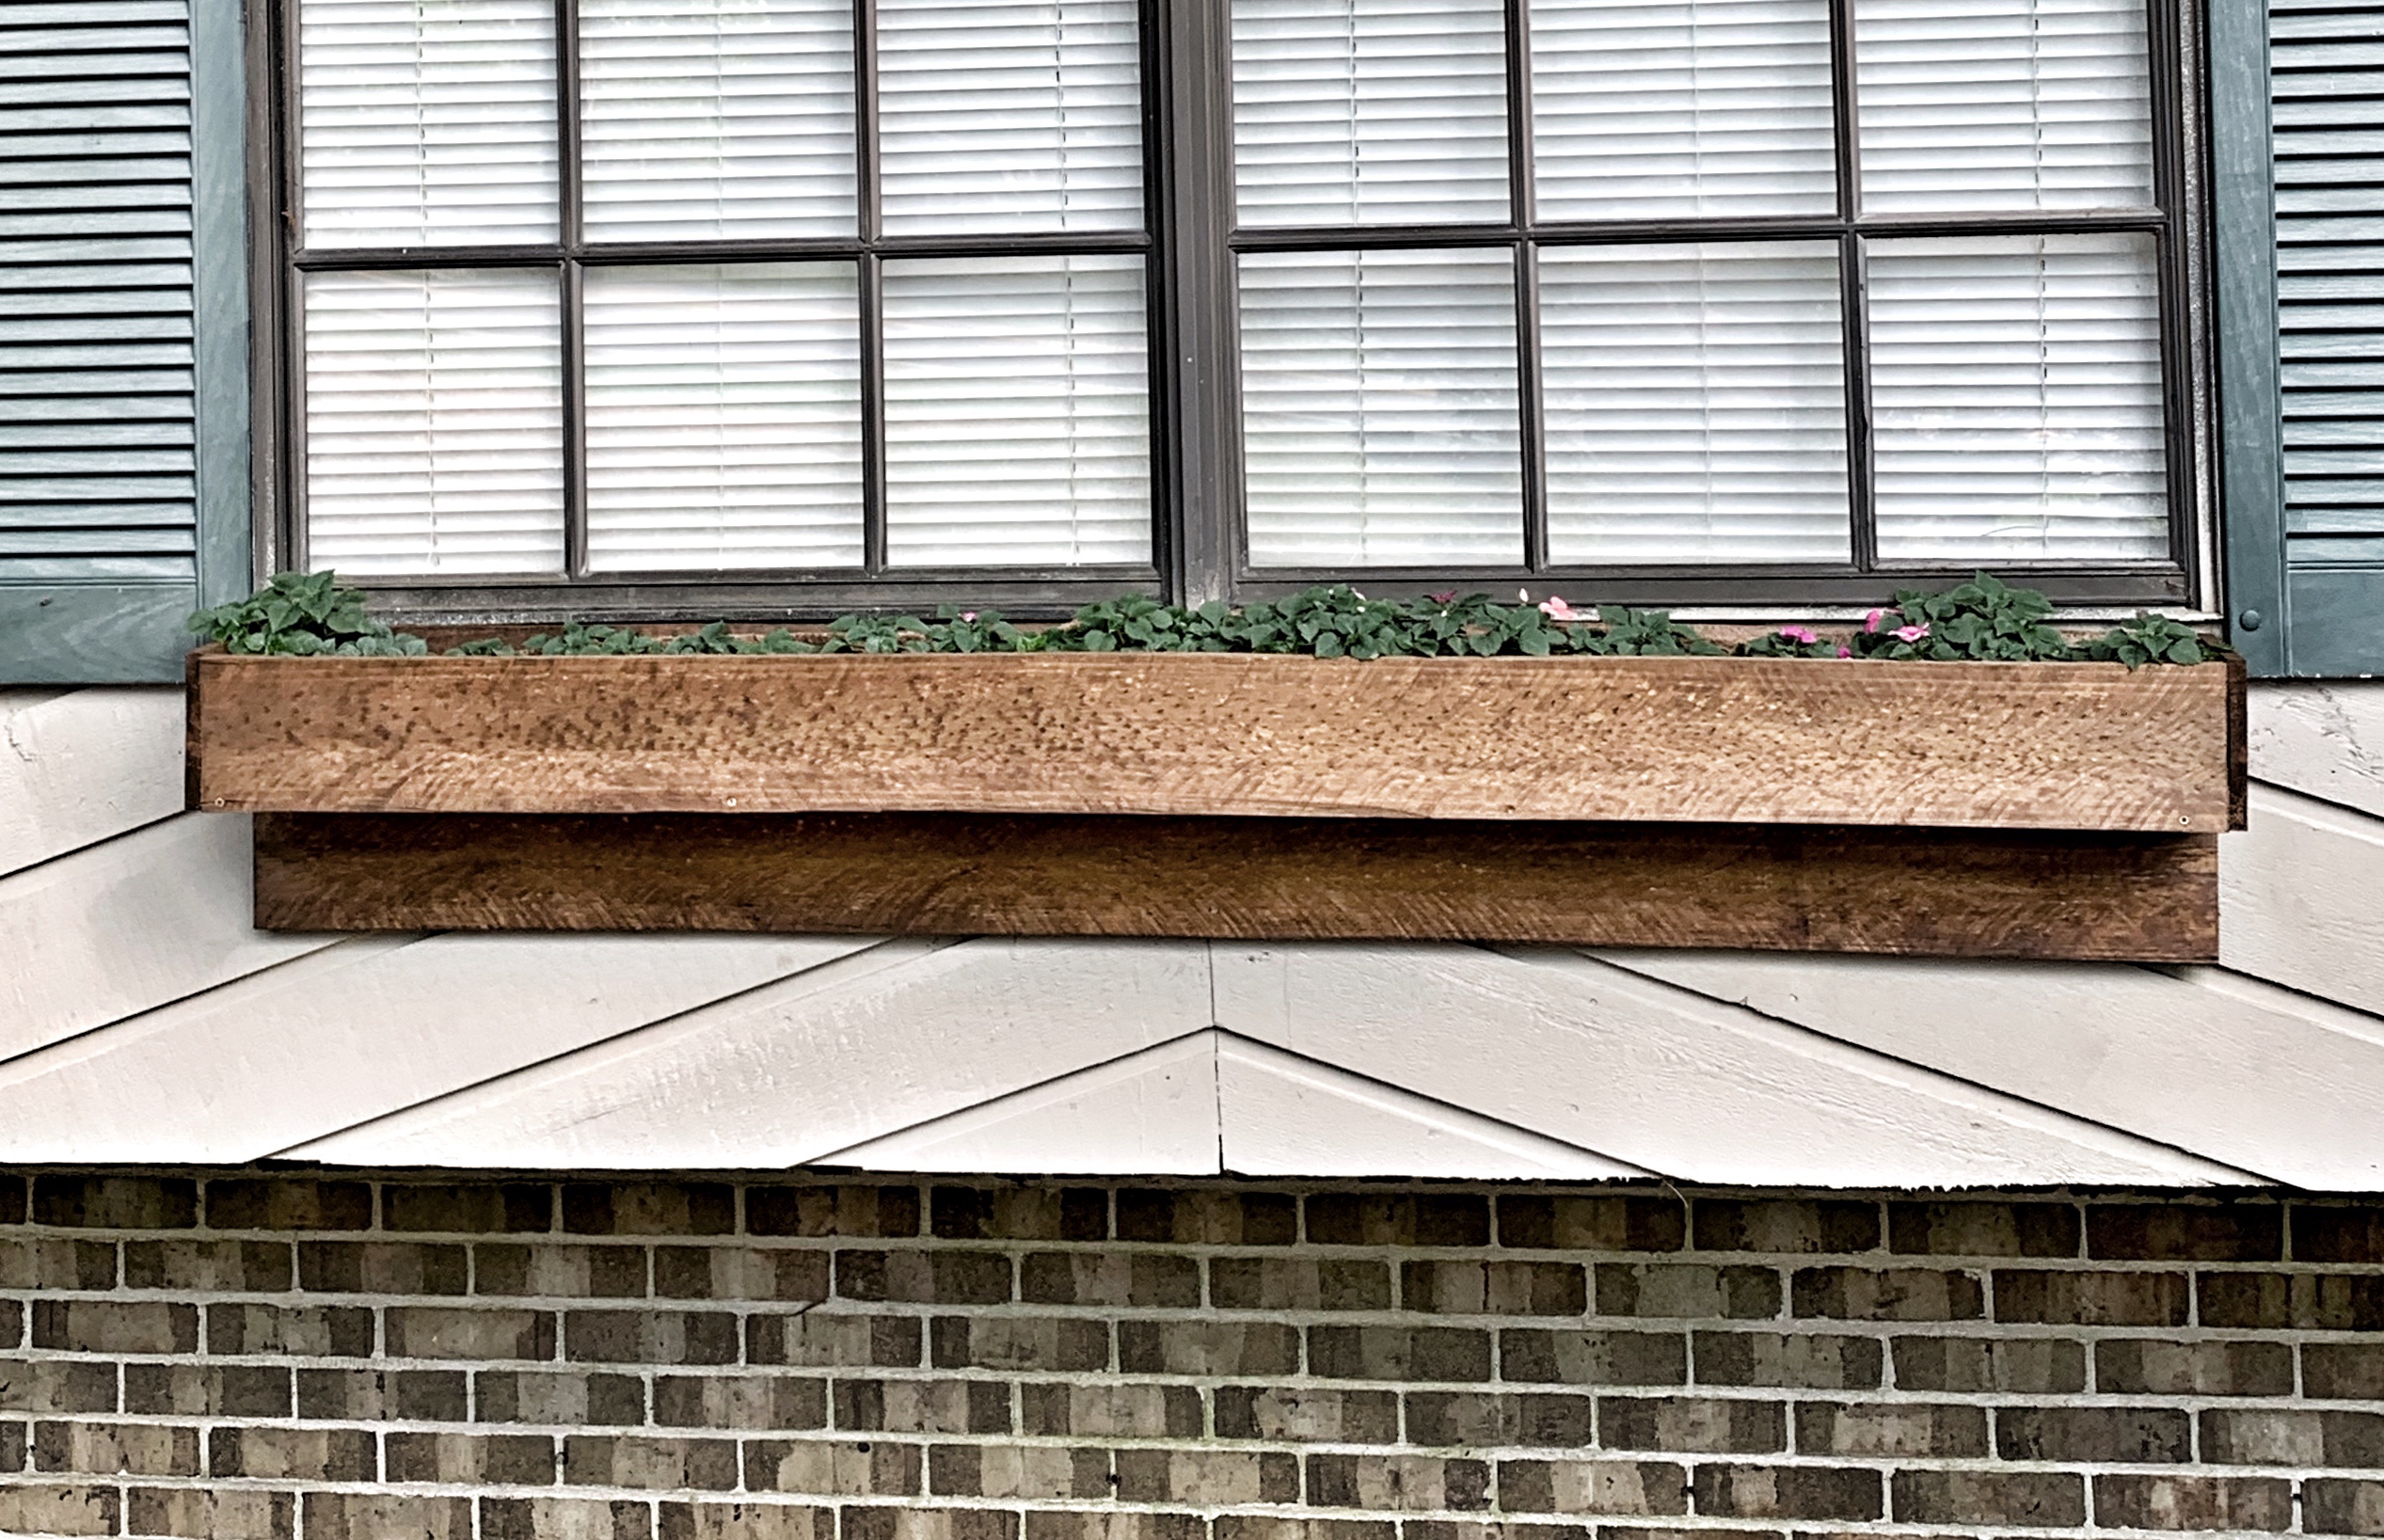
I absolutely LOVE how they turned out!!! So much cheaper than buying them already made. Literally 1/3 of the price and it is fun to be able to say we made them with our own two hands!!
I filled them with coco plant liners and researched what flowers do best in full shade. Those turned out to be Impatiens and so far they are growing beautifully!!
Our next project is taking down these 1970s shutters and creating our own to match our flower boxes!! So stay tuned!!!
Thank you for taking the time to read my blog post!!!
~Becca
@rebeccaannehome